Pokeball Low-poly 3D model
cgtrader
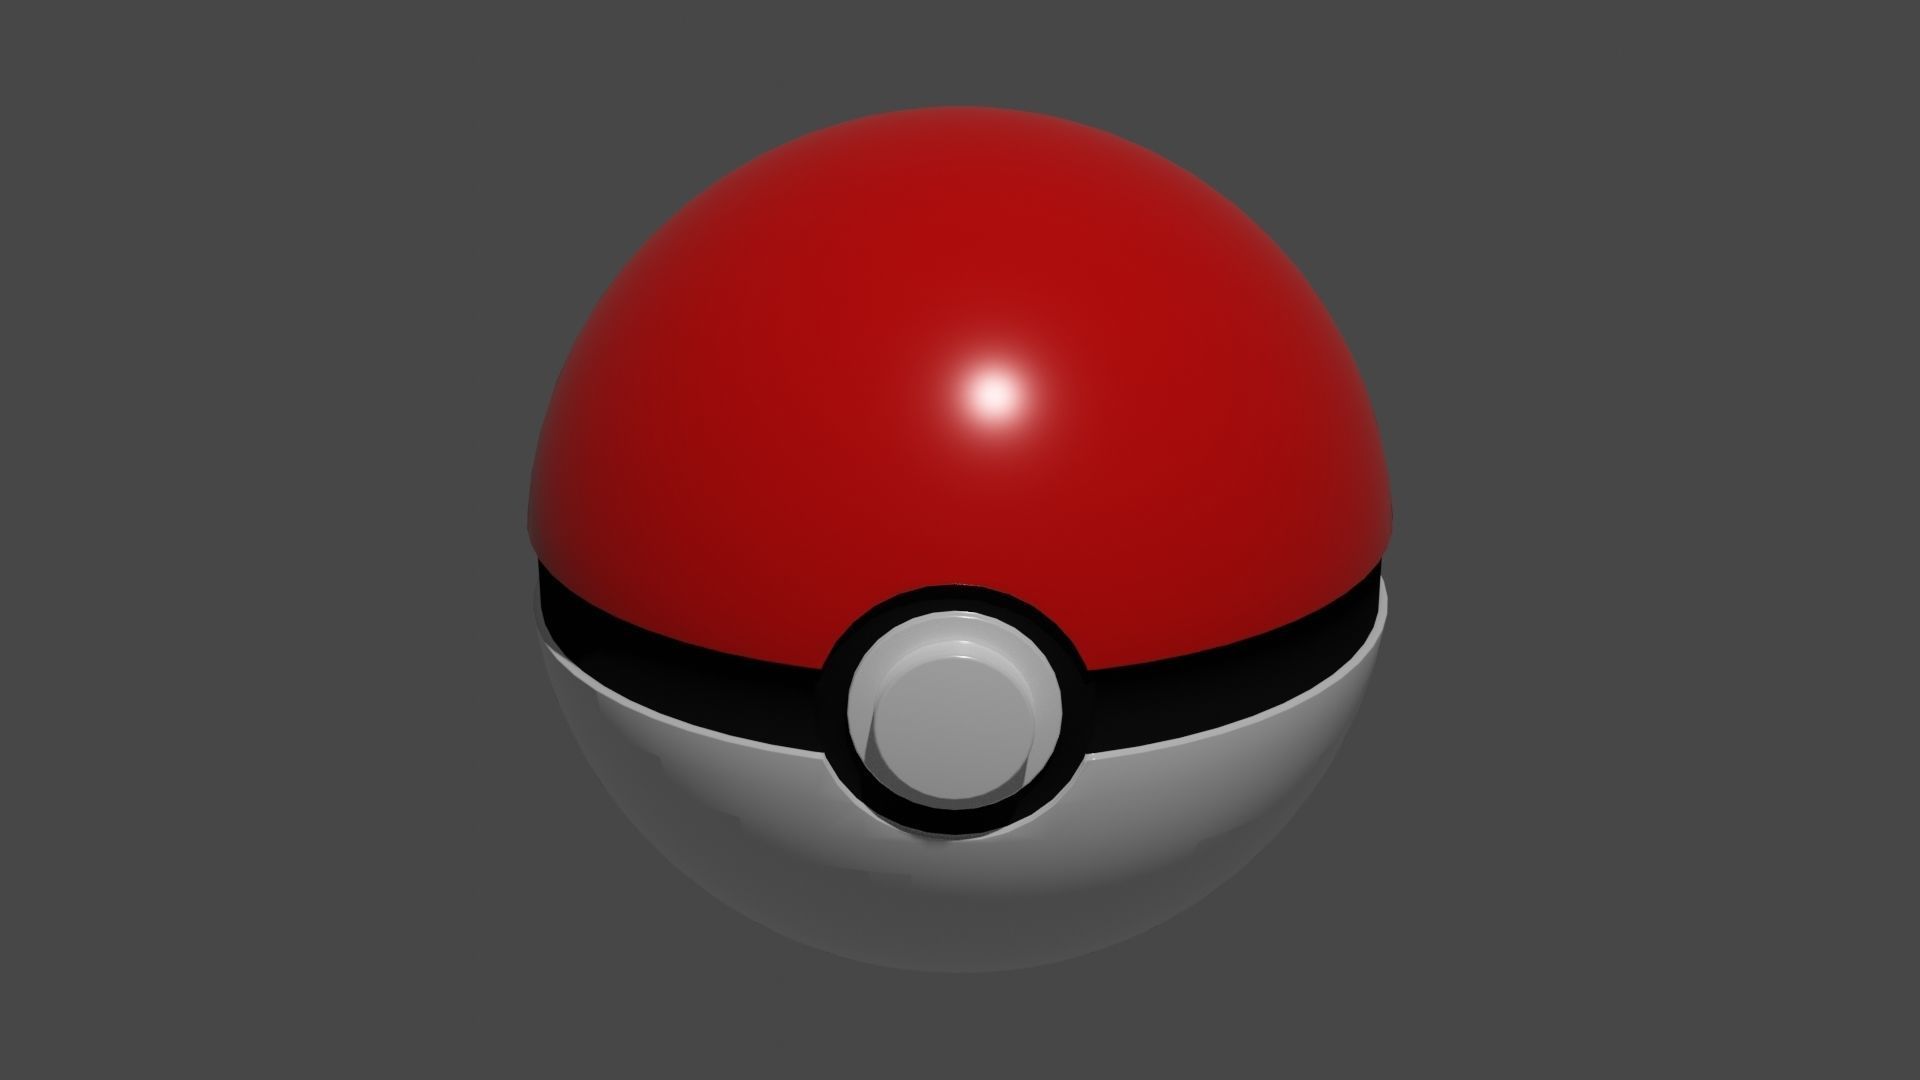
Crafting a Basic Poke Ball in Blender 3D is a Fun and Easy Project. First, Open up Blender 3D and Navigate to the Edit Mode. Click on the Cylinder Tool from the Toolbox Panel to Create a New Sphere. The sphere will serve as the base of the poke ball. Next, Switch over to the Object Data Properties Tab in the Info Window and Select the Cylinder Tool. Increase the Number of Vertices by clicking on the Plus Icon. This will allow for more precise control over the shape of the sphere. Now, Click on the Knife Tool from the Toolbox Panel to Create a Cut Plane. The cut plane will be used to create the seam where the poke ball is opened. Switch back to the Object Mode and Select the Cylinder. Use the Subdivide Tool to divide the cylinder into smaller segments. This will help to achieve a more realistic texture on the surface of the sphere. Next, Go Back to the Edit Mode and use the Knife Tool to Create a Cut Plane Along the Seam. Use this cut plane as a guide to remove excess geometry from the sphere. Now, Select the Sphere and Switch over to the Materials Tab in the Properties Window. Click on the New Material Button to Create a New Material. Name the material "Poke Ball" and Set its Type to Principled BSDF. Next, Go Back to the Object Data Properties Tab and Select the Cylinder Tool. In the Shading Section, Click on the Add Shader Button and Choose the Glossy Coat Shader from the Dropdown Menu. Finally, Render out a High-Res Image of Your Poke Ball using Cycles Renderer. You can Adjust the Lighting and Rendering Settings as Needed to Achieve the Desired Effect. Congratulations! You Now Have a Basic Poke Ball Model in Blender 3D.
With this file you will be able to print Pokeball Low-poly 3D model with your 3D printer. Click on the button and save the file on your computer to work, edit or customize your design. You can also find more 3D designs for printers on Pokeball Low-poly 3D model.