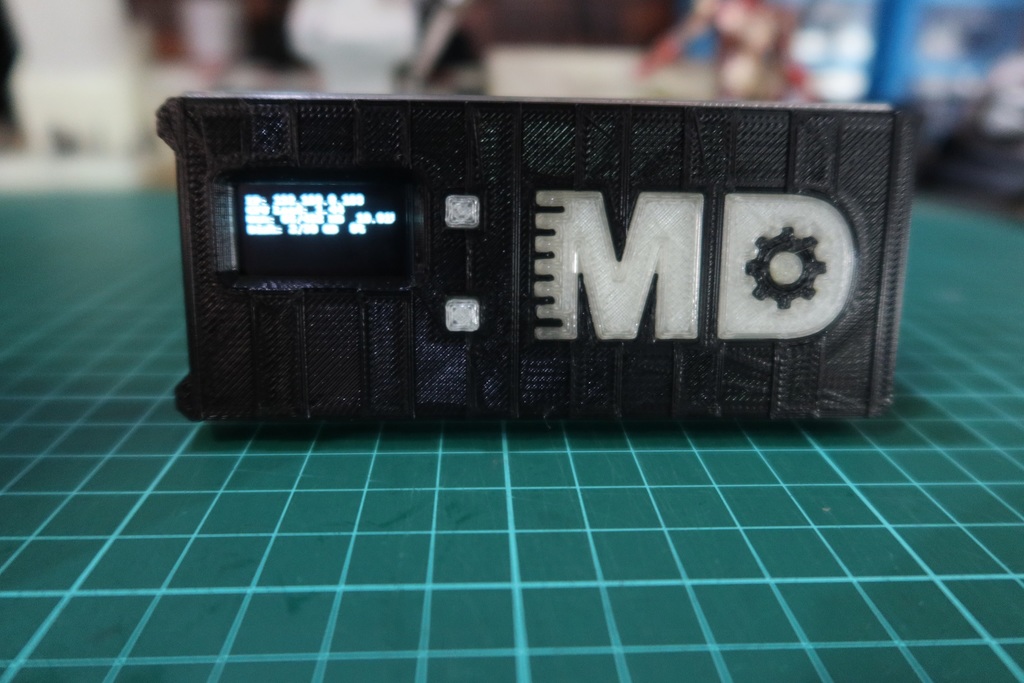
Pocket Rapberry Pi Web and Samba Server
thingiverse
I'm Excited to Share My Latest Project with You! Hey there, fellow makers and tech enthusiasts! Today I'm thrilled to showcase my DIY Samba and web server setup using the incredibly versatile Raspberry Pi. If you're new here, consider subscribing for a steady stream of innovative projects and tutorials! Are you ready to dive in? Let's get started! Step 1: Gather Your Components Before we begin, make sure you have the following components: - A Raspberry Pi (any version will do) - An SD card (at least 8GB recommended) - A USB power supply - A micro HDMI cable - A keyboard and mouse for setup - Optional: a case or enclosure for your Pi Step 2: Install Raspbian OS Insert the SD card into your computer and download the latest Raspbian OS image from the official Raspberry Pi website. Follow the instructions to write the image to the SD card. Step 3: Set Up Your Network Connect your Raspberry Pi to your router using an Ethernet cable or set up Wi-Fi by following these simple steps: 1. Open the terminal on your Pi and type `sudo raspi-config` 2. Navigate to Interfacing Options > Network > SSH 3. Enable SSH to allow remote access Step 4: Install Samba Server Install Samba server using the following commands: ``` sudo apt-get update sudo apt-get install samba ``` Step 5: Configure Samba Server Edit the `smb.conf` file using your favorite text editor (e.g., nano or vim). Add the following lines at the bottom of the file: ``` [global] workgroup = WORKGROUP server string = %h server (Samba, Raspberry Pi) netbios name = RASPBERRYPI [YourSharedFolder] path = /media/your_shared_folder available = yes browseable = yes writable = yes force user = pi ``` Replace `/media/your_shared_folder` with the path to your shared folder. Step 6: Start Samba Server Restart the Samba server using the following command: ``` sudo service smbd restart ``` Step 7: Access Your Shared Folder On your Windows machine, open File Explorer and navigate to `\\RASPBERRYPI\YourSharedFolder`. You should see your shared folder listed. Double-click on it to access your files! That's it! You've successfully set up a Samba server on your Raspberry Pi. Pat yourself on the back, maker! If you have any questions or need further assistance, feel free to ask in the comments below. Stay tuned for more DIY projects and tutorials! Follow me on Instagram: @makerdiary.id
With this file you will be able to print Pocket Rapberry Pi Web and Samba Server with your 3D printer. Click on the button and save the file on your computer to work, edit or customize your design. You can also find more 3D designs for printers on Pocket Rapberry Pi Web and Samba Server.
