Pneumatic connectors
prusaprinters
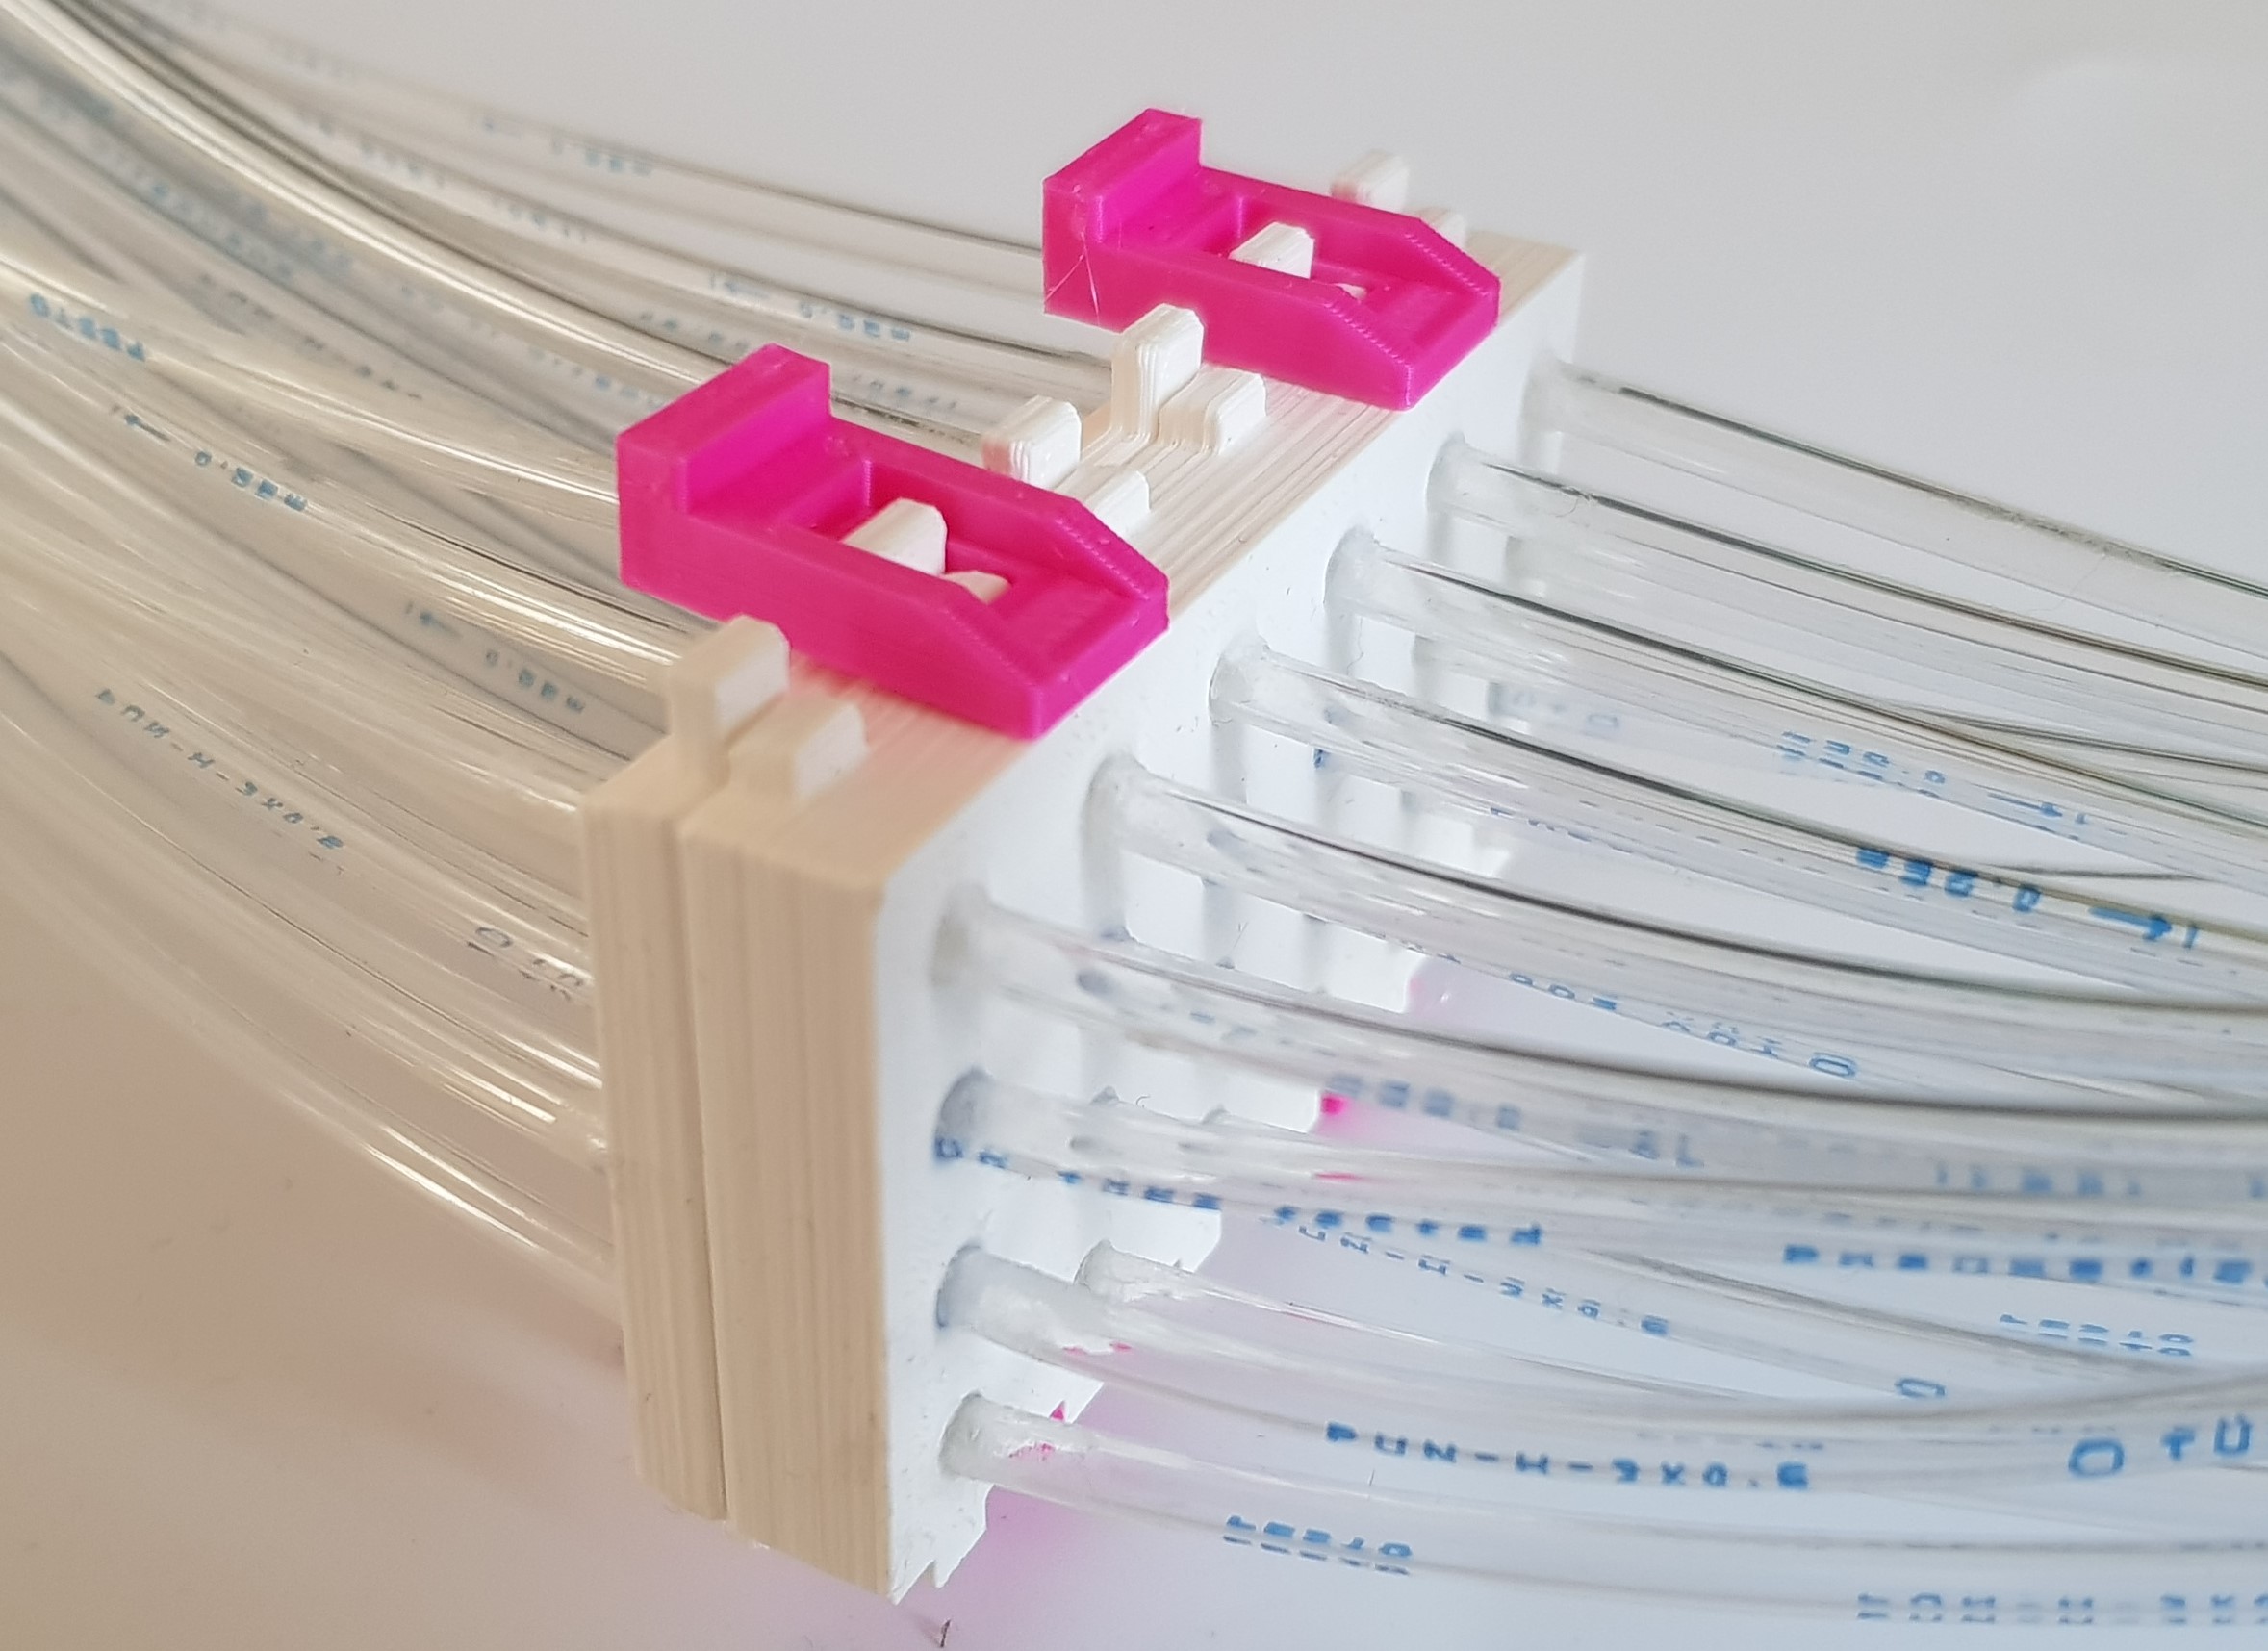
<p>This series of 3D printed pneumatic connectors can be used to quick-connect (and disconnect) pneumatic devices such as cylinders, stepper motors and complete robots. The components are MR safe and designed for 3 mm and 4 mm pneumatic tubing.</p><p>Silicone rubber rings are used as seals in the female parts, to be laser-cut from 1 mm thick silicone rubber, and inserted mid-print after pausing at a specific height.</p><h4>Variants</h4><p>Male sockets are either 3 mm or 4 mm. Female sockets have two sides; besides 3→3 and 4→4 mm we also offer 4→3 mm. This is useful if your pneumatic manifold has 4 mm sockets while you use 3 mm tubing to the motors.</p><p>Connectors are 1x, 2x, 4x or 24x. The 4x male plugs fit in the 24x female socket. This is the only exception to the rule that male and female parts must have the same number of ports.</p><p>Other variants can be created by adapting the included Solidworks file.</p><h4>Design</h4><figure class="image"><img src="https://media.prusaprinters.org/media/prints/148215/rich_content/f84ba2b7-89d0-4823-a3cf-bb253c2877ed/image.png#%7B%22uuid%22%3A%2227a6bbcf-b73d-4b10-a98a-14eed577b7b0%22%2C%22w%22%3A981%2C%22h%22%3A755%7D"></figure><p>Cut-out view in connected state.</p><p> </p><figure class="image"><img src="https://media.prusaprinters.org/media/prints/148215/rich_content/e4059656-50d3-41c5-bda4-86c1dff98fe0/image.png#%7B%22uuid%22%3A%224f86a94c-f6b8-4d18-a577-e02c9cecc5f0%22%2C%22w%22%3A824%2C%22h%22%3A749%7D"></figure><p>Cut-out view in disconnected state. Note the orientation of the seals (yellow): the larger face is on top and smaller face down, for optimal airtightness.</p><h4>Rubber seals</h4><p>Seals are laser-cut from 1 mm thick silicone rubber and inserted in the female parts mid-print.</p><p>3 mm sockets use rings with 6 mm outer diameter and 2.8 mm inner diameter. 4 mm sockets use rings with 7 mm outer diameter and 3.8 mm inner diameter. DXF and PDF files are attached.</p><h4>Slicing</h4><p>I use 0.15 mm profile with three perimeters (and no skirt) and leave rest at default. I use PLA.</p><p>We have to identify the correct moment to pause the print to insert the seals:</p><figure class="image"><img src="https://media.prusaprinters.org/media/prints/148215/rich_content/054e6c09-9946-4950-9659-723b0889d483/image.png#%7B%22uuid%22%3A%22427340ee-ec52-4834-8dde-259f2c502401%22%2C%22w%22%3A889%2C%22h%22%3A439%7D"></figure><p>This is the last layer (Z=2.10 mm) before the seals are covered off.</p><p> </p><figure class="image"><img src="https://media.prusaprinters.org/media/prints/148215/rich_content/520f8a8c-9714-4a80-9a69-6ec0cf17d039/image.png#%7B%22uuid%22%3A%221416d635-adc4-438f-90fd-7067827e24f9%22%2C%22w%22%3A862%2C%22h%22%3A432%7D"></figure><p>Above you see the first layer (Z=2.25 mm) with the overhangs (dark blue circles) which will cover the seals. So a pause must be inserted at the beginning of this layer, which can be done by right-clicking the orange “+” button and selecting “Add pause print (M601)”.</p><p>If you have a Prusa Mini (early batch) and M601 is not working: upgrade your firmware and it should work.</p><h4>Printing</h4><p>If all is correctly set up then the printer will pause at the right moment so that you can insert the seals. Orientation: smaller face down, larger face up.</p><figure class="image"><img src="https://media.prusaprinters.org/media/prints/148215/rich_content/1a19df7b-9fe3-4bac-a8dd-56c652dfda24/insert-seals.jpg#%7B%22uuid%22%3A%221037bbf1-6cd0-4fb9-aca9-ecde242320ea%22%2C%22w%22%3A1498%2C%22h%22%3A1219%7D"></figure><p> </p><figure class="image"><img src="https://media.prusaprinters.org/media/prints/148215/rich_content/42f46205-8586-49f2-ab6b-446d818751d3/layer-after-insert-seals.jpg#%7B%22uuid%22%3A%2240eac904-563f-41d8-a550-383ad3955009%22%2C%22w%22%3A1538%2C%22h%22%3A974%7D"></figure><p>Ensure that the next layer is correctly printed over the seals.</p><p> </p><figure class="image"><img src="https://media.prusaprinters.org/media/prints/148215/rich_content/c28c6fc6-bf3b-49fc-ab82-9f13c4b0ce61/2022-03-10-124017.jpg#%7B%22uuid%22%3A%22aeda130e-3b53-4c43-a214-d00ba769ba1b%22%2C%22w%22%3A2880%2C%22h%22%3A2160%7D"></figure><p>Enlarge holes if necessary to right diameters (3 mm and/or 4 mm). Male part: all way through. Female part: depth 5 mm.</p><p> </p><figure class="image"><img src="https://media.prusaprinters.org/media/prints/148215/rich_content/4ac62d07-c1ac-4ce1-893c-e2d104d3a2d8/2022-03-10-131125.jpg#%7B%22uuid%22%3A%22117a3442-298c-4745-85b4-5c2515e749ad%22%2C%22w%22%3A2880%2C%22h%22%3A1674%7D"></figure><p>Insert tubes and apply glue. I use cyanoacrylate. The cross-shaped slots should be filled with glue to ensure a good bond.</p><p> </p><figure class="image"><img src="https://media.prusaprinters.org/media/prints/148215/rich_content/2f32ceeb-b5e5-4cd7-9a35-d3e785067d7c/2022-03-10-131252.jpg#%7B%22uuid%22%3A%2248a61d3a-59c4-42cb-92dc-b0afb62c6e55%22%2C%22w%22%3A2732%2C%22h%22%3A1788%7D"></figure><p>In the male part the tubes should stick out around 4 mm. The “male tube cut tool” is useful to easily cut of excess tube.</p><p> </p><figure class="image"><img src="https://media.prusaprinters.org/media/prints/148215/rich_content/bb752302-ba54-4e45-a497-085bd2dd50a2/2022-03-10-131551.jpg#%7B%22uuid%22%3A%2276468ccd-82d4-41ea-be9b-3aef33e17e11%22%2C%22w%22%3A2341%2C%22h%22%3A1595%7D"></figure><p>Insert the clips horizontally, then twist it 90 degrees for the correct orientation. To enforce proper orientation you should have one clip with a notch, and one without notch.</p><p> </p><figure class="image"><img src="https://media.prusaprinters.org/media/prints/148215/rich_content/d8b7d24d-7dfd-4dc5-9fd1-301e67c4aef8/2022-03-10-131730.jpg#%7B%22uuid%22%3A%22b846e9aa-4ca7-49c0-82b6-0abcf5953780%22%2C%22w%22%3A2879%2C%22h%22%3A1657%7D"></figure><p>There may be debris (stringing and other 3d printing artifacts) in sockets of the female part; use a small screwdriver to remove these.</p><p>The connectors are now ready!</p>
With this file you will be able to print Pneumatic connectors with your 3D printer. Click on the button and save the file on your computer to work, edit or customize your design. You can also find more 3D designs for printers on Pneumatic connectors.
