PMA (Permanent Magnet Alternator) Generator Conversion
thingiverse
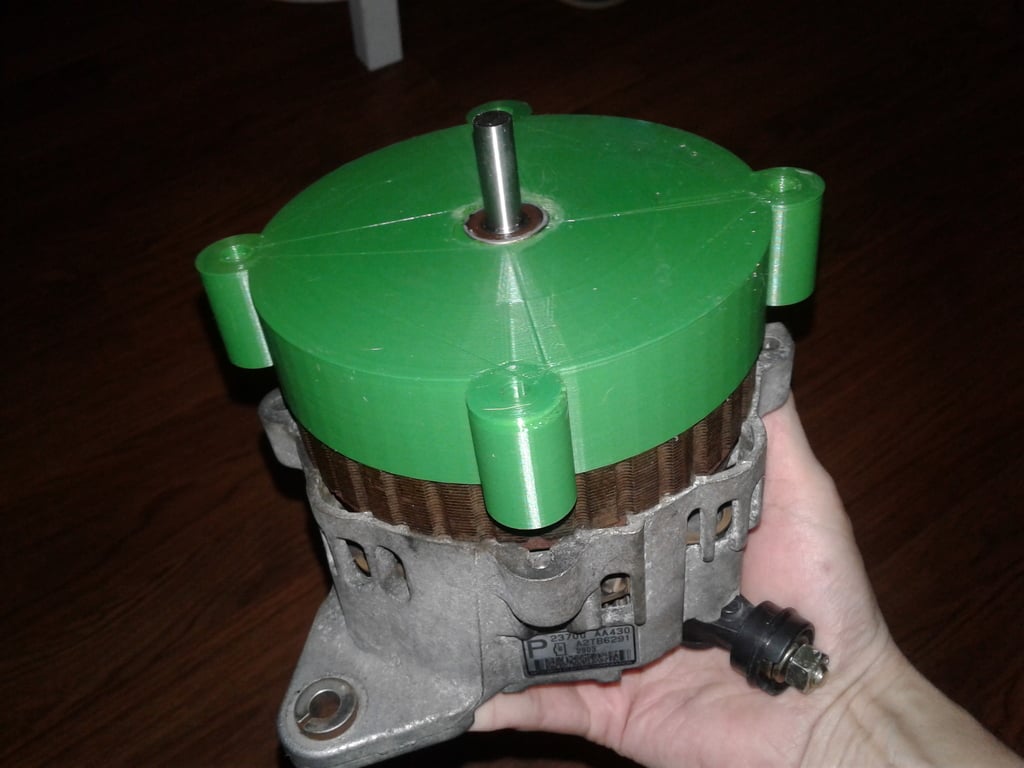
PMA (Permanent Magnet Alternator) Generator Conversion. UPDATE: Took a break from the project and went on vacation for over a week. Now I'm back to experimenting again. New images show how to remove the last three screws in the stator assembly to access and remove the remaining diodes, regulator, and any brush parts. Get the inside of the stator housing down to bare metal. No power has been achieved yet. I tried soldering directly to where the coil ends are exposed but suspect that there are still defective diodes on the other side. The remaining regulator may also be a problem. I've heard that older GM alternators are much easier to work with, but I'm determined to get this Subaru conversion working. I've also posted a schematic of the WRX wiring. Converts a Subaru alternator into a PMA / Generator. Designed around a 2003 WRX spare alternator. Keep the four rotor assembly bolt and discard the rotor. No excitation is required. This one has the diodes and regulator built-in. Uses a 9.5mm shaft x 100mm and neo disc (N42) magnets measuring 1.26(32mm) by 1/8th inch thick. Six magnets are on the new rotor, oriented north-south-north-south for normal 3-phase coil output. Keep diodes for DC output or bypass them for AC. Use a hair dryer to slightly soften the rotors' magnet holes for a tight fit. May fit other imported alternators - OD of housing is 134mmx30mm. Rotor OD is 94mmx50mm.
With this file you will be able to print PMA (Permanent Magnet Alternator) Generator Conversion with your 3D printer. Click on the button and save the file on your computer to work, edit or customize your design. You can also find more 3D designs for printers on PMA (Permanent Magnet Alternator) Generator Conversion.