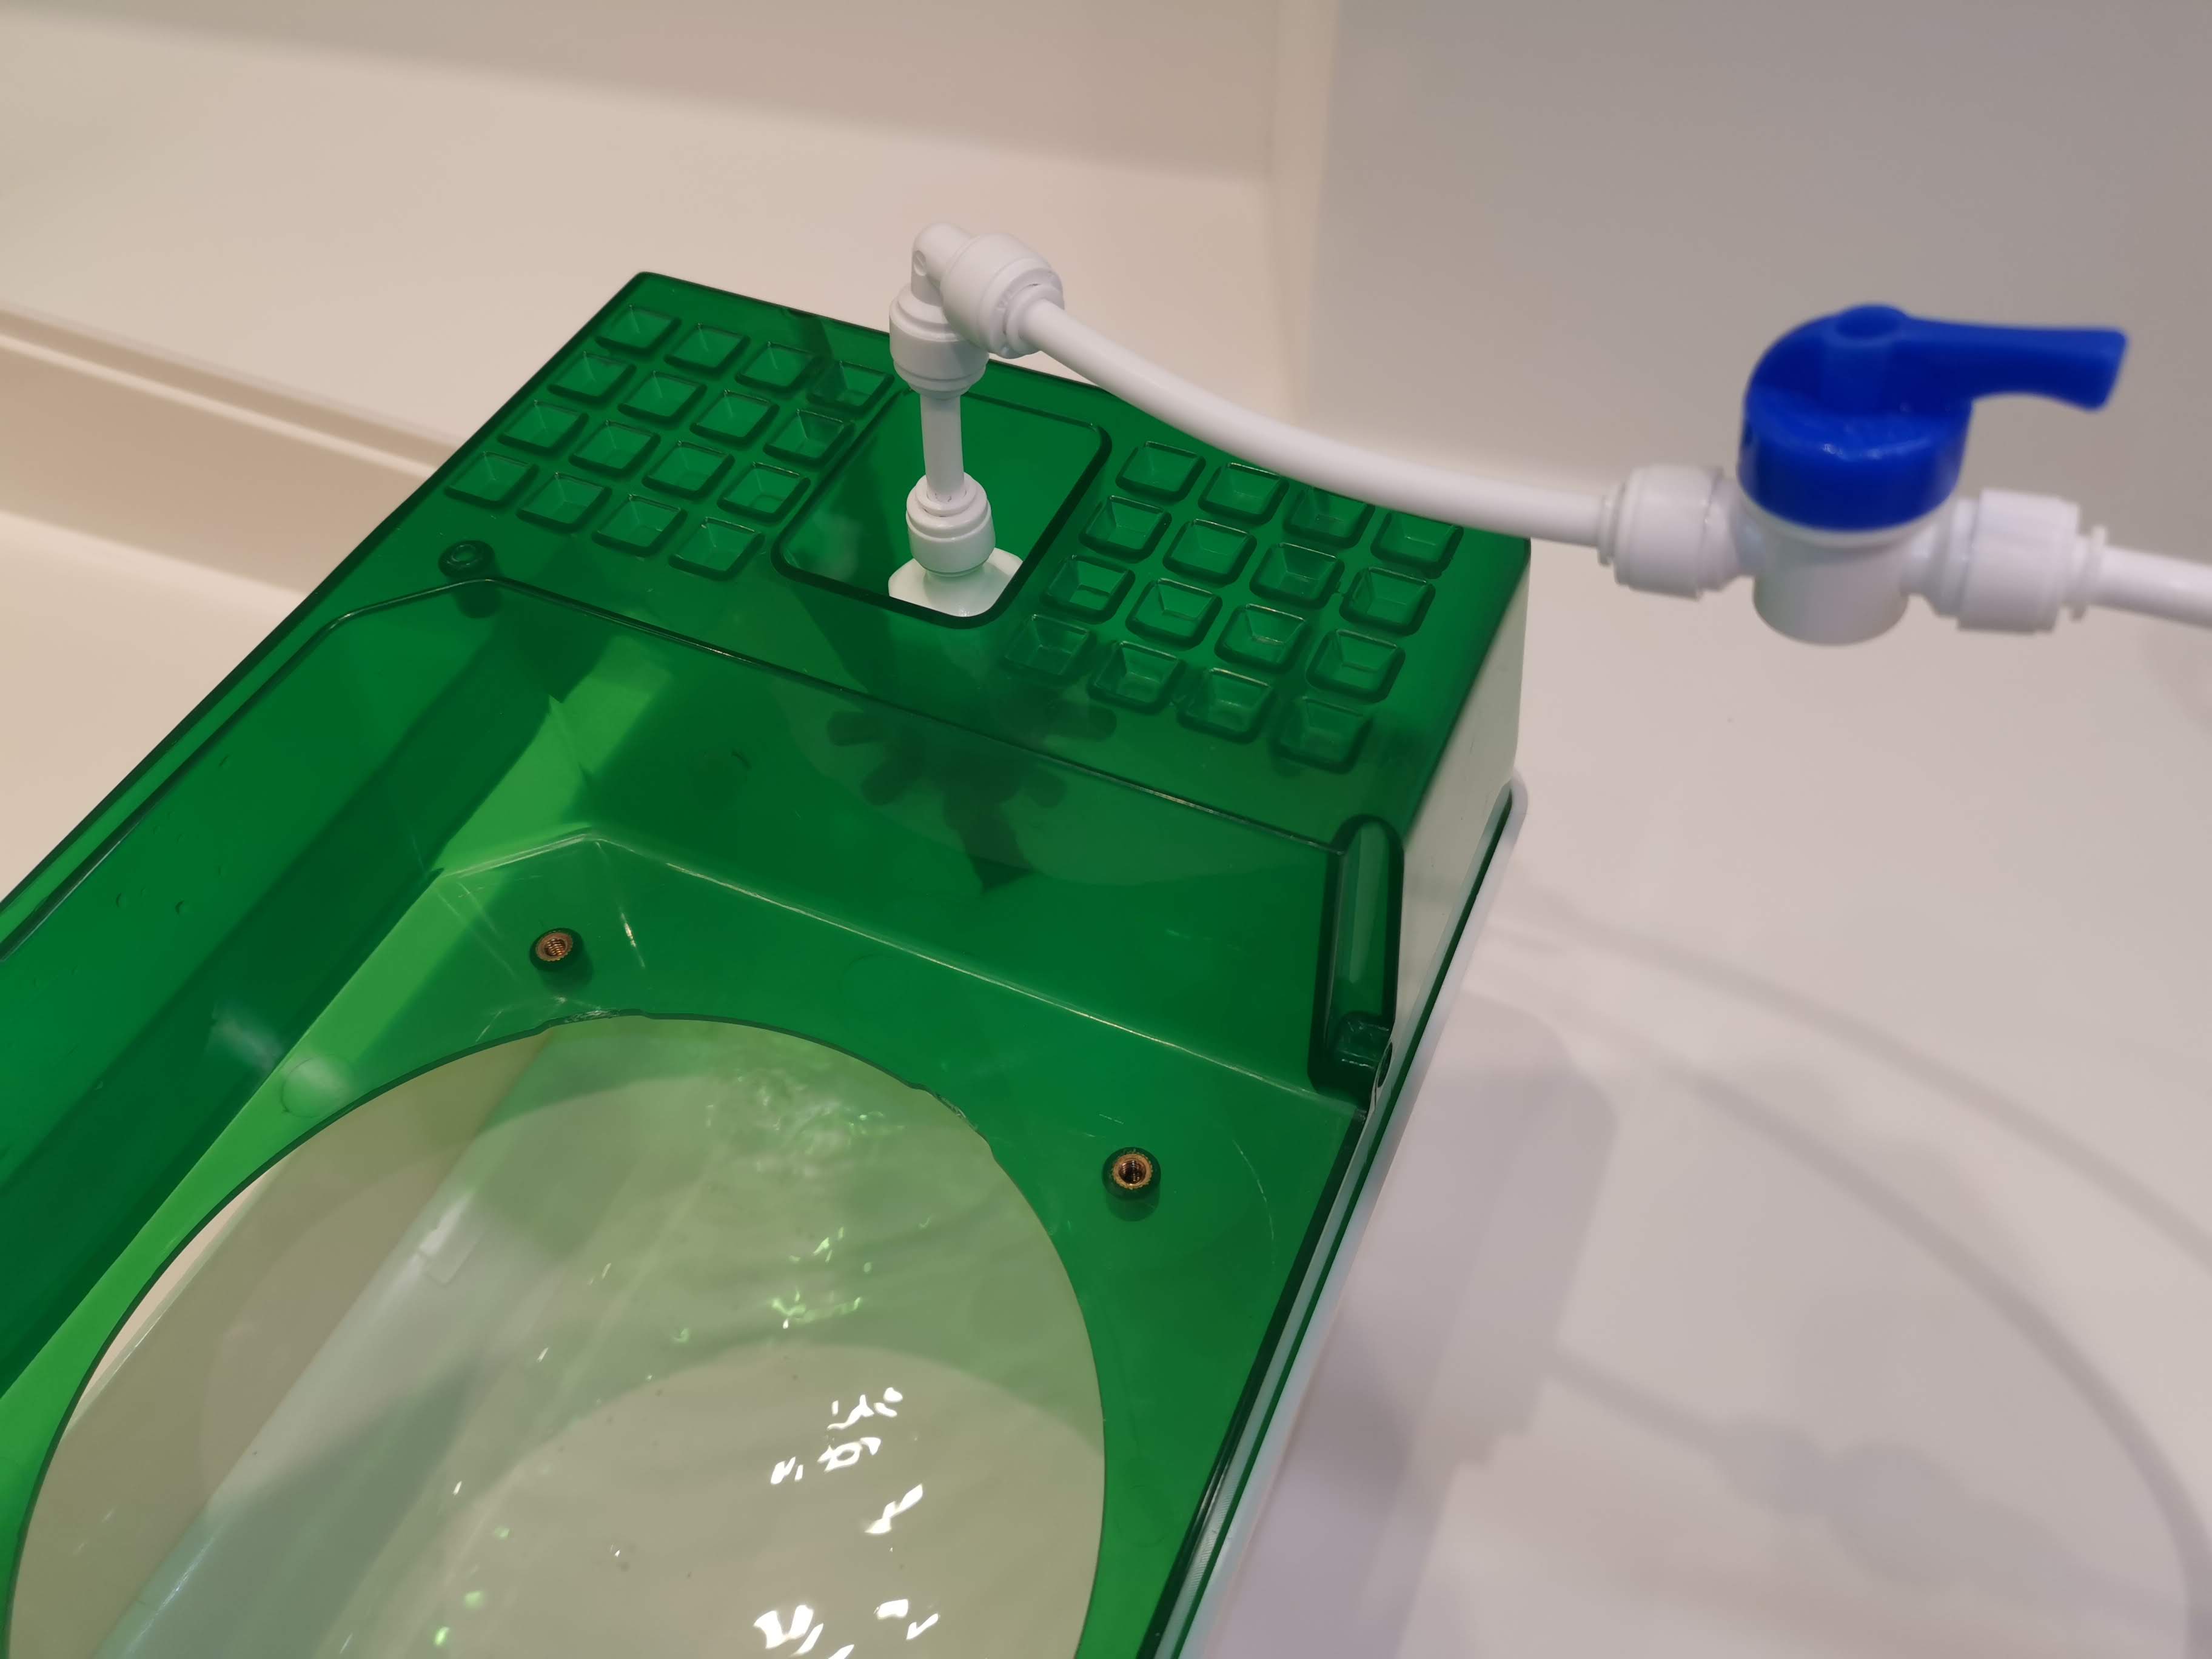
Plumbing kit for EasyGreen EGL sprouter
prusaprinters
<p>In combination with some common plumbing parts, this print allows you to connect your EasyGreen EGL sprouter to your mains water supply so that you don't have to top up the water reservoir by hand. Great for general ease of use, essential if you're going away for a few days. This print makes use of one of the existing water filling holes in the sprouter - so no drilling or other permanent modifications are required!</p> <h3>Print instructions</h3><p><strong>Disclaimer: performing this modification to your sprouter is entirely at your own risk!</strong></p> <p>Note: The photos show an earlier version of the lock nut with excessively long "arms".</p> <p><strong>You will need:</strong></p> <p><a href="https://www.amazon.co.uk/gp/product/B07TXG1BHS">1 x mini float valve with 1/2 inch BSP thread</a><br/> This seems to be a common part sold by various sellers, in single or multiple packs. There's also a photo for reference.</p> <p><a href="https://www.amazon.co.uk/gp/product/B07R38M3MJ">1 x fridge/freezer water filter/ice maker plumbing kit</a><br/> There are a lot of these kits for sale, select according to the length you need, the route your pipe will take, and the kind of mains plumbing fitting you will eventually connect to. Water filters (and reverse osmosis systems) often make use of this 1/4" pipe, so it should be easy to connect to the output of a filter if you wish. The only thing specifically required by this print is some compact plumbing part that can connect on to the 1/2" BSP thread of the float valve. The printed spanner is designed to fit a 1/2" BSP to 1/4" push-fit adapter with a hexagonal body measuring 25mm between flat sides.</p> <p><strong>Printing:</strong></p> <p>Use PLA or PETG (I used Prusament Pearl Mouse PLA). I used a filament which the manufacturer confirmed is ok for food use (even if not formally certified). Have a look at this <a href="https://blog.prusaprinters.org/how-to-make-food-grade-3d-printed-models_40666/">Prusa blog post</a>. Note that the parts will only come into contact with clean water so I just used mine as printed. You might want to sterilize the printed parts and the float valve when cleaning your sprouter (eg, using a room-temperature sterilizing solution like for baby bottles - Milton Sterilising Fluid is the best-known here in the UK).</p> <p>3 perimeters, 15% infill, 0.15 layers for the nut and lock nut, 0.3 layers for the spanner. The included gcode and 3MF file use the relevant layer heights for each part all in one plate.</p> <p><strong>Assembly:</strong></p> <p>The lock nut is the flat part that looks a bit like a cog. The nut is the ring-shaped part. The spanner is the tall tube-like part. It will be easier to install the float valve if you remove the white mist generator unit (as per the standard EasyGreen cleaning procedure).</p> <ol> <li><p>From the float value, remove any rubber washer and lock nut that came with it, then screw on the printed lock nut so that the raised central ring of the lock nut is facing away from the main body of the float valve - this raised ring will centre the lock nut inside the filling hole in the sprouter.</p> </li> <li><p>Decide which of the two filling holes you want to use. Drop the nut into the filling "funnel" - note that the shape of the nut is designed to match the curvy shape of the funnel. The top of the funnel is rectangular (not square), and the nut likewise is slightly longer in one direction than the other. The downward side in the STL/3MF should be upwards when the nut is in place. Adjust the orientation of the nut until it sits snuggly at the bottom of the filling funnel.</p> </li> <li><p>Use the spanner to help hold the nut in place at the bottom of the filling funnel, then screw the float valve in from the under side. Because the nut fits snugly at the bottom of the filling funnel, it won't spin. Be careful not to overtighten and to avoid putting excessive stress on the body of the sprouter.</p> </li> <li><p>Rotate the float valve to a suitable angle so that the float can sit in the water reservoir without getting in the way of the mist generator. Tighten the lock nut towards the nut to lock the float valve at the desired angle. Look at the photos for reference.</p> </li> <li><p>From the top side of the filling funnel, start screwing the push-fit connector onto the thread of the float valve. Use the printed spanner to tighten (not excessively!), holding the body of the float valve to oppose the rotation of the spanner.</p> </li> <li><p>Check that the float value is well clear of the mist generator, and will not block the misting action. Connect to your water supply and check that the water reservoir is kept filled to about 1-2cm above the minimum fill line marked on the outside of the reservoir. Adjust the float value as required.</p> </li> </ol> <p>Bear in mind what will happen if the float valve malfunctions and allows water to flow at full rate. It might be wise to install a flow reducer (or at least a tap that's only just open) so that the waste tube from the sprouter can cope with the worst case continuous overflow.</p>
With this file you will be able to print Plumbing kit for EasyGreen EGL sprouter with your 3D printer. Click on the button and save the file on your computer to work, edit or customize your design. You can also find more 3D designs for printers on Plumbing kit for EasyGreen EGL sprouter.
