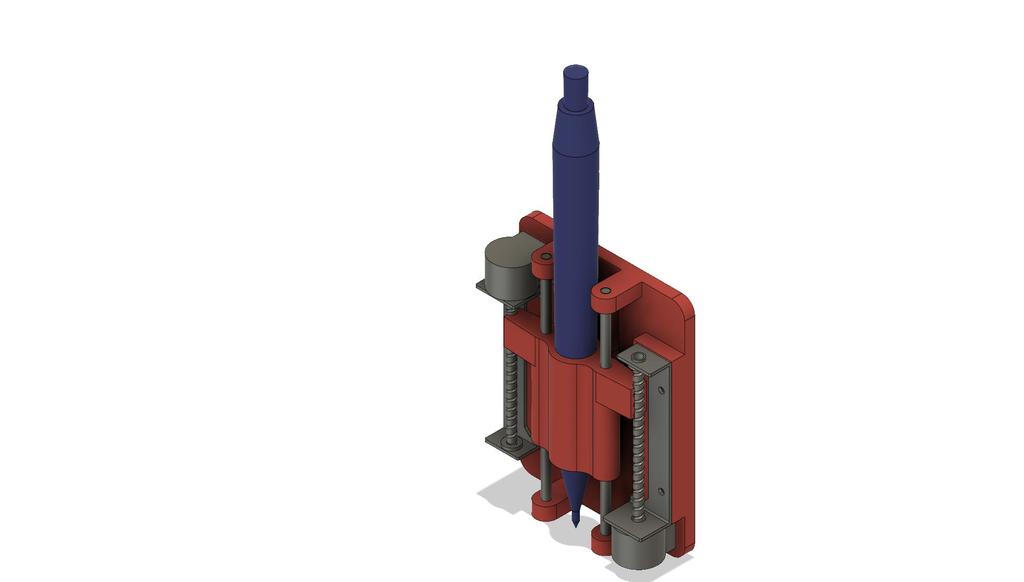
Plotter using CD ROM parts
thingiverse
Toy designed to plot with, built to fit on my DIY CNC but suitable for other designs as well. Using the shafts and steppers from 2 CD/DVD ROMs. Now using it for scribing on copper clad too! Not for those who are faint of heart and will require a little tweaking to set the current and voltage to run properly. The motors can get slightly hot in cases where more torque is required. Gotten many hours of fun from it so far. Apply some wheel bearing grease to the screws but not the shafts! For the pen, used a Retro NEON GEL 0.7mm. You will need to modify it to take the pens you can find. For the pen, removed the spring from the bottom, cut it and inserted it on the other end to give the spring action on the tip that is required. There's a picture for the scribe assembly and if you modify that for a pen, the tip can be rigid. After printing, drill the shaft holes to final size. If you make them too tight, the motors will be too weak to move, and if they're too large, you'll get slop. Same goes for the scribe holder. Use 3x9mm self-tappers to mount the motors. For the scribe tool, cut a cheap PH2 screwdriver and sharpen it with a flat angle, not too pointy! Watch https://www.youtube.com/watch?v=2aON79la6uY and https://www.youtube.com/watch?v=FoKRPYA8hOo for more information. Don't like making videos and frankly, I'm not very good at it. Yes, the toolpath is terrible - it's the Inkscape GCode plugin, not me!
With this file you will be able to print Plotter using CD ROM parts with your 3D printer. Click on the button and save the file on your computer to work, edit or customize your design. You can also find more 3D designs for printers on Plotter using CD ROM parts.
