Plotclock
thingiverse
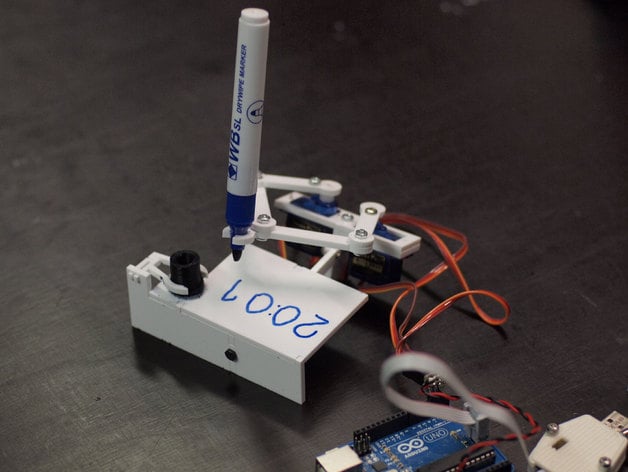
A plot clock that visualizes time through drawing is designed with DIY fabrication in mind. Materials required include a laser cutter or 3D printer, an Arduino, three servos, a dry wipe pen, M3 nuts, bolts, and a thread tap. The latest version (1.01) incorporates a calibration routine and updated documentation for the Arduino code. Building instructions can be found on Fablab Nuremberg's wiki page in German or through YouTube tutorials. Note that the builder is not affiliated with any online kits for purchase. To build, materials such as an Arduino Uno, Tower Pro 9g servos, a WB SL DRYWIPE MARKER, and a custom servo adapter are used. Laser-cut the plotclock_beta1.pdf from 3mm material or 3D print the plotclock_SUP7.skp file. Engrave black areas on servo arms to allow the servohorns to settle in. Use STL files from Thingiverse for 3D printing if needed. Assemble the clock's arms with M3 screws, adjusting counternuts for smooth movement. Load the Arduino sketch plotclock_V1 after installing the 'time' library. Attach servos to digital pins 2, 3, and 4 according to the sketch. Assemble the remaining parts, ensuring enough space for the pen to move freely during calibration. Adjust SERVOFAKTOR, SERVOLEFTNULL, and SERVORIGHTNULL values until the clock functions correctly. Finally, attach the pen and sweeper holder. This description is still a work in progress; feel free to leave comments for further clarification.
With this file you will be able to print Plotclock with your 3D printer. Click on the button and save the file on your computer to work, edit or customize your design. You can also find more 3D designs for printers on Plotclock.
