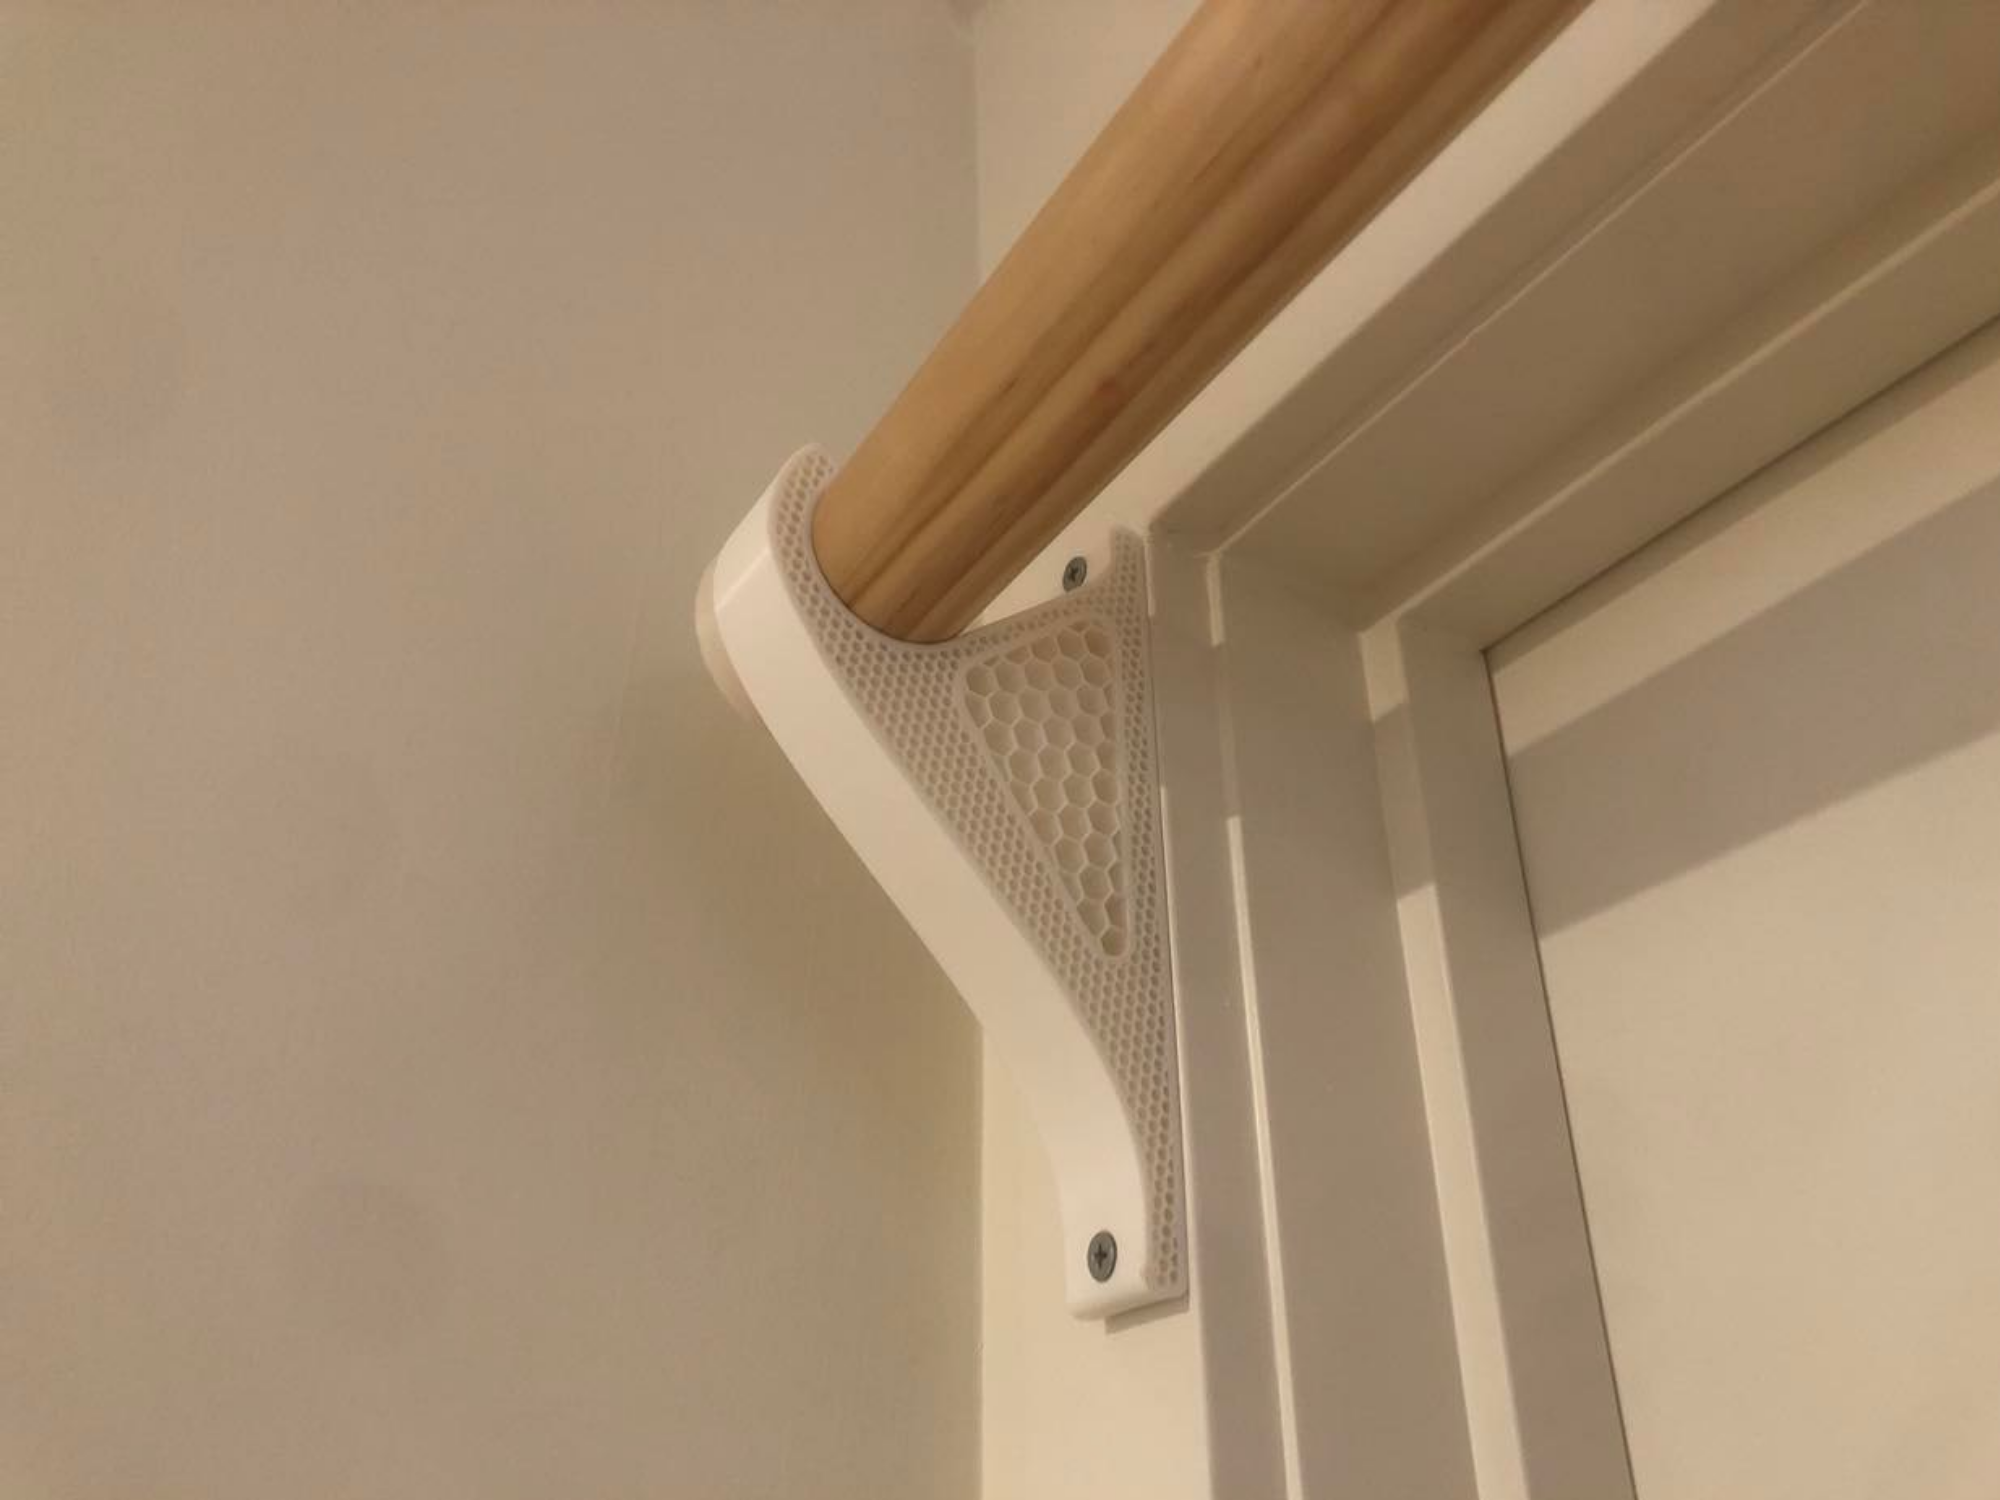
Pleasant Permanent Pullup Bar
prusaprinters
<p><strong>Requires:</strong></p><ol><li>One 42mm diameter pine dowel(length to preference). </li><li>Two 3D printed wall brackets.</li><li>Two 3D printed pole endcaps.</li><li>Six 10g 45mm, self-embedding timber screws.</li></ol><p> </p><p><strong>Installation:</strong></p><ol><li>Brackets:<ol><li>Pre-drill timber screws through PLA slowly to help prevent cracking.</li><li>When the screw tip is exposed through the bracket hole, align to desired position and screw through.</li><li>Install one bracket, then use tape or laser level to mark out position of second.</li></ol></li><li>Pole:<ol><li>Buy pole so oversized in length.</li><li>Screw in one endcap.</li><li>Place pole in position, then measure and cut required length, leaving 5mm for second endcap.</li><li>Install endcap. Add small strips of cardboard underneath endcap if accidentally cut undersize (no one will ever know!)</li></ol></li><li>Assembly:<ol><li>Bar should fit into place.</li></ol></li></ol><p><strong>Printing:</strong></p><p>See 3MF for my settings, both brackets holding 80kg in my case without flexing. PLA was used due to not having a heated chamber. Using PETG or ASA will improve impact toughness and crack resistance during installation.</p><p><strong>Failure mechanism:</strong></p><p>First point of failure is the bracket screw holes, which will crack vertically due to print position if overstressed from too-large screws during installation. However, the brackets still supported 80kg in my case, making them "fail-safe" - you'll probably see any cracks before the bracket completely gives out. Use common sense to avoid injury, listed weights are specific to my installation and should be tested before using.</p><p> </p>
With this file you will be able to print Pleasant Permanent Pullup Bar with your 3D printer. Click on the button and save the file on your computer to work, edit or customize your design. You can also find more 3D designs for printers on Pleasant Permanent Pullup Bar.
