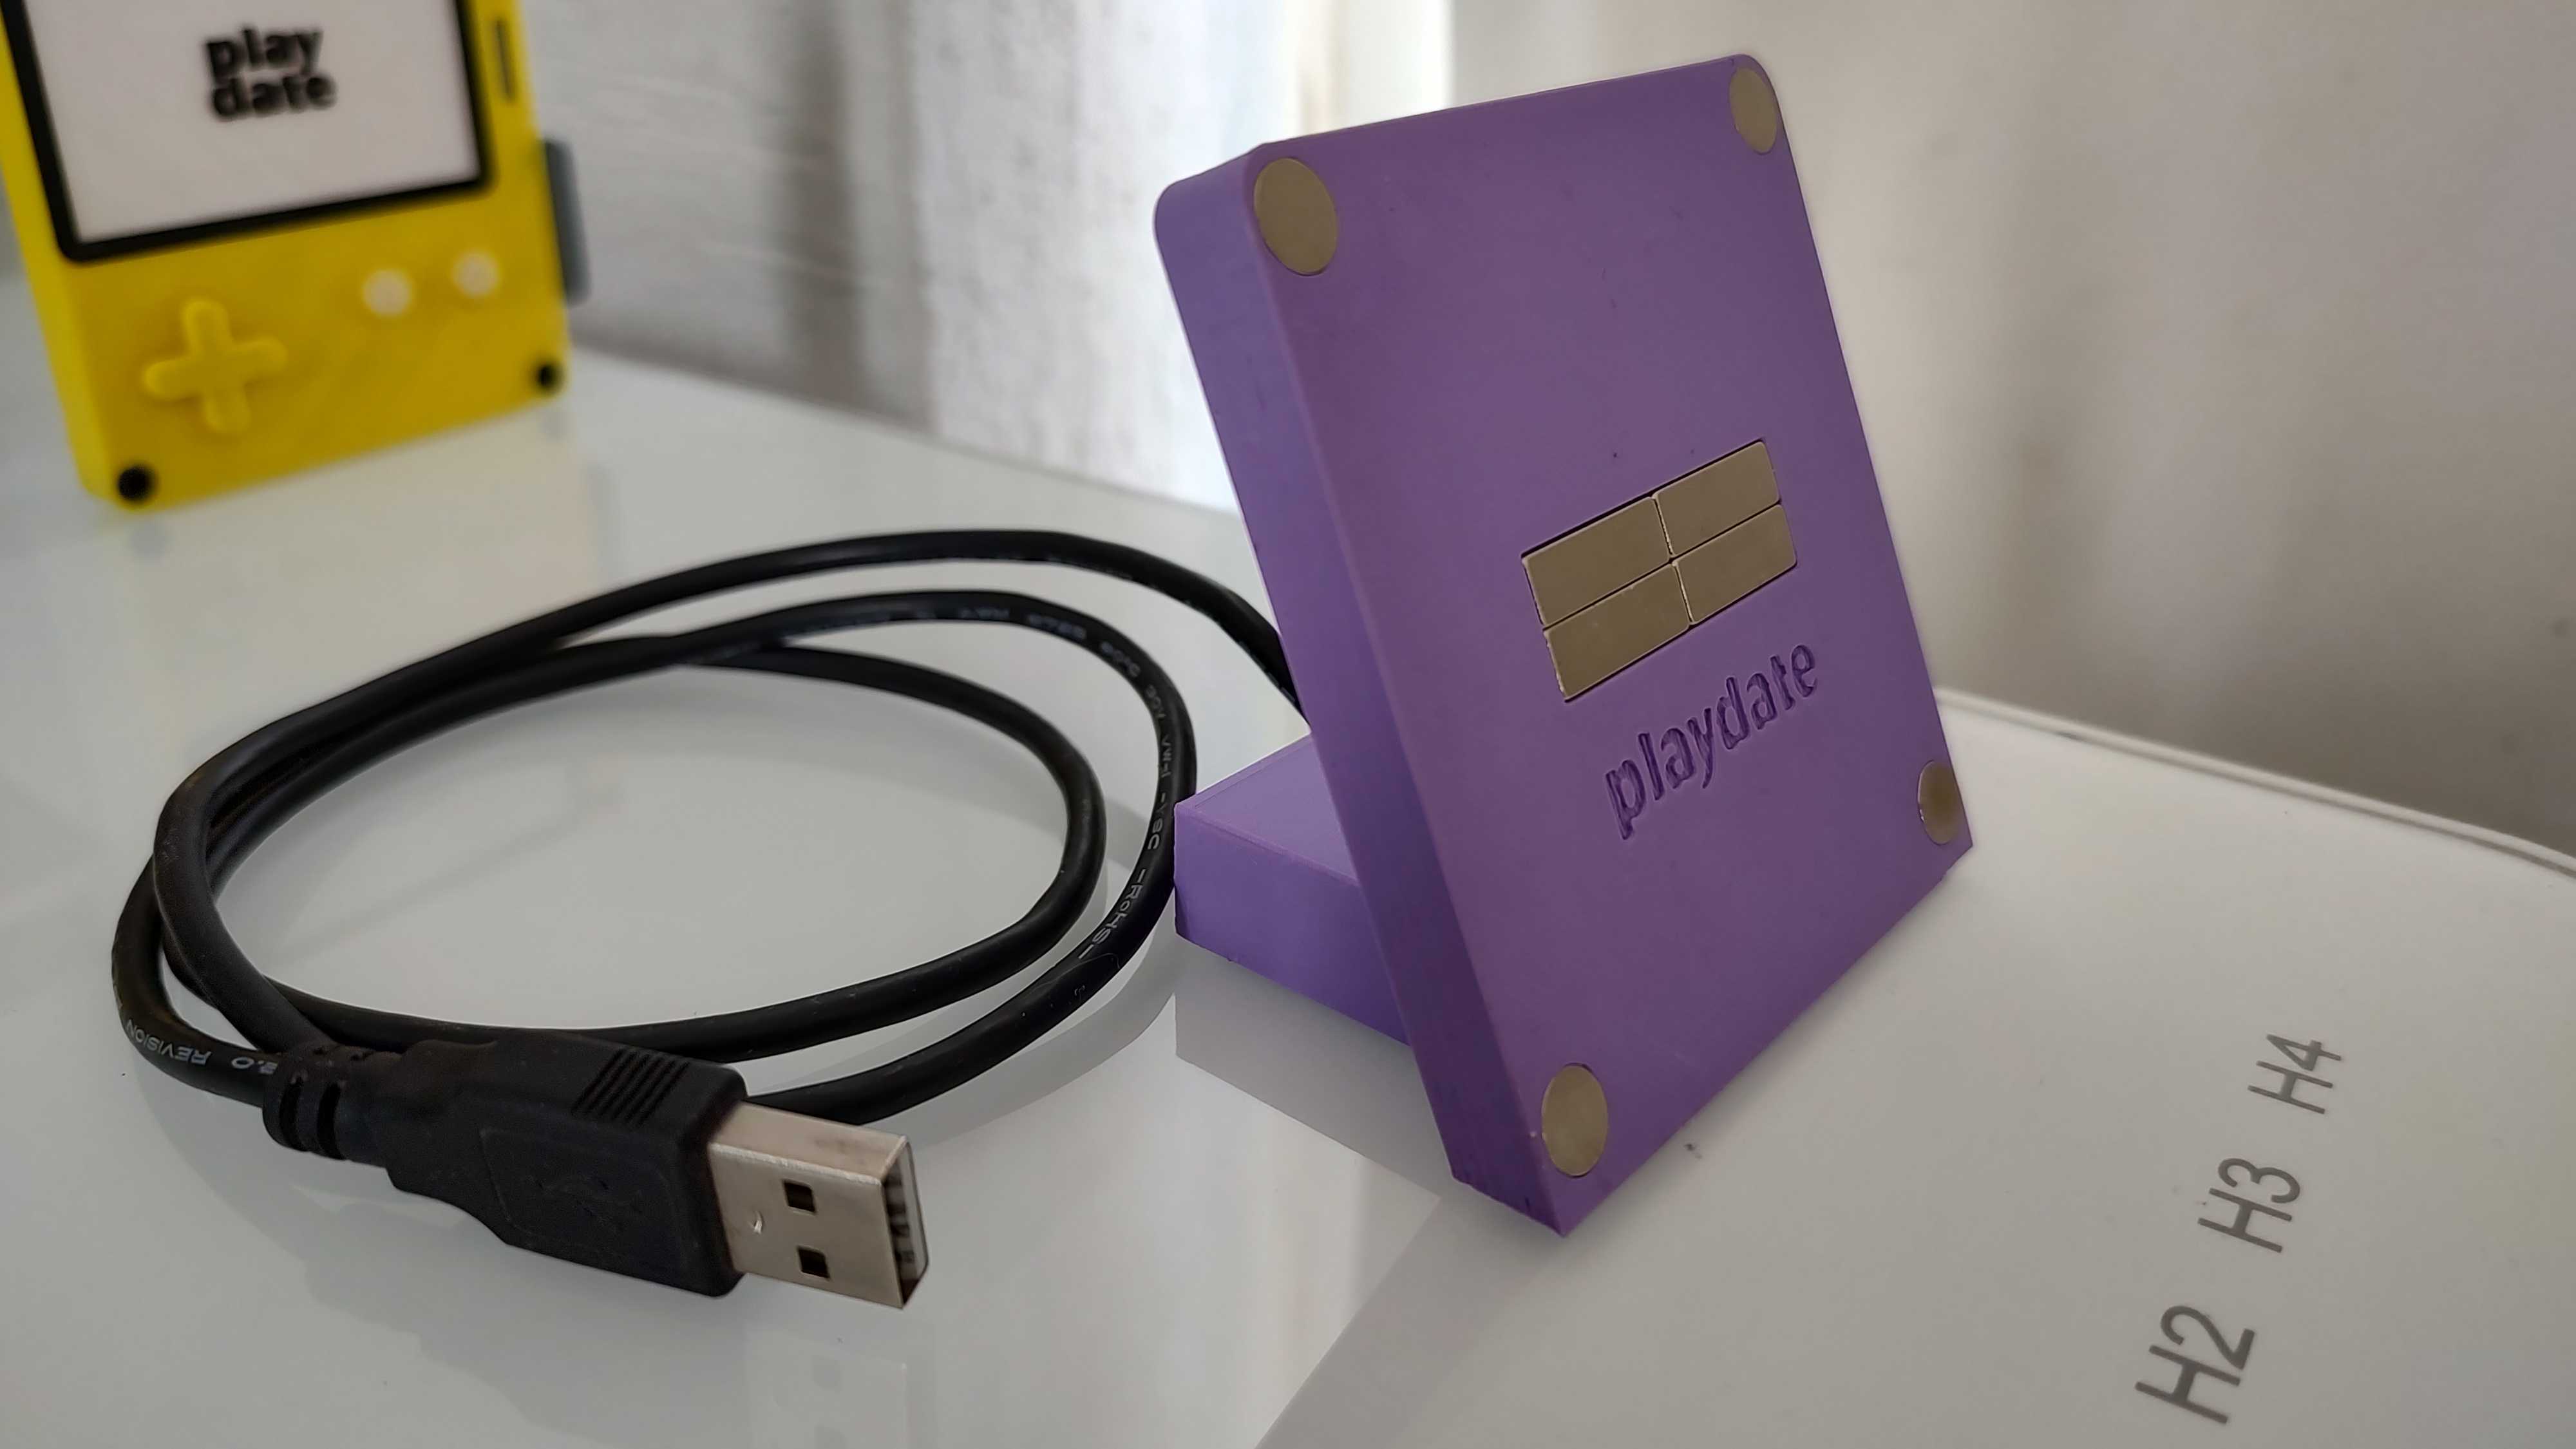
Playdate magnetic charging stand
prusaprinters
<p>A magnetic charging stand for the <a href="https://play.date/">Playdate</a>.</p><p>It uses eight round 8mm x 1.5mm neodymium magnets for the corners (two for each) and four rectangular 5.75mm x 19mm x 1.75mm for the center.</p><p>The magnets are connected to a standard 5v USB 2.0 charging cable (red goes to the top magnet and black goes to the bottom magnet). Then use the provided cable caps (cylinders) to firmly press the cables onto their place.</p><p>To complete the setup, wrap the USB cable around the center “roundabout” piece and guide it through the bottom opening. Finally close the stand by pressing the back cover onto it (snap-on). </p><p>The stand can be printed without supports but you need to add stops at layer 10 (to add the center magnets) and 16 (to add the corner magnets). Otherwise add supports for the corner and center holes.</p><p>The base of the stand is hollow so that you can add a stop at layer 183 to add pennies/sand/gravel to add weight to the stand.</p><p>Apart from the Playdate console, it can also be used for:</p><ul><li><a href="https://www.printables.com/model/217728-playdate-dummy-with-moveable-crank">Playdate dummy</a></li><li><a href="https://www.printables.com/model/217764-crankpad-a-controller-for-the-playdate-simulator">Crankpad for the Playdate Simulator</a></li></ul><p>Printed with PolyTerra Lavender Purple PLA.</p>
With this file you will be able to print Playdate magnetic charging stand with your 3D printer. Click on the button and save the file on your computer to work, edit or customize your design. You can also find more 3D designs for printers on Playdate magnetic charging stand.
