PLATINE RAMPS+CONTROLEURS pour SMARTCUB3D
thingiverse
SmartCub3D Tutorial for SmartCub3D Print Settings with Fan Control and LED Light Upgrade. **Upgrade Instructions** 1. Download and install the latest version of the SmartCub3D firmware from our website. 2. Connect your printer to a computer using a USB cable. 3. Open the SmartCub3D configuration software on your computer. 4. Select the "Print Settings" tab and click on the "Printer" dropdown menu. 5. Choose the "SmartCub3D" option from the list. **SmartCub3D Print Settings** * **Raft**: Disabled * **Supports**: Disabled * **Resolution**: 300 dpi * **Infill Density**: 20% **Additional Features** * Fan control: Enabled (you can adjust fan speed and temperature in the "Print Settings" tab) * LED light upgrade: Enabled (you can customize LED color and brightness in the "Print Settings" tab) Note: Make sure to update your printer's firmware before installing any upgrades.
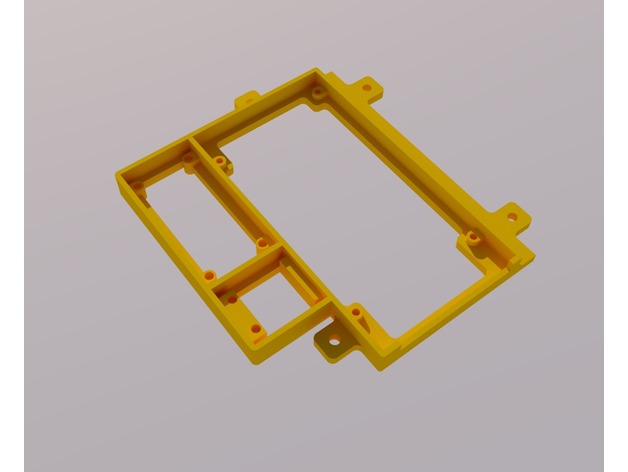
With this file you will be able to print PLATINE RAMPS+CONTROLEURS pour SMARTCUB3D with your 3D printer. Click on the button and save the file on your computer to work, edit or customize your design. You can also find more 3D designs for printers on PLATINE RAMPS+CONTROLEURS pour SMARTCUB3D.