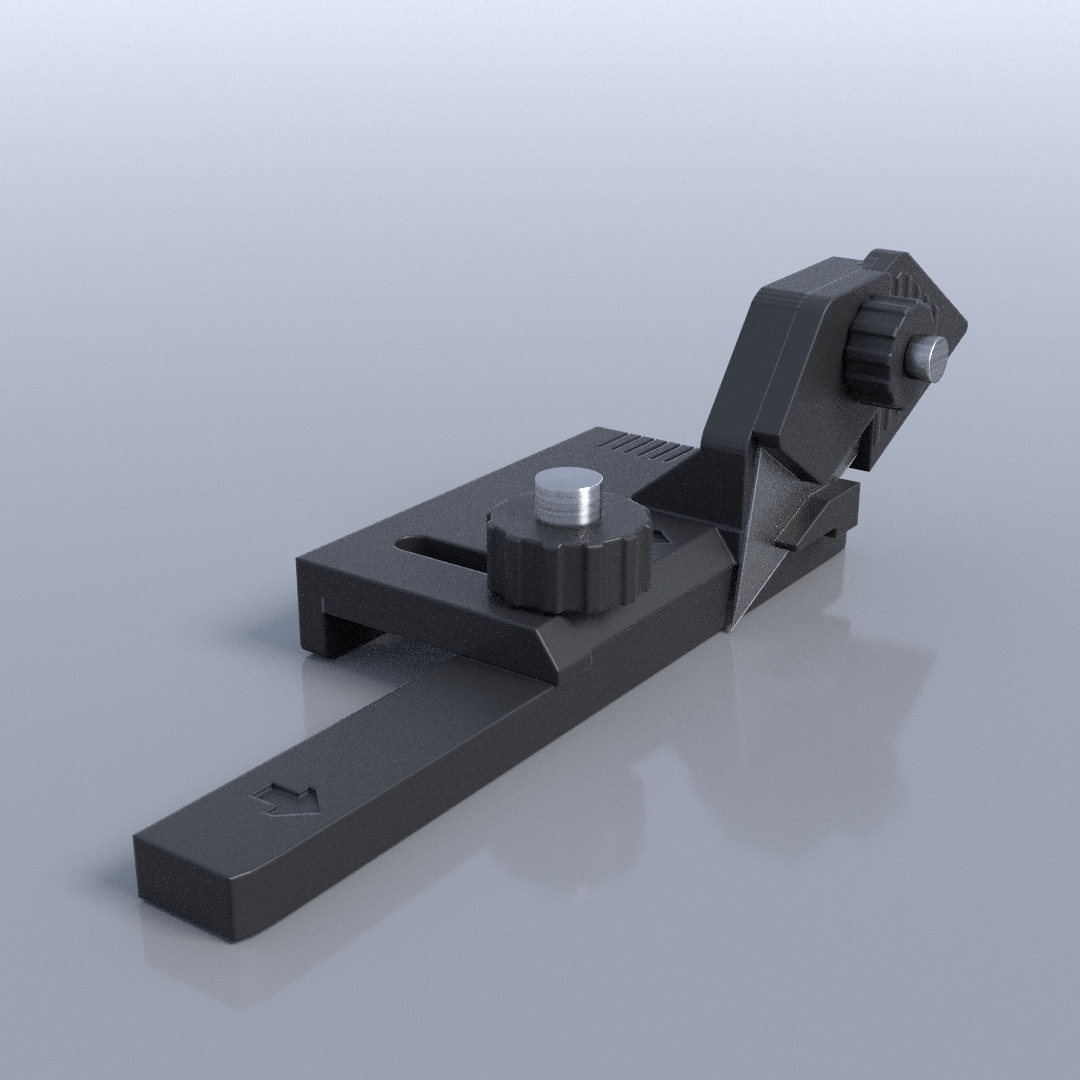
Plasticard Strip Cutter
prusaprinters
<p><strong>Plasticard Strip Cutter</strong></p><p> </p><p>Filament: PLA<br>Layer height: 0.15 mm<br>Infill: 15%<br>Supports under the block and under all nut gaps on the print plate<br>Brim only required around the blade_cover</p><p>By the way the 5H 48m time quoted above is for all the files. You only need the left or right versions (plus the others) so the whole thing should print in about 2H 54m or so.</p><p>The 3mf files are ready to print with appropriate supports and brim.</p><p>There files, suitably named, for right and left handed versions.</p><p> </p><p>NON-PRINTED PARTS REQUIRED:</p><p>1 x M4 x 18mm hex-indented* bolt<br>1 x M3 x 16mm hex-indented* bolt<br>1 x M3 washer<br>2 x M3 nuts<br>2 x M4 nuts</p><p>* Hex-indented = round headed for a hex (Allen) key</p><p>Blade (Stanley-compatible)</p><p> </p><p>INTRO:</p><p>Some years ago I invested quite a few pounds in a plastic sheet cutter that consisted of an MDF baseboard (about 150 mm x 290 mm) with an aluminium bar and aluminium sheet with multiple thumbscrews that had to be repeatedly tightened and released for every strip I cut. Extracting narrow strips from the device was awkward and took time. Each strip, in fact, took over a minute to produce and after only a few my fingers and thumbs were sore from the constant tightening and loosening of the tiny metal thumbscrews. To top it all, about a third of the strips were either of inconsistent widths or not the same as the others. It would also only cut lengths up to 200 mm.</p><p>(If you’re curious as to what I’m talking about you can find it at https://nwsl.com/products/the-duplicutter-ii)</p><p>There had to be a quicker, more agronomical and pain free alternative…</p><p>All hail the 3D printer!</p><p>Here it is. It takes up no real space, it’s safe (if used as described below), it’s hassle-free, it’s quick and it produces identical widths every time with a zero fail-rate. And it cuts strips as long as your card stock.</p><p> </p><p> </p><p>ASSEMBLY:</p><p>Lightly hammer the M4 nuts into parts block and 4m_thumbscrew and the M3 nuts into the blade_support and the smaller 3m_thumbscrew.</p><p>Lightly tap the locater bar under blade_support into the slot on the top of the slider.</p><p>Screw the M3 bolt through the 3m_thumbscrew and tighten. The head of the bolt should be against the thumbscrew. Thread the 3m_thumbscrew through the clamp ensuring the flat side of the clamp is against the thumbscrew (there’s a recess for the blade) and through the slot in the blade_support. Then drop on the M3 washer and screw on the M3 nut.</p><p>Screw the M4 bolt through the 4m_thumbscrew and tighten. The head of the bolt should be against the M4 nut. Slot the slider/blade_support assembly onto the block and insert the 4m_thumbscrews’ bolt into the M4 nut under the block.</p><p>Loosen the small thumbscrew at the clamp and slide in the blade so the blades’ lower notch engages with the bolt of the thumbscrew with the edge of the blade in the notch below (see pics).</p><p>Tighten the small thumbscrew firmly.</p><p>Push the blade cover onto the upper part of the blade for safety – ALWAYS USE THE BLADE COVER.</p><p> </p><p>USAGE:</p><p>After inserting a new blade, adjust the depth cut between the blade and the block and tighten the large thumbscrew firmly.</p><p>Line up the block with the edge of the plasticard sheet so the blade is at the very edge of the sheet.</p><p>Holding the plasticard sheet firmly down against the work surface, push the cutter across the sheet with your forefinger pressing against the top back corner of the blade support, scoring once or twice according to how thick the sheet is (once for 10 or 20 thou’ plastic and 2 or more times for thicker stock).</p><p>Bend the sheet at the score until it separates from the sheet.</p><p>Don’t cut all the way through the sheet in one cut or it will curl.</p><p>Repeat for precise strips of plasticard. </p><p>Obviously, you could use this to cut paper or light card (or maybe even 2 mm board with multiple cuts).</p><p> </p><p> </p><p>Regards, Paul</p>
With this file you will be able to print Plasticard Strip Cutter with your 3D printer. Click on the button and save the file on your computer to work, edit or customize your design. You can also find more 3D designs for printers on Plasticard Strip Cutter.
