Plantronics Gamecom 380 headband
thingiverse
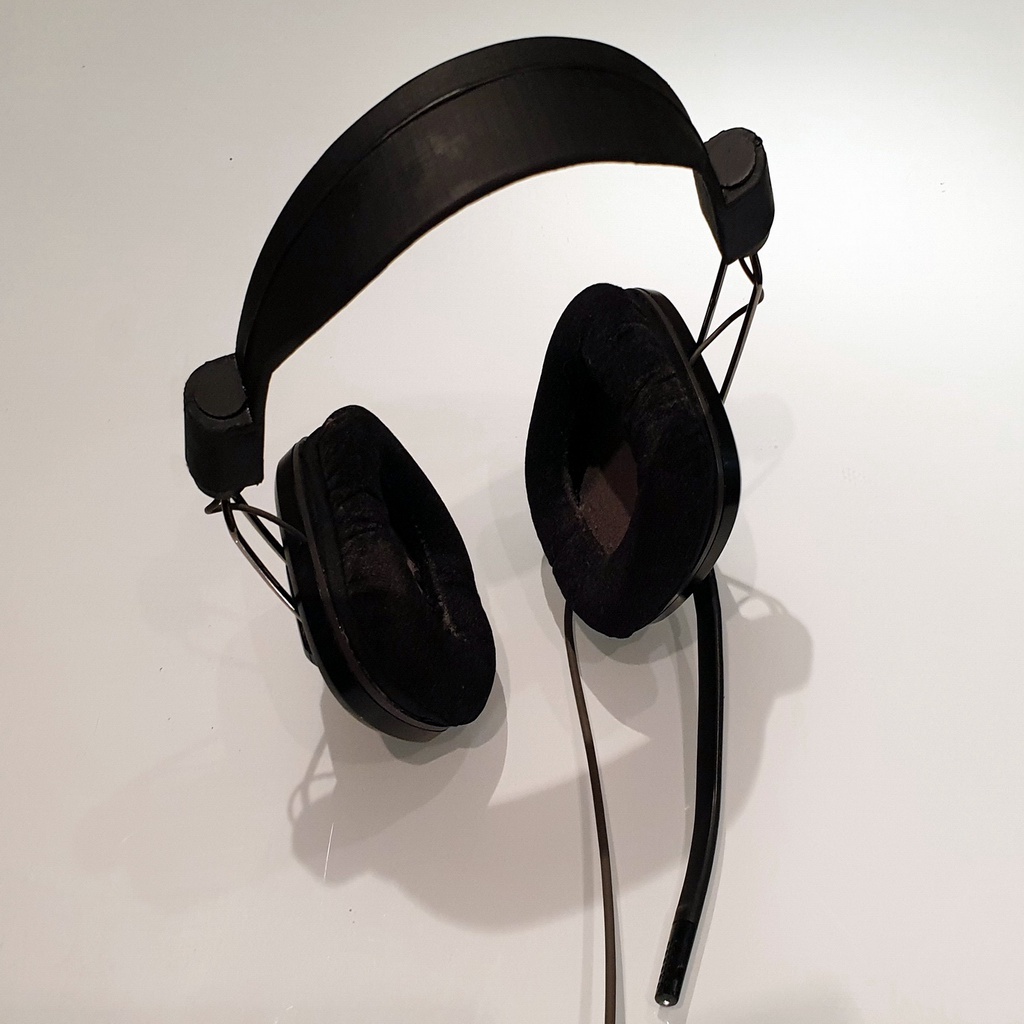
Plantronics Gamecom 380 Headband Replacement. This simple process requires no wire soldering or headset disassembly, making it easy to replace the headband. * Use a knife to carefully remove the top stubs from the broken headband. * Remove two screws and disassemble the joints to access the wires. * Break apart the leftover joint material with nippers to free the wires completely. * Guide the inter-headphone wire through the new headband's cutouts. * Mount the headphones in the joints and secure them with screws. * Apply glue to the top of the headband, securing the wire in its channel. * Glue the cap and fillers into place in the cutout to strengthen the joints. For optimal results, use a non-brittle filament like PLA or PETG. Feel free to access SketchUp sources if needed for assistance.
With this file you will be able to print Plantronics Gamecom 380 headband with your 3D printer. Click on the button and save the file on your computer to work, edit or customize your design. You can also find more 3D designs for printers on Plantronics Gamecom 380 headband.