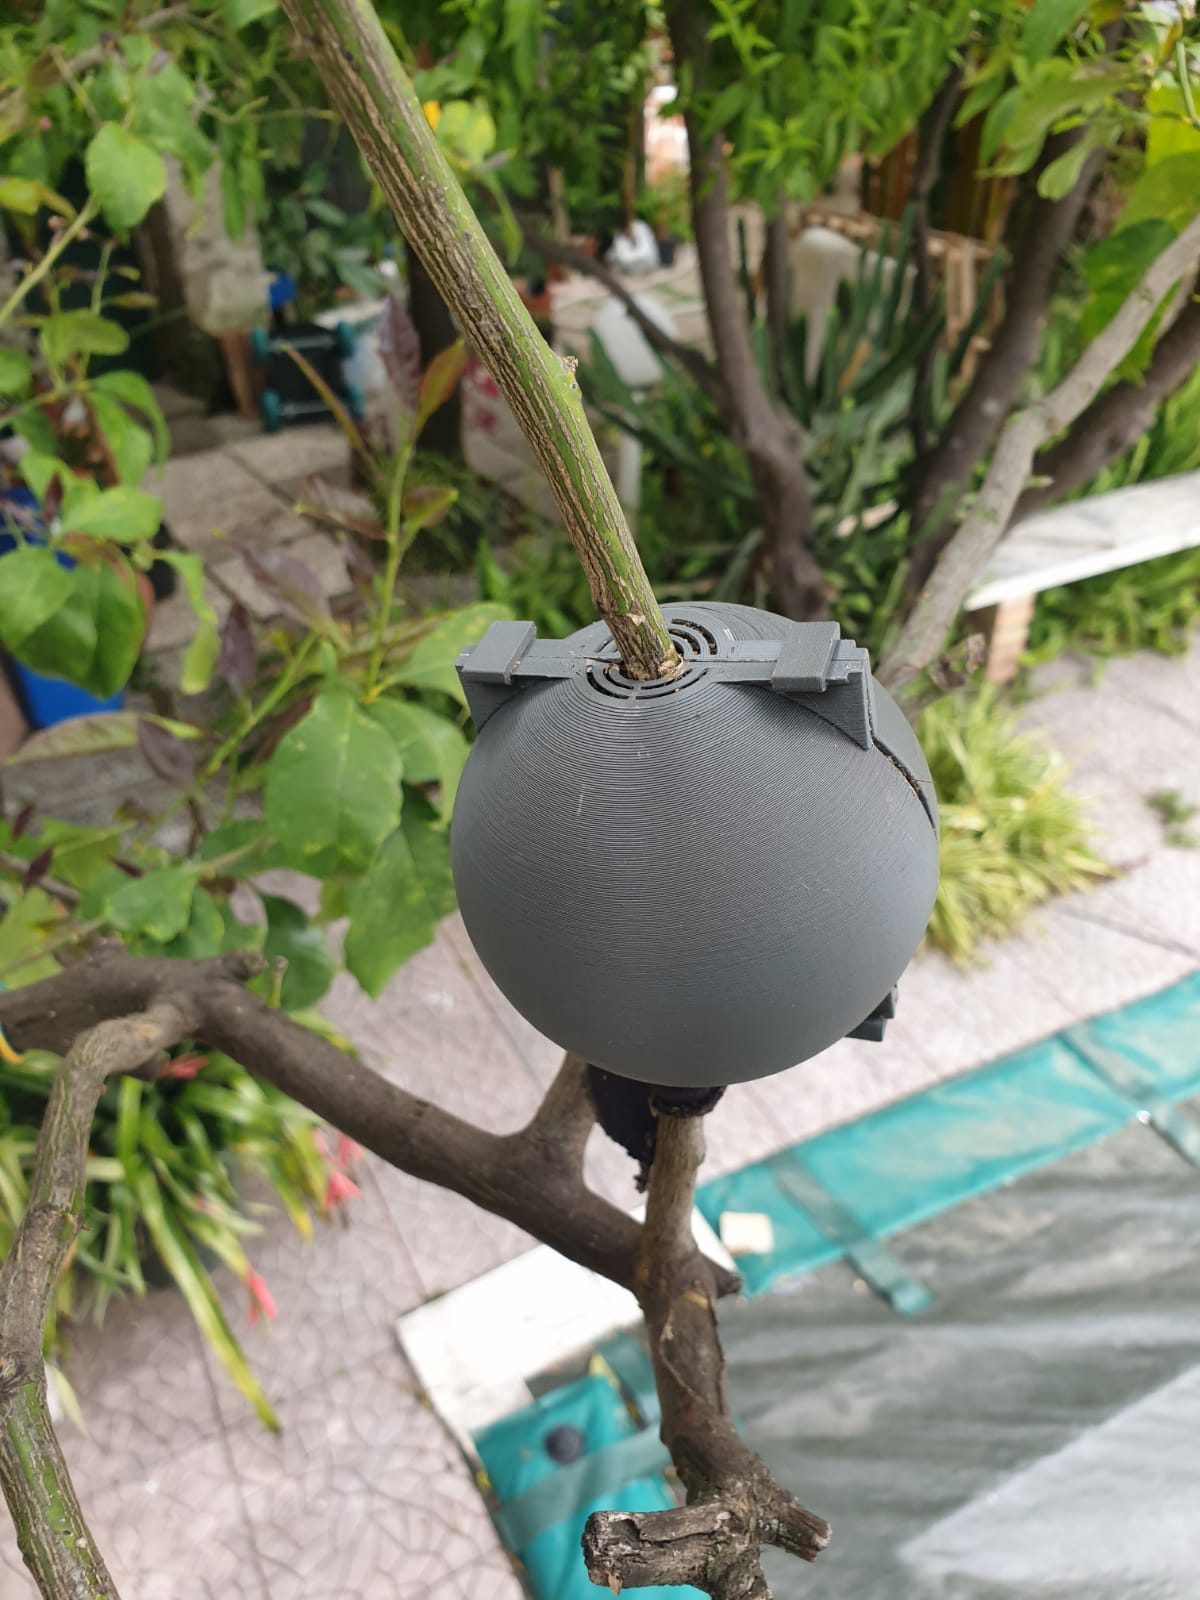
Plant Rooting Ball
prusaprinters
<p>Rafts are needed for the pig pieces. I printed it without supports, the top part did not look to nice (esp. from the inside), but in the end it is on a plant and partially removed… If you want it to look nice, use supports for the grid.</p><p>The ball works for branches up to 20mm, segments of the grid can be removed as needed.</p><p>PlantRootingBall_2x has to be printed 2x,<br>PlantRootingBall_Clamps_4x has to be printed 4x</p><p>Resolution 0.2mm, Material PLA</p><p>How to use:</p><ul><li>Remove some of the grid so that the branch fits into the hole</li><li>Remove 1.5-2.5 cm of peel of the branch</li><li>Fill both halfes with moist soil</li><li>put the halfes around the branch and close them with the clamps</li><li>check every now and then if you have to add water</li><li>After 1-2 month the roots should be visible and the branch can be cut and planted into a pot or the ground</li></ul><p>Done.</p><p> </p><p>I added a new version, hopefully it helps that the clamps can be put easier.</p><p>The clamps are that tight, so that they hold independent what happens. When I printed them I used a sharp knife to create a little bevel on the clamps.</p>
With this file you will be able to print Plant Rooting Ball with your 3D printer. Click on the button and save the file on your computer to work, edit or customize your design. You can also find more 3D designs for printers on Plant Rooting Ball.
