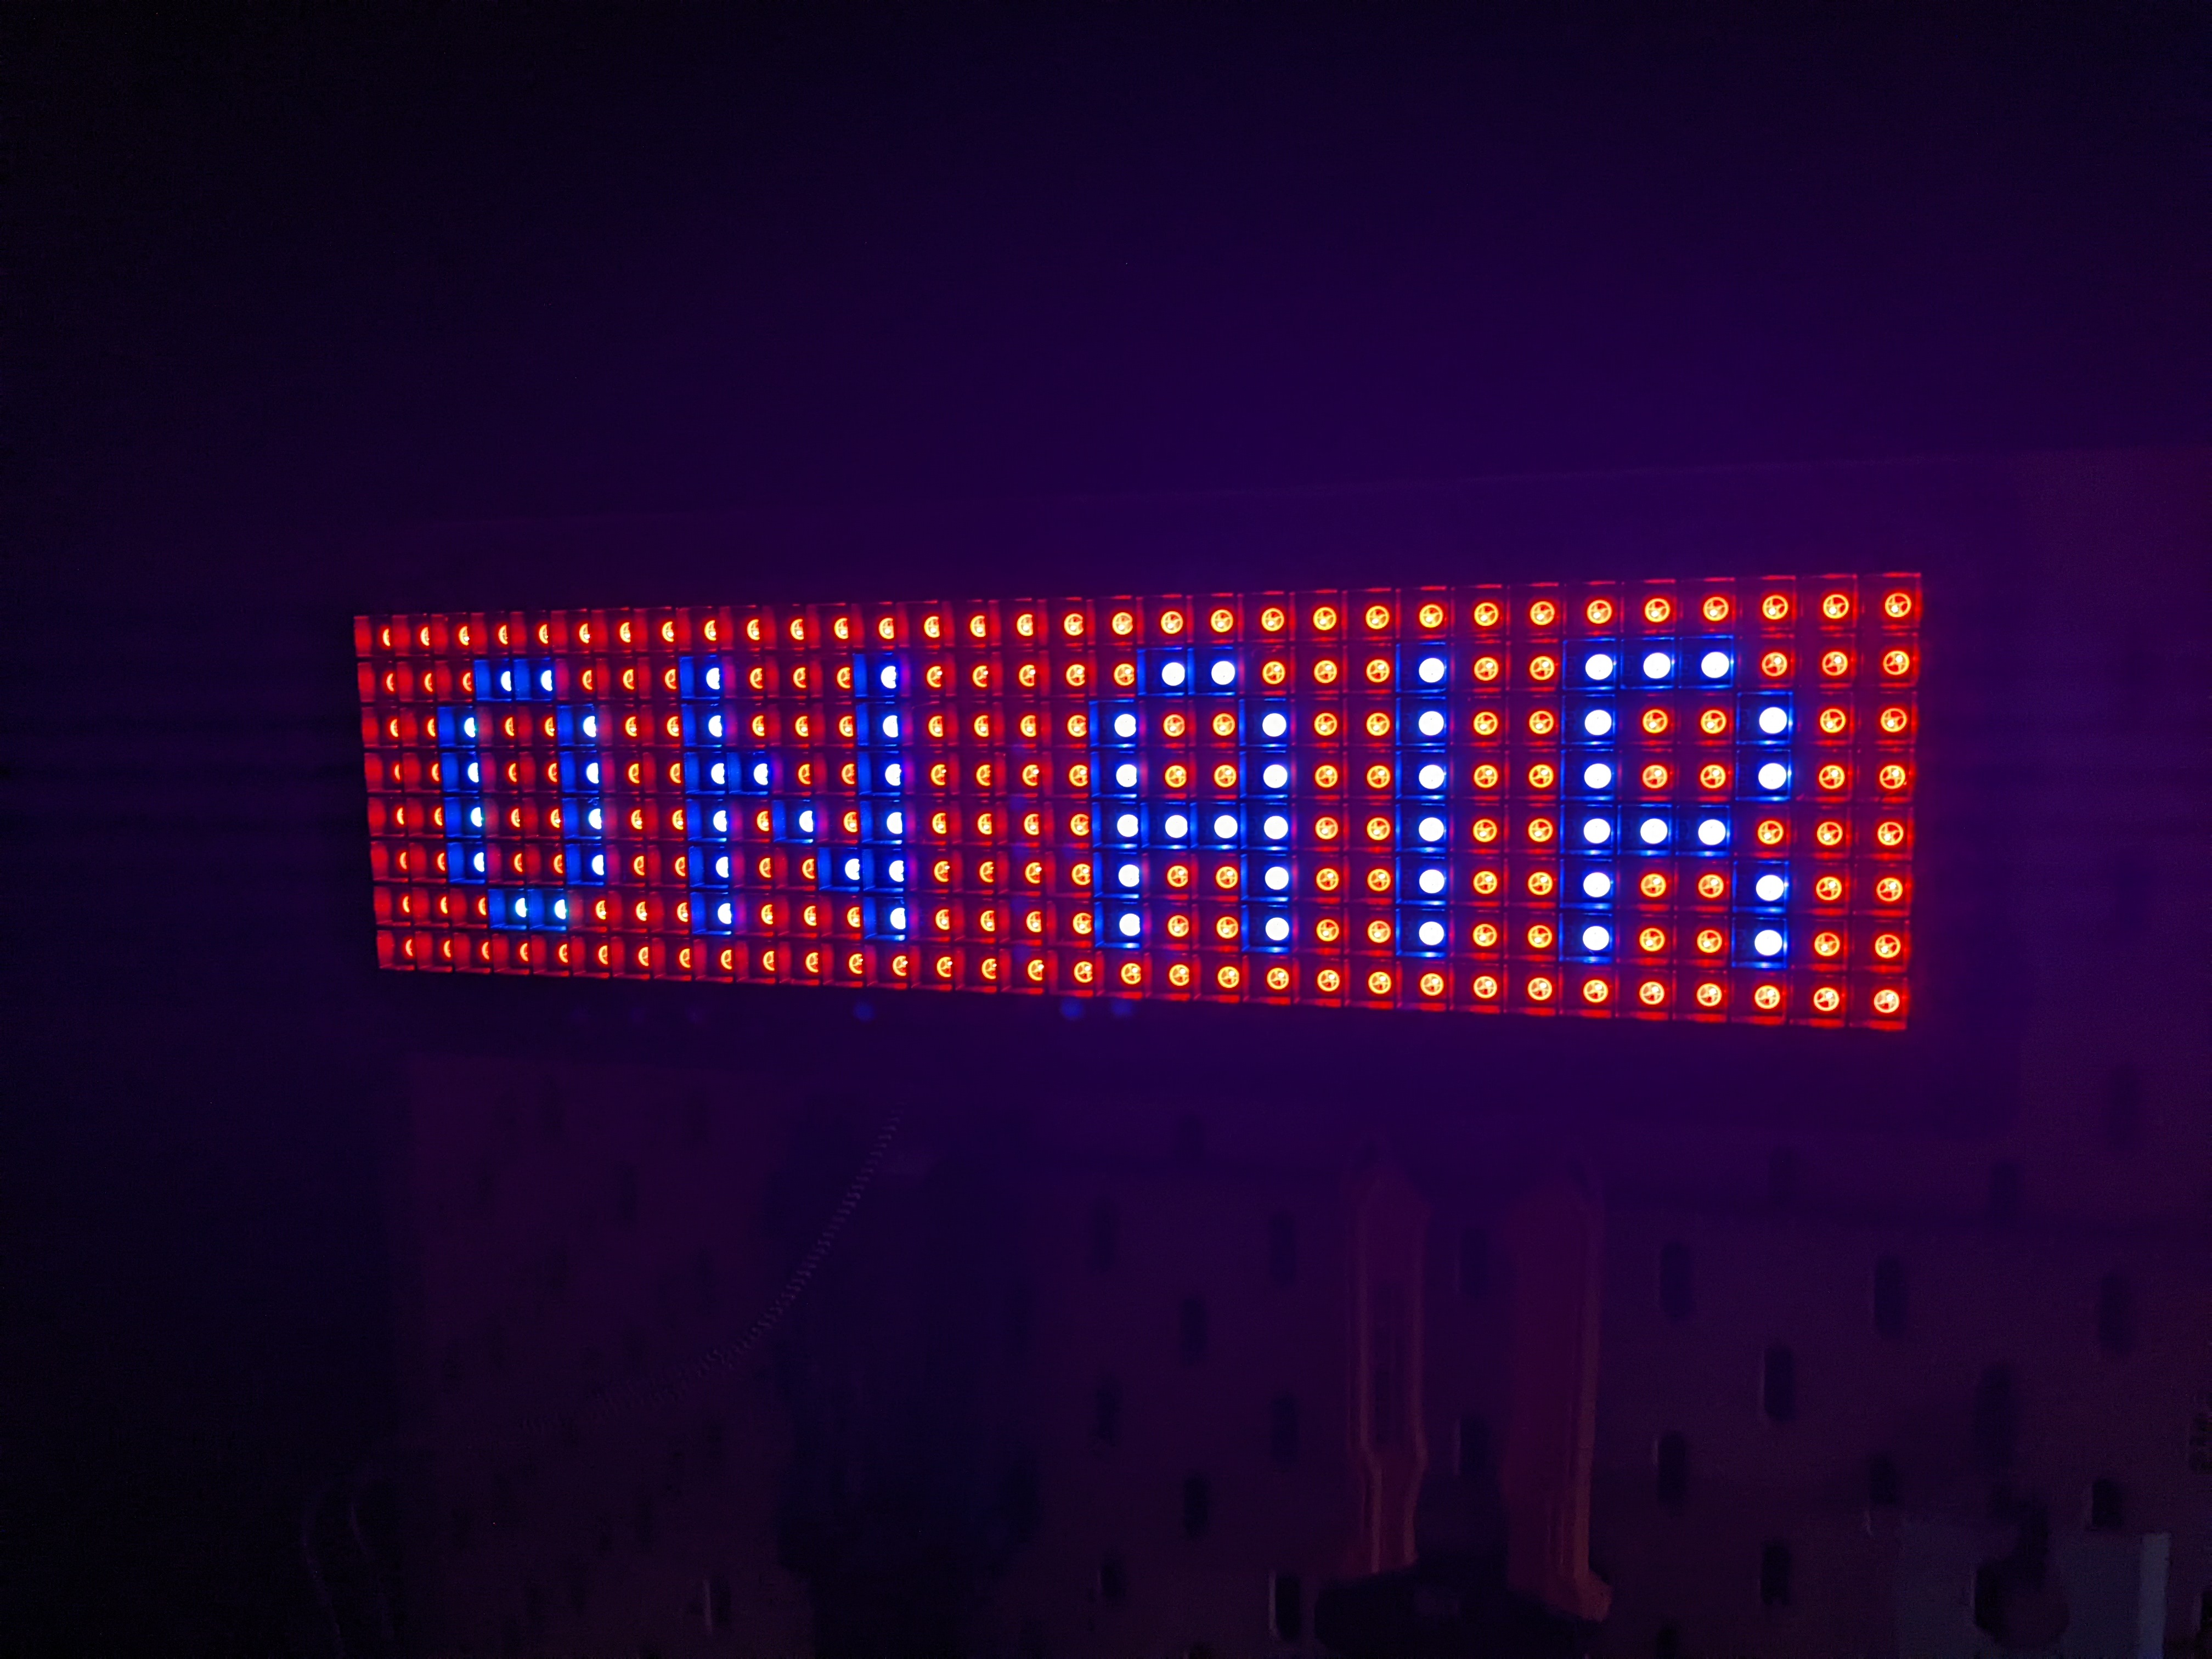
Pixel It 8x32 LED Matrix Case
prusaprinters
<p>This is a modified version of this <a href="https://www.thingiverse.com/thing:3559014">Pixel It case</a>. It was created with <a href="https://docs.bastelbunker.de/pixelit/">the excellent Pixel It project</a> in mind. </p><p>The case has mounting points and an access port for the D1 mini, a cable path to make free-standing use easier, and optional parts for wall-mounting to both Ikea SKADIS pegboard and traditional screws.</p><p><strong>Update</strong>: Added a grid with a printable diffuser. Perform a color swap after the first two layers.</p><h4>BOM</h4><ul><li>8x M3x20 (freestanding configuration) or M3x25 (hanging configuration) socket head screws. </li><li>4x M3 threaded inserts</li><li>2-6x M2x4 socket head screws, depending on components</li><li>Your chosen set of Pixel It components (at least a D1 mini, 8x32 LED matrix, power supply, and wires)<ul><li>The case has mounting spots for the D1 as well as an Adafruit micro-USB breakout board for power and a CJMCU-680 sensor.</li></ul></li></ul><h4>Assembly Notes</h4><p>The M2 screw holes are very small and even a little over-extrusion will mean they need to be drilled out a touch.</p><p>Be careful installing the threaded inserts in the front grids. There is not much plastic around and under the inset holes and it's easy to screw them in too far and end up pushing out the front of the grid.</p><p>Be careful tightening the screws. They do not need to be extremely tight; just enough to hold the front pieces on. Depending on filament flex, shrinkage, and printing tolerances, your screws may extend too far into the front grid and begin to push out of the front panel. When in doubt, try a screw one size shorter than suggested.</p><p>There are two mounting spots for the USB breakout board. One near the top of the case is intended for free-standing use so that the cable can be bent out the rear of the case. The other is at the bottom of the case, making it easy to plug and unplug </p><p>When using the upper mounting position there is a spot for a zip tie to be used as strain relief on the power cable.</p><p>If you use an air quality sensor, punch or drill out the small cutout near the sensor to give it better access to air outside the case.</p><p><strong>Usage Notes</strong></p><p>If you use a USB breakout board for power keep in mind that the Adafruit model is rated for only 1.8 amps. I've yet to come anywhere near this amount in my daily usage, but you should be aware of it.</p>
With this file you will be able to print Pixel It 8x32 LED Matrix Case with your 3D printer. Click on the button and save the file on your computer to work, edit or customize your design. You can also find more 3D designs for printers on Pixel It 8x32 LED Matrix Case.
