Piper 2 - Z-Cable Chain
thingiverse
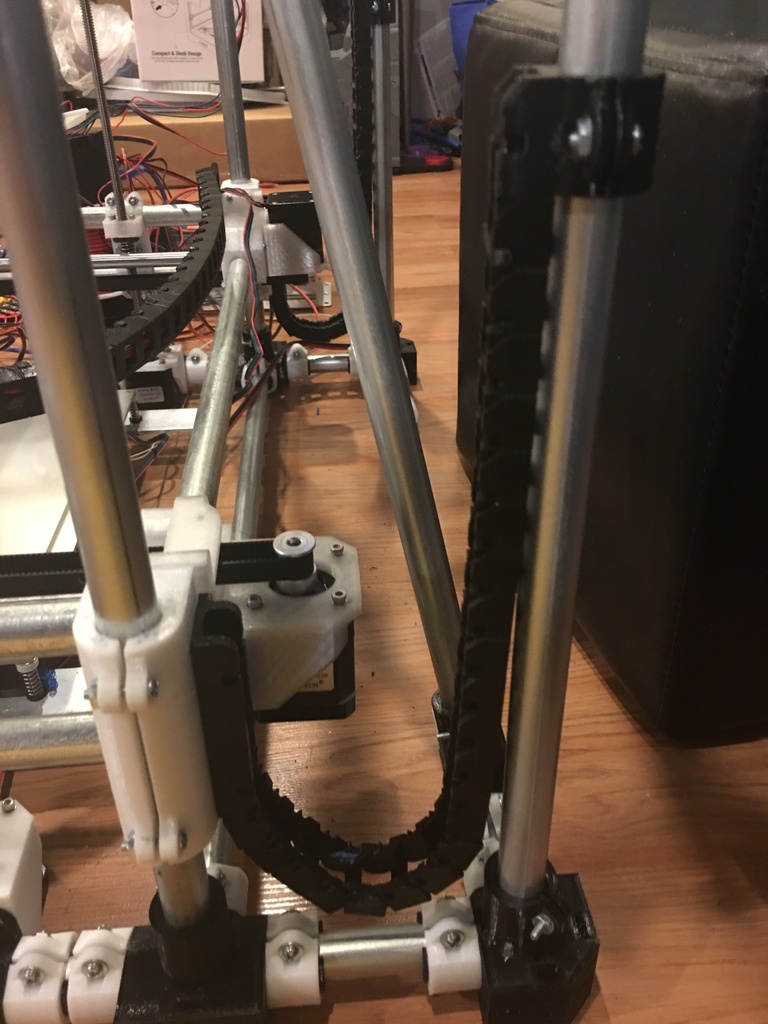
This is a Z-Axis Cable Chain for the 1/2" U.S. Piper 2 CoreXY Printer. Parts are designed to fit snugly into EMT tube on left rear gantry when viewed from the front of the printer. To assemble the right-hand side, mirror z-chain-frame.stl in your slicer. Print the following quantities: (1) z-chain-frame.stl (2) half-inch_emt_insert_2mm-rev3.stl (1) z-chain-gantry2.stl (1) half-in_emt_mount2.stl (?) cable_chain_link.stl (?) cable_chain_clip.stl Purchase the following parts: (2) 6-32 x 2" screws with nuts (2) 6-32 x 1/2" screws with nuts (2) #6 washers Assembly Instructions: 1. Insert a nut into each half-inch_emt_insert_2mm-rev3.stl. 2. Slide a washer over each screw hole on the z-chain-frame.stl. 3. Thread a 6-32 x 2" screw through the washer and into the z-chain-frame.stl part. 4. Screw on half-inch_emt_insert_2mm-rev3.stl to each 6-32 x 2" screw. 5. Insert assembly into EMT tubes at left rear gantry corner. 6. Assemble as many cable_chain_link.stl as needed to form a chain, approximately 22 for each side on a 400mm high system. 7. Connect the cable chain to the mounted z-chain-frame.stl assembly. 8. Attach the z-chain-gantry2.stl to the other end of the cable chain. 9. Mount the z-chain-gantry2.stl to the Z-EMT pipe with half-in_emt_mount2.stl and two 6-32 x 1/2" screws and nuts at about halfway up the pipe, noting that this will be mounted at a slight angle due to the non-parallel design of the z-chain-frame.stl assembly.
With this file you will be able to print Piper 2 - Z-Cable Chain with your 3D printer. Click on the button and save the file on your computer to work, edit or customize your design. You can also find more 3D designs for printers on Piper 2 - Z-Cable Chain.