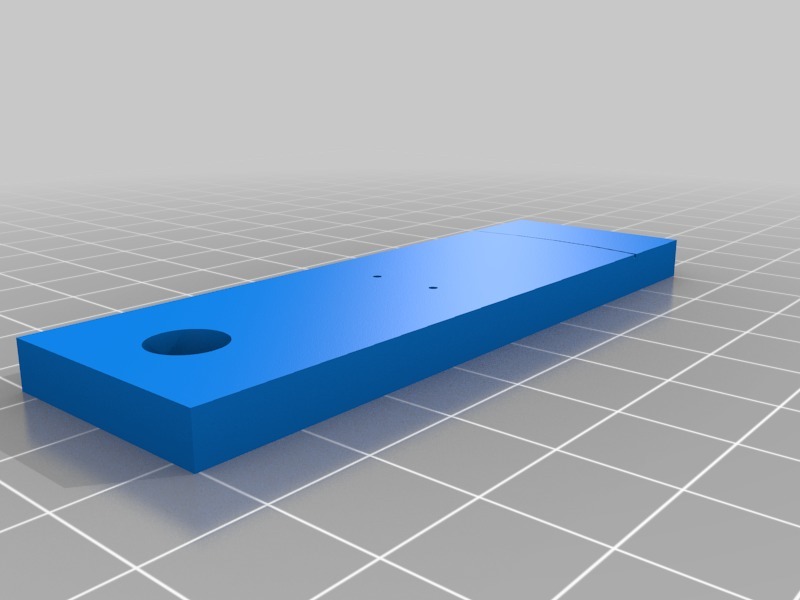
Pioneer PL-570 Turntable auto-return voltage setting jig
thingiverse
Human: The Pioneer PL-570 (wood base, not the flimsy plastic one from the 1980s) boasts an auto-return feature that stops working after a few years. Assuming you have a functioning tonearm motor with no broken gear, this jig can be used to set the correct detector voltage for the auto-return. Check out my gear sleeve for a cheap fix to a broken gear. On the detector board, you will find the potentiometer, v101, which should read 2.5v. If it's reading 11-14v, it desperately needs cleaning and must be turned. You may also have inadvertently adjusted the tonearm auto-return adjustment screw (the one with a warning label in the manual that you probably didn't receive). Once either the pot or the screw has been moved, you'll need to recalibrate the slit/LED sensor based micro-switch voltage that controls the auto-return. In the downloadable service manuals, you can find the procedure for adjusting this voltage. This jig is essential for this process. The arc in the base of the jig measures 60mm from the center of the spindle hole as described in the manual. You could use small screws to secure the riser (pt2) in place, but I never tested this aspect of the design. Instead, I used painters tape to hold everything together. The riser is necessary since head-shells vary in width. My auto-return was adjusted to 2.5v with a margin of .5v using this jig. The procedure works well for the pwx-017 detector board that appeared in later models.
With this file you will be able to print Pioneer PL-570 Turntable auto-return voltage setting jig with your 3D printer. Click on the button and save the file on your computer to work, edit or customize your design. You can also find more 3D designs for printers on Pioneer PL-570 Turntable auto-return voltage setting jig.
