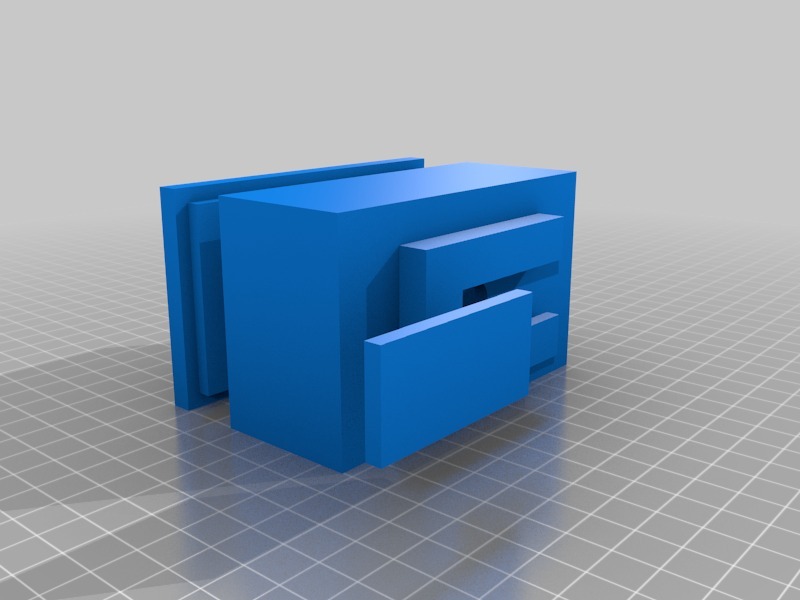
Pinhole camera, Sténopé
thingiverse
Simple Pinhole Camera Design. Making your own pinhole camera is an easy and fun project that requires just a few basic materials. You can use any cardboard box, even an empty cereal box or a shoe box, as the body of your camera. Cut a small hole in one end of the box, about 1/4 inch in diameter, to serve as the pinhole. Cover the other end with a piece of black construction paper to prevent light from entering. Next, cut a small rectangular window on top of the box and cover it with another sheet of black construction paper. This will be your viewfinder. Cut a small hole in the center of this sheet for the camera's lens. Make sure the pinhole is perfectly centered over the lens so that images fall directly onto the viewing screen. To create the viewing screen, cut a piece of white paper to fit inside the box and attach it with tape or glue. This will be where your image appears after you take a picture. Now, all you need to do is assemble your camera by placing the pinhole in front of the lens and covering everything with the black construction paper. Place your camera in a sunny spot, aim it at an object, and watch as your image appears on the viewing screen! You can even use this camera to take pictures of people or objects from far away.
With this file you will be able to print Pinhole camera, Sténopé with your 3D printer. Click on the button and save the file on your computer to work, edit or customize your design. You can also find more 3D designs for printers on Pinhole camera, Sténopé.
