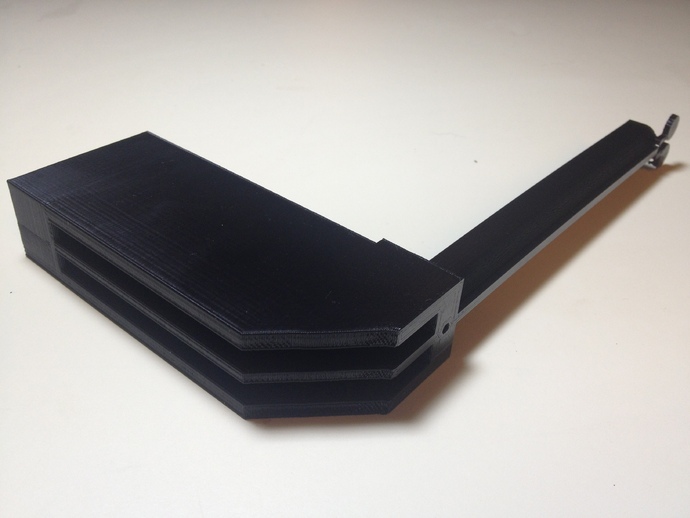
Ping Pong Arm Replacement
thingiverse
Around a year ago at a party, my coworker learned about 3D printing and inquired if it could replace his ping pong table's broken arm (which supports the net). I assured him it could, but procrastinated for over a year before designing and printing the part. Initially, I planned to print an L-shape with the correct hole placements, but later decided to closely model the original design. The printed arm should have the cylindrical section at the bottom and the base sticking up. After printing, remove the round support pads and small rectangles. Attach an M3x25 screw into the base's bottom, leaving the head and a few mm of the bolt visible. Use the original mounting screws to secure the arm to the table on the other side of the base (refer to photos for comparison with the broken original). The net's end has a string that passes through the circular notch at the half-cylinder's end, then along the outside of the cylinder, and finally loops around the M3 bolt.
With this file you will be able to print Ping Pong Arm Replacement with your 3D printer. Click on the button and save the file on your computer to work, edit or customize your design. You can also find more 3D designs for printers on Ping Pong Arm Replacement.
