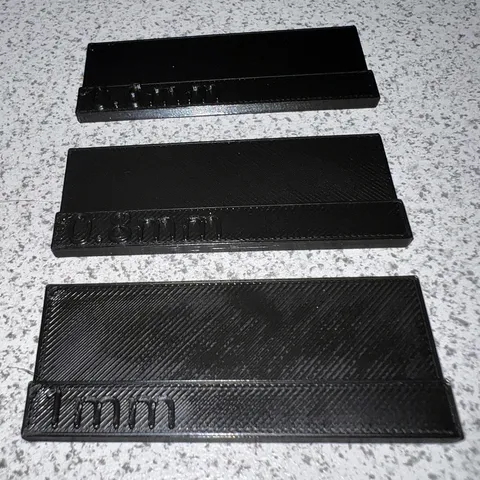
PINDA Calibration Strips
prusaprinters
Rather than using a wire-tie, print this set of test strips to calibrate the height of your PINDA sensor on the i3MK3S+ or similar. If you're following the manual, start with the 1mm strip instead of the wire tie. Place your nozzle so that it is gently touching the bed, and then use the low side of the 1mm strip to calibrate the PINDA height.If you notice that your live-Z is excessively low (below -1.0mm) you can use the low side of the 1.2mm-1.8mm calibration strips to raise the PINDA, which will raise your live Z (move it in the positive direction). If you notice that your live Z is excessively high (above -1.0mm) you can use the 0.8mm-0.2mm to lower the height of your PINDA, which will lower your live Z (move it in the negative direction).This is all about fine tuning what you feel are appropriate values - the wire tie method is perfectly good - this just gives you some values of a known quantity to calibrate against.
With this file you will be able to print PINDA Calibration Strips with your 3D printer. Click on the button and save the file on your computer to work, edit or customize your design. You can also find more 3D designs for printers on PINDA Calibration Strips.
