Pinball Rotisserie
thingiverse
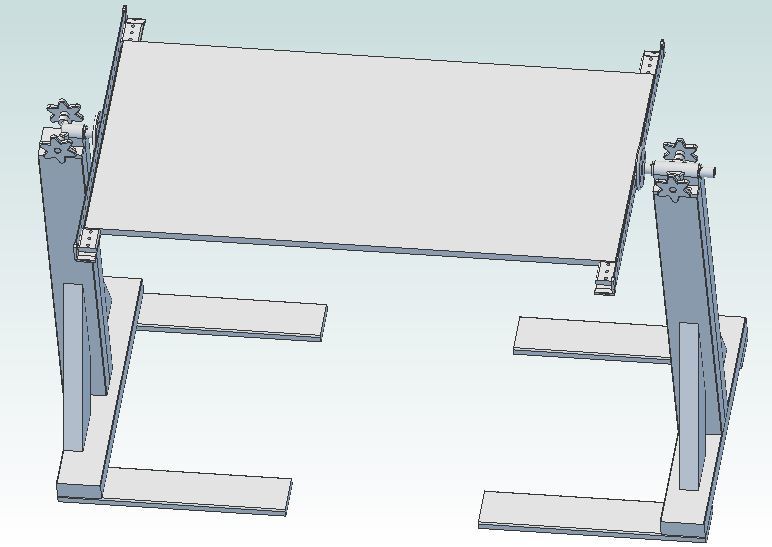
This is a pinball rotisserie with ideas taken from multiple sources. The bracket, knob, washers, and carrier cap protectors are all created through 3D printing. The entire unit is constructed from widely available materials, including 2x4s, 1x4s, angle steel, 1/2" pipe nipples, 1/2" floor pipe flanges, 1/4-20 bolts and hex nuts, etc. The four uprights are cut to the desired length for a work height of the playfield. Two uprights are screwed together, then the bracket is screwed to the top of the upright pair at each end. Some notes on materials and assembly follow: 2x 29" 1-1/2" x 1-1/2" punched, plated, angle steel, playfield carrier 2x cast iron floor flanges 2x iron pipe 6" nipples (cut a 12" nipple in two) Cross drill the pipe nipples for 1/8" x 1-1/4" cotter pins Print 2x BracketBMM Print 4x WasherMM Print 4x KnobMM 1/4-20 hex head bolts fit center of knobs, stopping against pipe nipples Uprights x4, 2 x 4 x 27-1/2", double 2 each end, making exactly the same length, all Base Cross Pieces, x2, 2 x 4 x 22" Brace, x4, 2 x 4 x 14-1/8", one end 60-degrees, one end 30-degrees Foot, x4, 1x4x18" Stop blocks, x4, 2x 1/2" x 1-1/2", drill 3 1/4" holes to match the offset of carrier 2-1/4" deck screws 1-5/8" deck screws 1/8" drill bit deck screw driver cutoff saw Double the uprights. Attach uprights to center of base cross pieces, screw from below into upright with 2-1/4" screws. Install braces using 2-1/4" screws. Screw foot to each end of base cross piece with 1-5/8" screws. Attach pivot atop each upright. Get two strips, 1" wide x 1/4" thick, as clamping protectors. Get four c-clamps. Get four small blocks seen at each end of the carrier, bolted onto the carrier aside the playfield.
With this file you will be able to print Pinball Rotisserie with your 3D printer. Click on the button and save the file on your computer to work, edit or customize your design. You can also find more 3D designs for printers on Pinball Rotisserie .
