Pimp the Wall-e toilet paper holder
prusaprinters
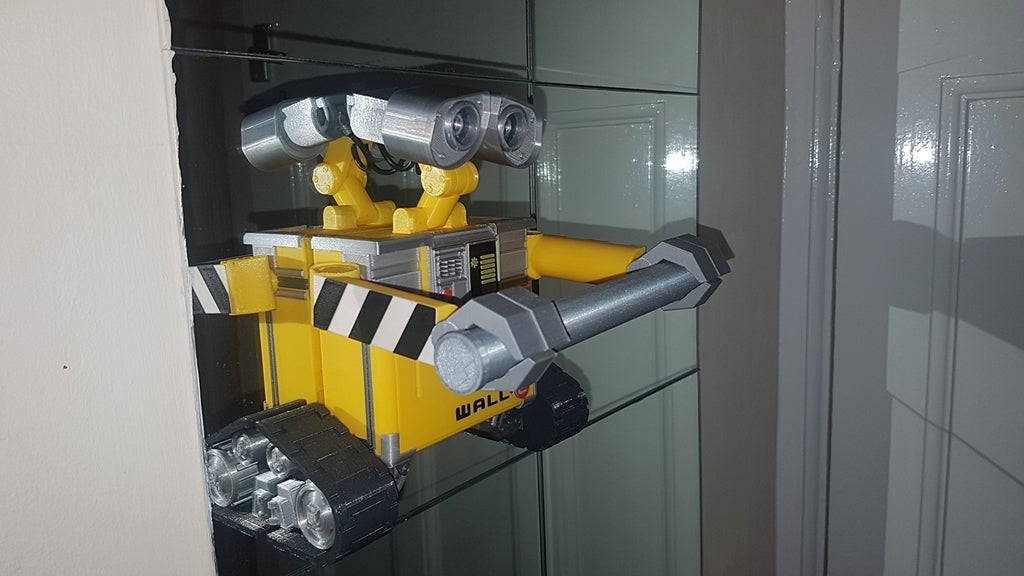
<p>This model has been popular for many years because it is simply nice.<br/> After moving to new flat, I was looking for something original on the bathroom mirror.<br/> I printed the original and ... His arms fell off quickly. So disapointent...<br/> My wife said she only smacked it slightly ... Yes, of course. I belive ;)</p> <p>I decided to improve the structure. And so began the adventure with Fusion 360 to create an almost whole project from scratch.</p> <p>EDIT 18.07.2019 - I changed wrong old part "arm.stl' to "new_arm.stl". Thanks to Scraty.</p> <h3>Print instructions</h3><p>This model of the robot has been popular for many years because it is simply nice.<br/> After moving to a new flat, I was looking for something original on the bathroom mirror.<br/> I printed the original and ... His arms fell off quickly. So disappointment...<br/> My wife said she only smacked it slightly ... Yes, of course. I believe ;)</p> <p>I decided to improve the structure. And so began the adventure with Fusion 360 to create an almost whole project from scratch.</p> <p>EDIT 18.07.2019 - I changed wrong old part "arm.stl' to "new_arm.stl". Thanks to '@Scraty'.</p> <h3> Print Settings</h3> <p><strong>Printer Brand:</strong> Anycubic<br/> <strong>Printer:</strong> Kossel<br/> <strong>Rafts:</strong> Yes<br/> <strong>Supports:</strong> Yes<br/> <strong>Resolution:</strong> 0.15-0.2<br/> <strong>Infill:</strong> yes<br/> <strong>Filament:</strong> different PLA up to project</p> <p><strong>Notes</strong><br/> Don't rush. It's a simple role.</p> <p>This model requires high accuracy, so leave high speed for other projects. I did not exceed 50 mm/s, and sometimes I printed even slower.<br/> The smaller the model, the lower the temperature and the speed.</p> <p>Instead of describing everything, I decided to take more pics. There you have shown what, how and in what order to assemble.<br/> Some holes require calibration with a drill - this is pretty normal.<br/> You can use files and small upholstery knives.</p> <p>I tried to give good tolerances but I do not guarantee to match the parts straight from the printer. It is simply impossible.</p> <p>Ahhh, something else...</p> <p>Personally, I did'nt stick my arms and hands to the main body.<br/> I made them pressed so that they can easily be replaced after breaking.</p> <p>I have printed parts in a couple of colours with the 'change filament' function in Cura.</p> <p>It's much easier than - for example - fitting a yellow star into the hole of the solar panel.<br/> One thing more - some parts need smaller hotend to print successfully with higher resolution.</p> <p>Enjoy :)</p> <h3>How I Designed This</h3> <p><strong>Why and how did I make modifications?</strong></p> <p>The author himself pointed out that this is his first project. That's why I decided to do a lot of parts from scratch that contained errors that made printing difficult.<br/> Then came more and more new elements, just to make the model look cool and more similar to the original.</p> <p>In total, I made 21 parts. Only caterpillars and circles remained from the original. It was fun :)</p>
With this file you will be able to print Pimp the Wall-e toilet paper holder with your 3D printer. Click on the button and save the file on your computer to work, edit or customize your design. You can also find more 3D designs for printers on Pimp the Wall-e toilet paper holder.