Pimp my Ikea SJÖPENNA
prusaprinters
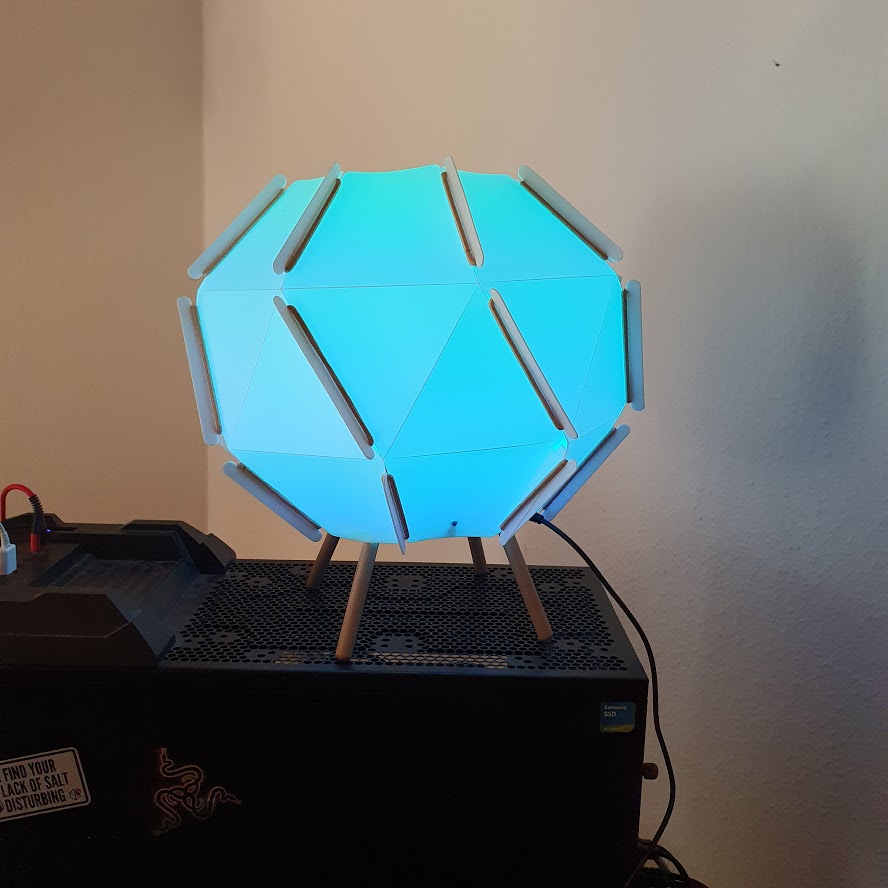
<p>This is a complete replacement for the SJÖPENNA IKEA lamp beside the lampshade.<br/> It includes an LED rail on which an led strip with a width of 12mm or less can be placed (Like APA102, ws2812b) as well as a controller housing on which a Pcb or a Microcontroller can be screwed in (The current layout is for my custom PCB, feel free to remix this part so your controller or PCB can fit in).</p> <p>Feel free to remix this to your own needs.<br/> I used some M2 thread inserts and M2x6 screws.<br/> I decided to just stick in the wooden legs but if you frequently move the lamp I suggest you just glue them in.</p> <p>A little back story.<br/> Back in my second semester at university in 2018 I started to get in touch with microcontrollers and led strips like Arduinos and ESPs.<br/> After just playing around with them I started to program an IOT integration for the led stripe and placed the controller and the led strip into an SJÖPENNA IKEA lamp to create a colorful "Smart" Lamp.<br/> The Led Strip was placed on a cardboard roll which I stuck into the original socket for a light bulb.<br/> After many upgrades to my microcontroller/wiring/software like a microphone for music reactive effects and improved safety trough a custom PCB I decided to replace the cardboard roll with a 3D printed LED rail. I designed the Rail in about one week and asked my uncle if he could print it for me since I did not own a 3D printer back then.<br/> Finally, in august 2020 I received my own 3D printer and decided to give this thing a complete redesign and replace the old IKEA main body of the SJÖPENNA by a custom design to hide away my custom PCB.</p> <h3>Print instructions</h3><p>Printed on a Prusa MINI<br/> Layer high: 0.20mm<br/> Supports: Yes for the main Body.<br/> Material: PETG for the led rail, PLA for main and controller part.<br/> Infill: 15%</p> <p>Obviously it's up to you to decide on colors for the printed parts I just used what I had laying around to print the parts.</p> <p>The controller housing can be snaped into the main body.<br/> I used a drill and some M3x6 screws + nuts to connect the led rail with the controller housing but I am pretty sure it can be glued together as well.</p>
With this file you will be able to print Pimp my Ikea SJÖPENNA with your 3D printer. Click on the button and save the file on your computer to work, edit or customize your design. You can also find more 3D designs for printers on Pimp my Ikea SJÖPENNA.