PiGRRL 2 Inner Frame and Case Mod
thingiverse
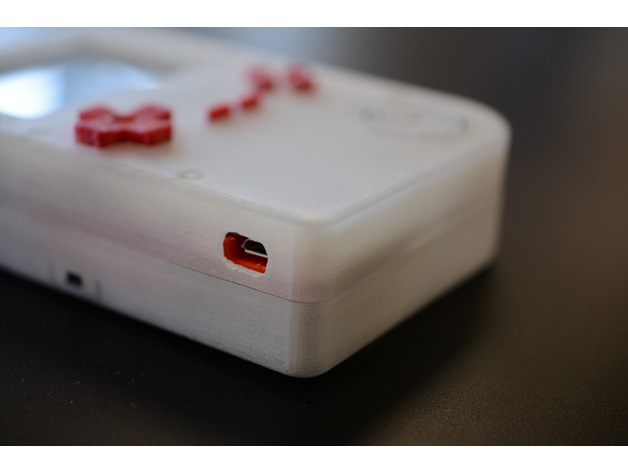
I designed an inner frame for the Pi Grrl2 to hold all electronics together as a single unit, which then attaches to the front of the case while the back serves only as a cover, greatly simplifying assembly. Updated cases reflect changes made to internal structure. Tap holes in the frame 4-40. The charger board was moved to the side to fit within the frame, requiring soldering of the battery to the board. The USB port should fit into the space on the frame. Next, the Amplifier board is tucked under the ribbon cable by the button PCB. I recommend drawing power from the Pi's 3.3v output via GPIO - it resolved many audio issues. The battery sits below the ribbon cable as originally designed. Back shoulder buttons are simply standard buttons; if lined up correctly and glued down, they won't need to be cut out of the case. I failed to align them properly initially, so using a Dremel was easier than reprinting or dealing with superglue. The USB hole in the STL is larger than it appeared in my photograph. I fixed this before uploading, ensuring it should now work correctly. Print Settings: Printer: Dremel 3D40 Rafts: Doesn't Matter Supports: Yes Resolution: 300um Infill: Doesn't matter Notes: This was printed with both PLA and Nylon, either material works fine since it's hidden and doesn't affect performance.
With this file you will be able to print PiGRRL 2 Inner Frame and Case Mod with your 3D printer. Click on the button and save the file on your computer to work, edit or customize your design. You can also find more 3D designs for printers on PiGRRL 2 Inner Frame and Case Mod.
