Picture frame hanger
prusaprinters
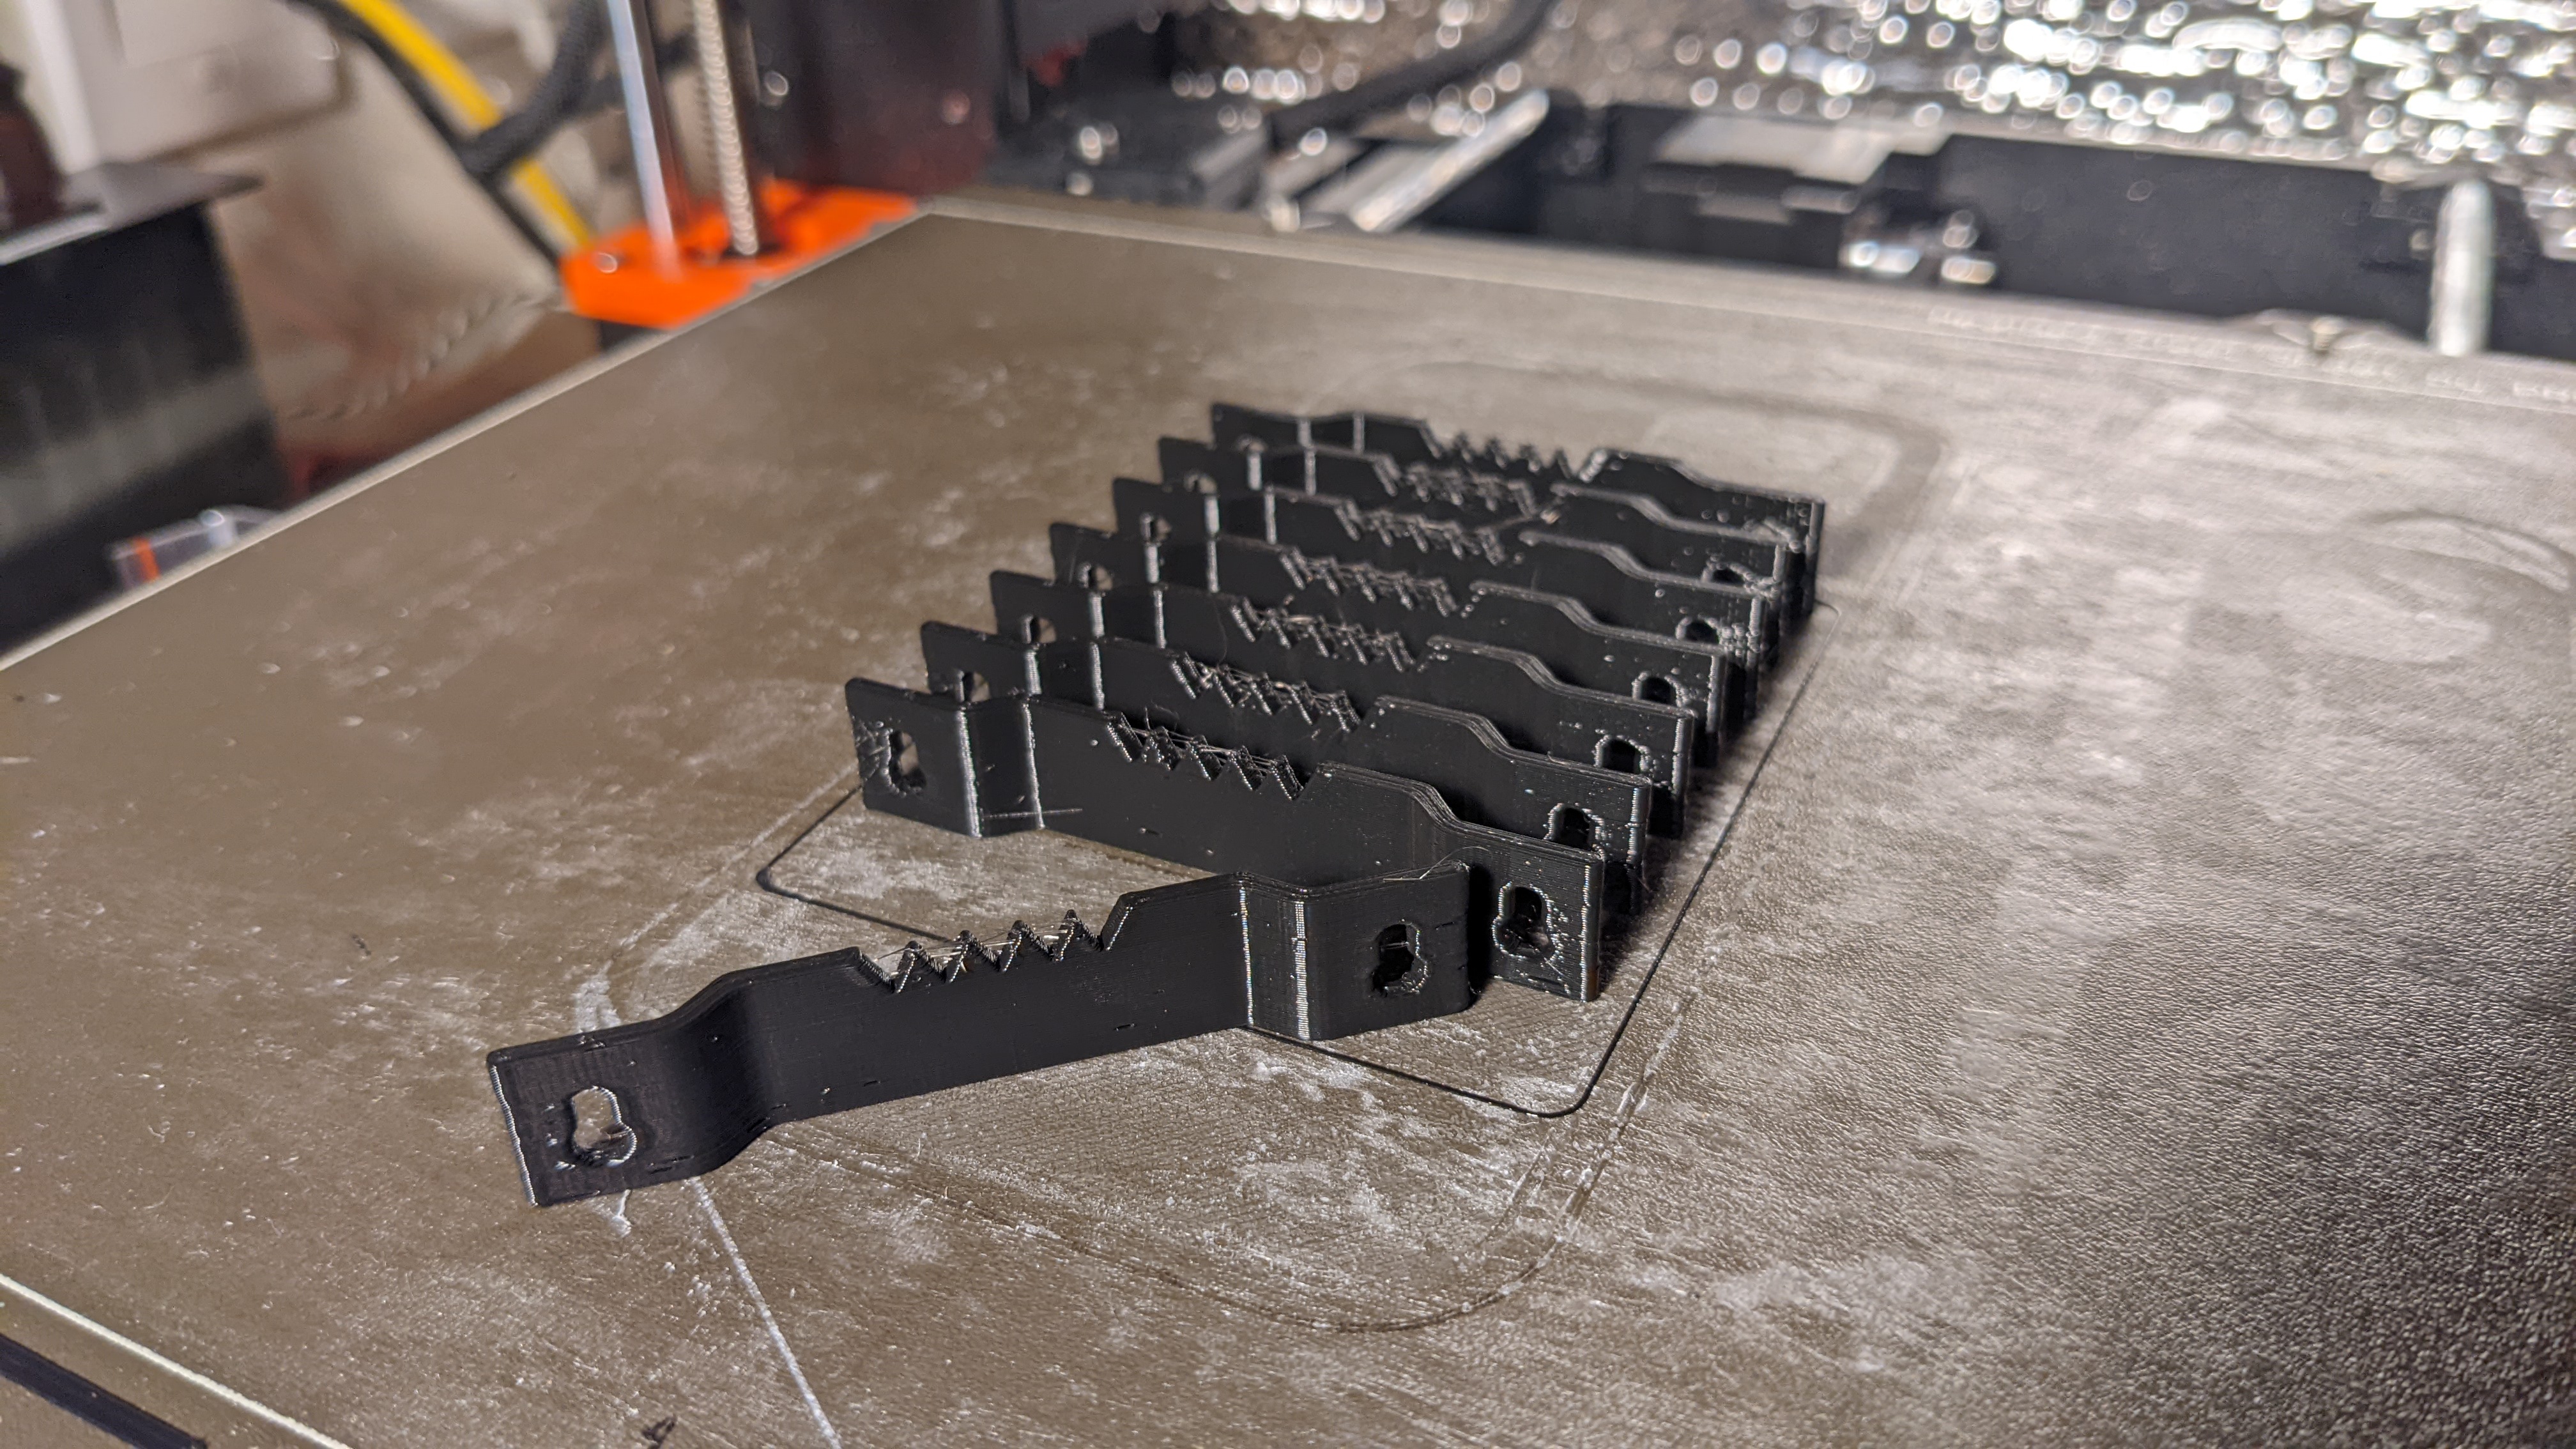
<p>Nail the parts behind picture frames and use a nail or screw in the wall to hang the picture onto.</p><p>The original part I modeled from is in the first picture.</p><p>I modeled 2 holes for different sized nails.</p><p>Cheers!</p><p>-----------------</p><p>Update V2 : </p><ul><li>Larger holes : <ul><li>2.8mm → 3.25mm</li><li>1.85mm → 2.25mm</li></ul></li><li>The holes are now top/down in a keyhole shape</li></ul><p>See the picture with the black parts.</p><p>-----------------</p><h3>Print Settings</h3><p><strong>Rafts: </strong></p><p>No</p><p><strong>Supports:</strong></p><p>No</p><p><strong>Resolution: </strong></p><p>0.2</p><p><strong>Infill:</strong></p><p>0% / 3 perimeters</p><p><strong>Notes: </strong></p><p>The pictures show parts printed at 0.3 LH but it's up to you (light blue). If you have 3 perimeter at 0.4mm you won't have any infill because it's so thin.</p>
With this file you will be able to print Picture frame hanger with your 3D printer. Click on the button and save the file on your computer to work, edit or customize your design. You can also find more 3D designs for printers on Picture frame hanger.