Pico 4 FOV+ comfort gasket magnetic
prusaprinters
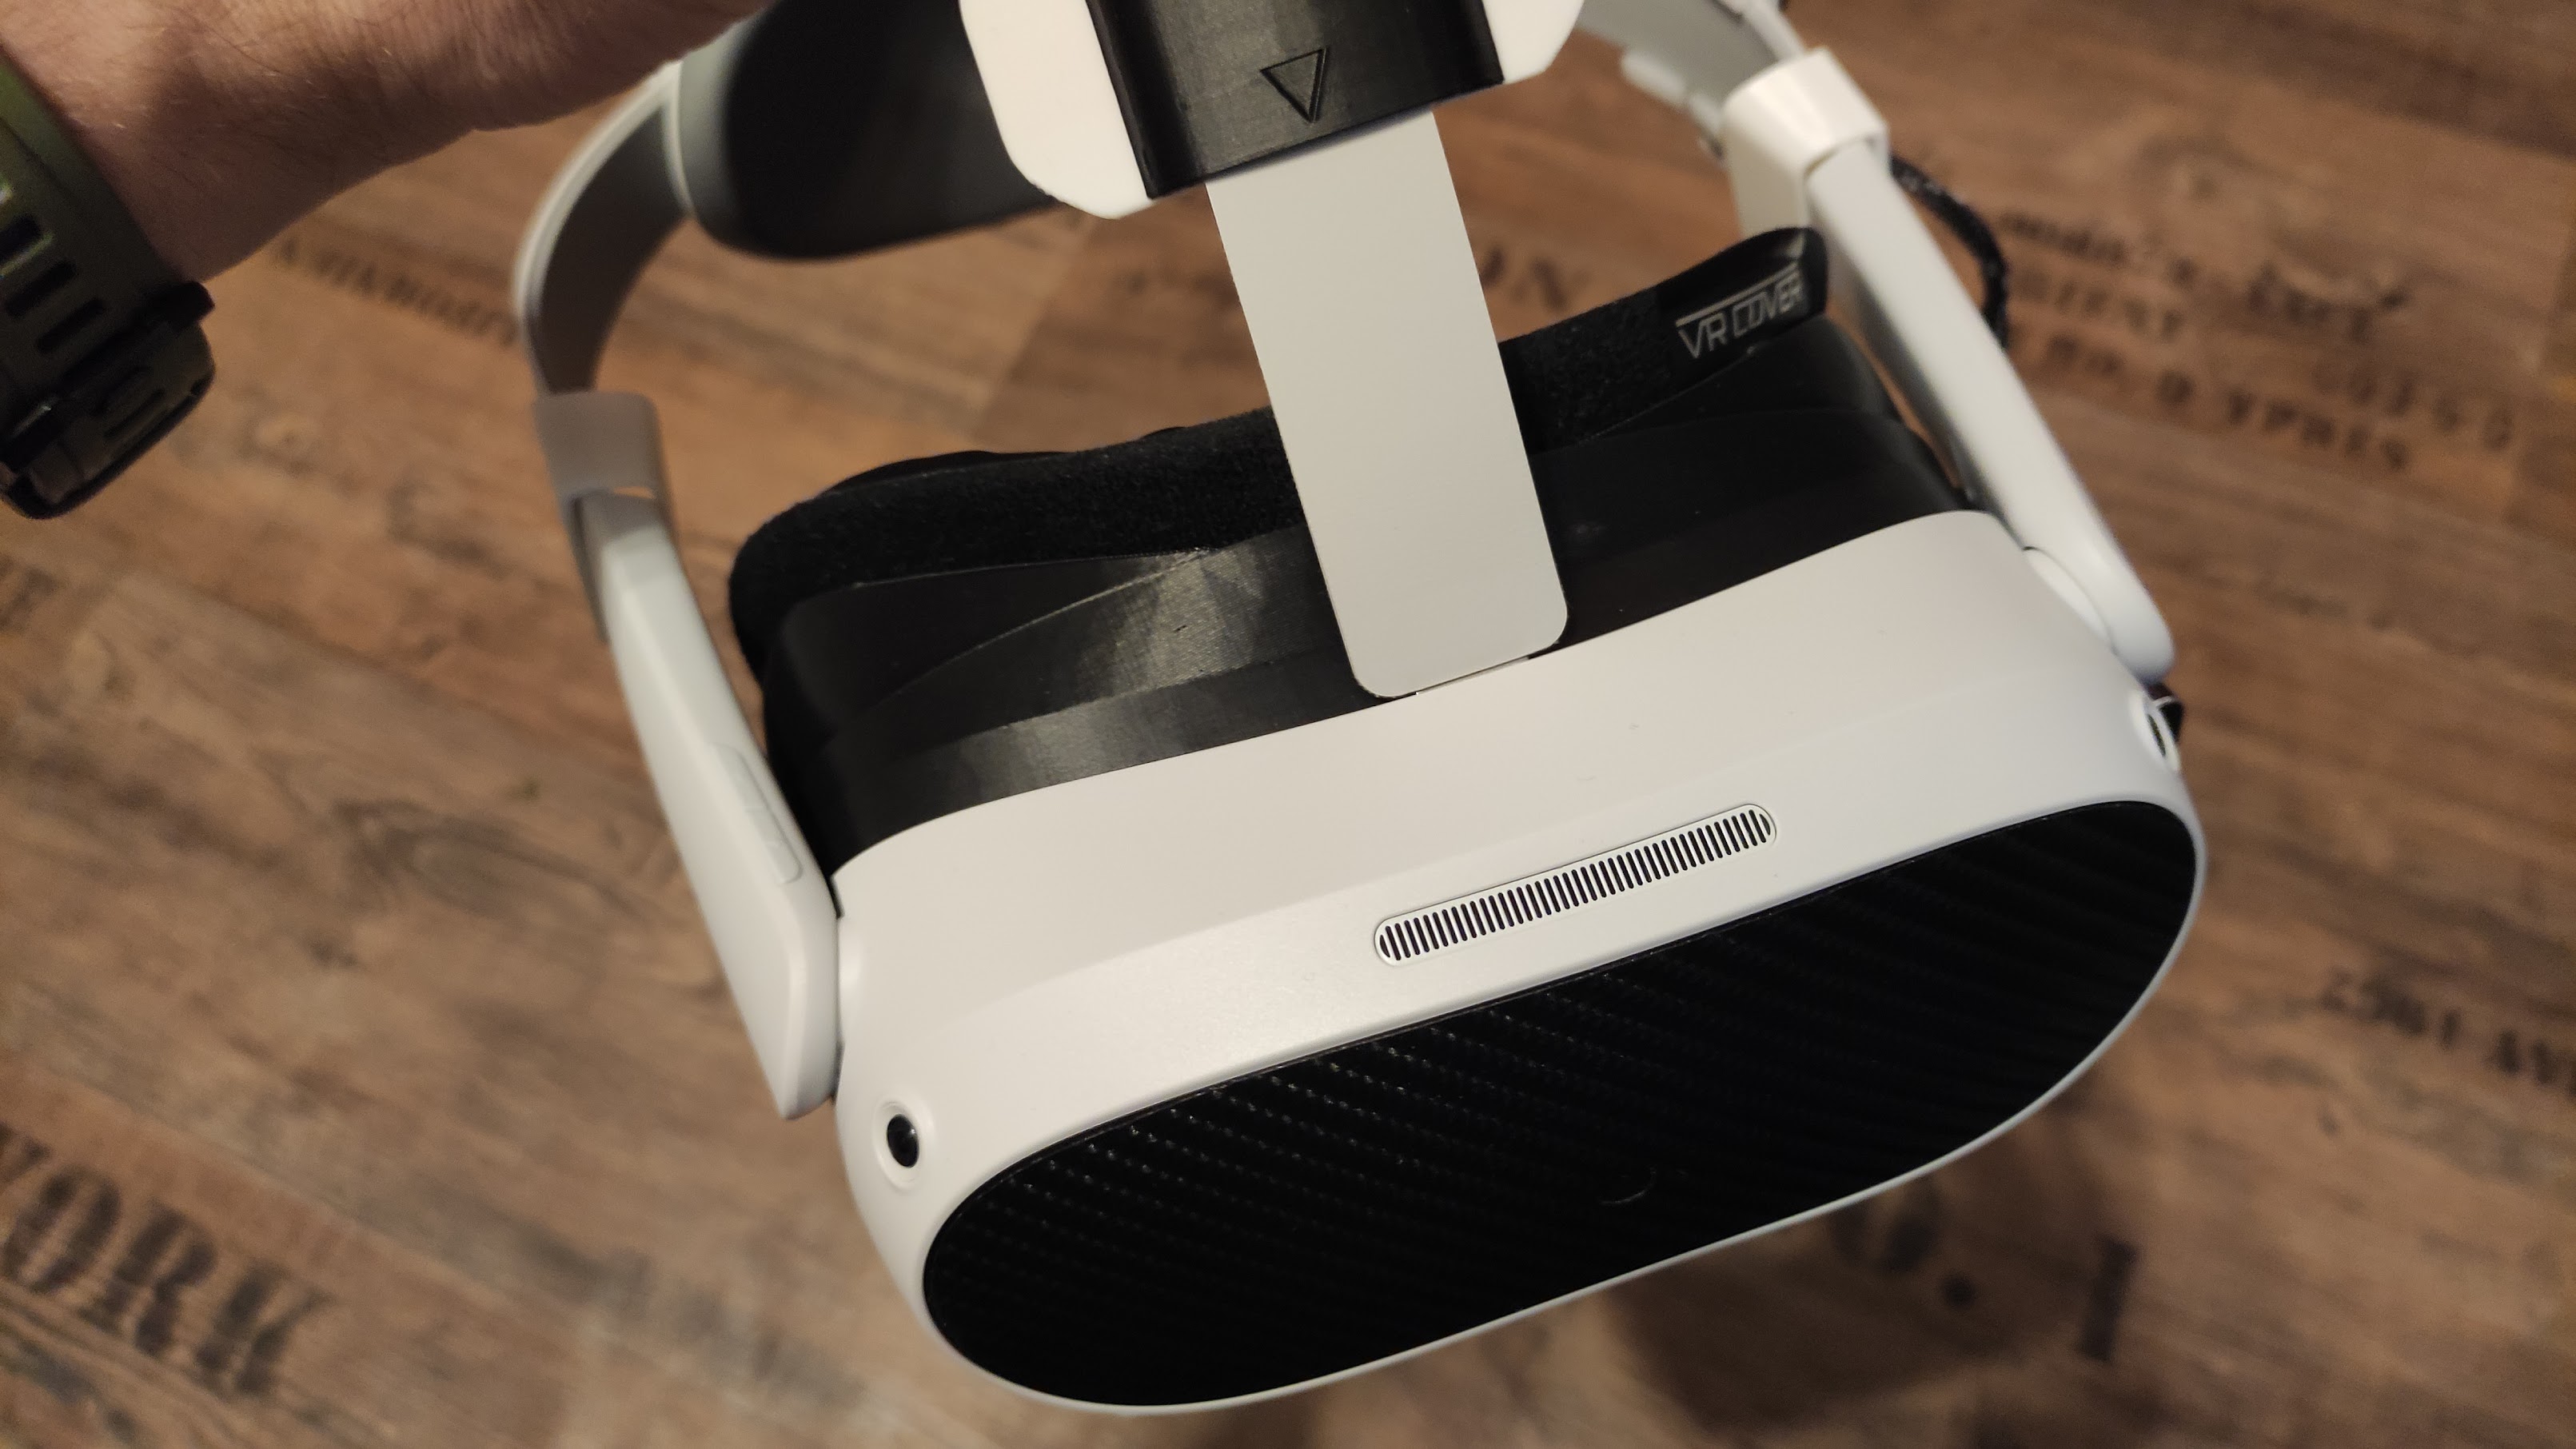
<p>A remix of: <a href="https://www.thingiverse.com/thing:5619731">https://www.thingiverse.com/thing:5619731</a> and <a href="https://www.thingiverse.com/thing:5624969">https://www.thingiverse.com/thing:5624969</a></p><p>Increasing FOV, making cutouts to improve wearability for glasses ( not tested), inserts for magnets 4pieces of 6x3mm. Making inserts for the mounting pins separately as they would easy brake off when printed in one go because of print orientation.</p><p>Things you need: </p><p>Magnets: </p><p><a href="https://www.amazon.de/-/en/Oblique-magnets-neodymium-ultra-strong-original/dp/B01FD43RNO/ref=sr_1_8?keywords=6x3+mm+magnete&qid=1668793043&sr=8-8">https://www.amazon.de/-/en/Oblique-magnets-neodymium-ultra-strong-original/dp/B01FD43RNO/ref=sr_1_8?keywords=6x3+mm+magnete&qid=1668793043&sr=8-8</a></p><p>Velcro: </p><p><a href="https://www.amazon.de/gp/product/B09V5BKYYP/ref=ppx_yo_dt_b_asin_title_o02_s00?ie=UTF8&psc=1">https://www.amazon.de/gp/product/B09V5BKYYP/ref=ppx_yo_dt_b_asin_title_o02_s00?ie=UTF8&psc=1</a></p><p>Some sandpaper to smooth the edges who will get in contact with the HMD.</p><p>Glue the pins (white) into the openings, push them all the way in. </p><p>Print with supports Everywhere, orientation like shown in the previews and pictures.</p><p>Glue the magnets into the corresponding holes ( be careful and check polarity, the right side uses reversed polarity compared to the left side!) </p><p>test place the magnets on the original gaskets magnets before gluing them in! You dont want to glue them in and realize later that some of them repel the magnets on the HMD side.</p><p>Give it enough time to dry and cover the magnets with some tape. ( if not fully dry super glue vapor will whiten ( cause white spots) your HMD at contact point! </p><p>Cut the Velcro in fitting pieces and glue them on the front so the padding can be applied without leaving gaps where light could leak in. </p><p>Attach it to your pico once all the glue is fully dried, attach the VR cover padding of your choice, the nose light blocker and be amazed ;) </p><p> Gasket cushions for the Quest1 or Quest 2 and even index should fit nicely, not really a lot of difference when it comes to cushions. </p>
With this file you will be able to print Pico 4 FOV+ comfort gasket magnetic with your 3D printer. Click on the button and save the file on your computer to work, edit or customize your design. You can also find more 3D designs for printers on Pico 4 FOV+ comfort gasket magnetic.