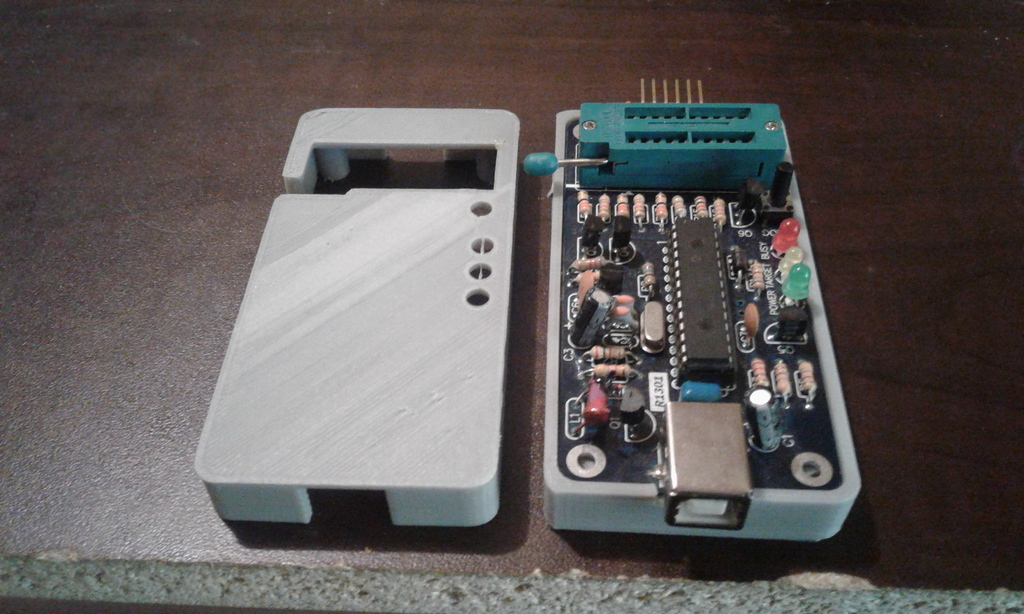
Pickit 2 case canakit cr1301
thingiverse
Basic Example for Canakit CR-1301 USB PIC Programmer ===================================================== Below is a straightforward tutorial to get you started with using the Canakit CR-1301, a versatile and user-friendly USB PIC programmer. Step 1: Download and Install the Software ----------------------------------------- First, head over to the official website of Canakit and download the software specifically designed for their USB PIC programmer. Ensure it's compatible with your operating system (Windows, macOS, or Linux). Step 2: Connect the Programmer ----------------------------- Carefully connect the CR-1301 programmer to your computer using a USB cable. Make sure it's securely attached. Step 3: Choose Your Programming Tool ------------------------------------ Select a programming tool that suits your needs from among those supported by the Canakit CR-1301, including Microchip MPLAB X IDE, Arduino, and others. Step 4: Program Your PIC Microcontroller ----------------------------------------- With the software installed and connected to the programmer, it's time to program your PIC microcontroller. Follow the intuitive interface of your chosen tool to upload your code to the device. Conclusion ---------- The Canakit CR-1301 is an excellent choice for anyone looking to start programming PIC microcontrollers. Its ease of use makes it perfect for beginners and professionals alike. By following these simple steps, you'll be well on your way to successfully programming your PIC devices with this versatile USB programmer.
With this file you will be able to print Pickit 2 case canakit cr1301 with your 3D printer. Click on the button and save the file on your computer to work, edit or customize your design. You can also find more 3D designs for printers on Pickit 2 case canakit cr1301.
