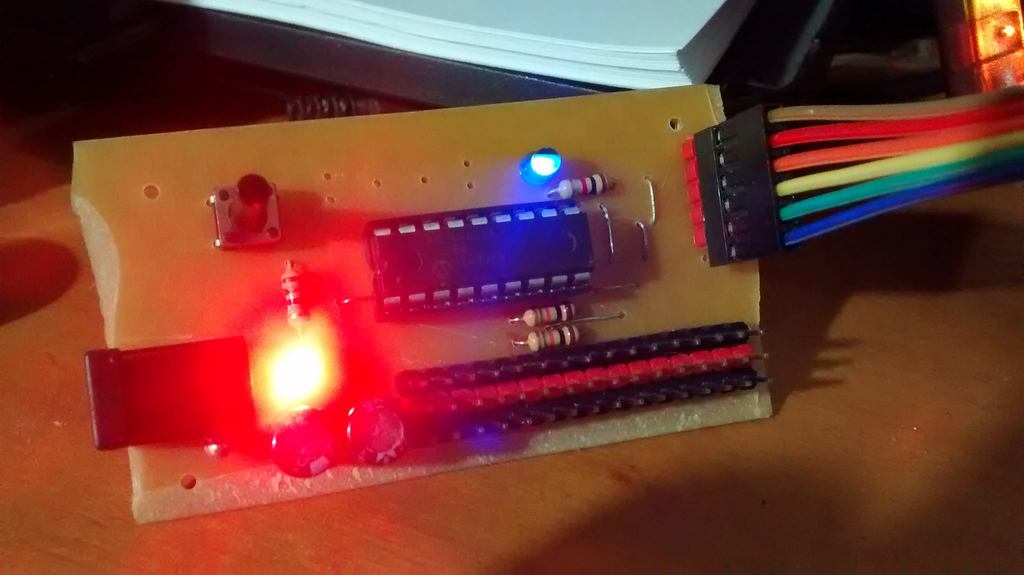
PIC16F628a development board
thingiverse
This is an extremely straightforward development board for the PIC16F628a (or any other 18-pin pic with ICSP on the same pins). It has an ICSP pin header for use with a PICKIT2 (or anything that is compatible with it) and three rows of pins: one for microcontroller pins, one connected to the 5V power supply, and one to ground. The arrangement makes it easy to connect a servo or any other module directly to the board without needing a breadboard. The development board features a built-in LED on the RB5 pin, a reset button, a DC jack, an AMS1117A regulator, and a power LED. There are pads for an external crystal oscillator and 22pF capacitors. Here is what you need: - One PIC16F628a microcontroller and an 18-pin DIP socket - Two 3mm LEDs - Two 10k resistors - Two 1k resistors - Two electrolytic capacitors with a value above 4.7uF and a voltage rating above 16V - One Omron-like tactile switch - One AMS1117-5V regulator (you can also use a lower voltage version like the 3.3V one, but you'll need to adjust the resistors for the LEDs) - Three 16-pin male or female pin headers - One 4 to 20 MHz HC49 crystal oscillator and two 22pF capacitors (not necessary if you're using the internal oscillator) Etch the board, solder everything together. Leave the component leads intact to create jumpers. Download your program to the board with a PICKIT2 or compatible device. That's it!
With this file you will be able to print PIC16F628a development board with your 3D printer. Click on the button and save the file on your computer to work, edit or customize your design. You can also find more 3D designs for printers on PIC16F628a development board.
