Piano Jewelry Box
thingiverse
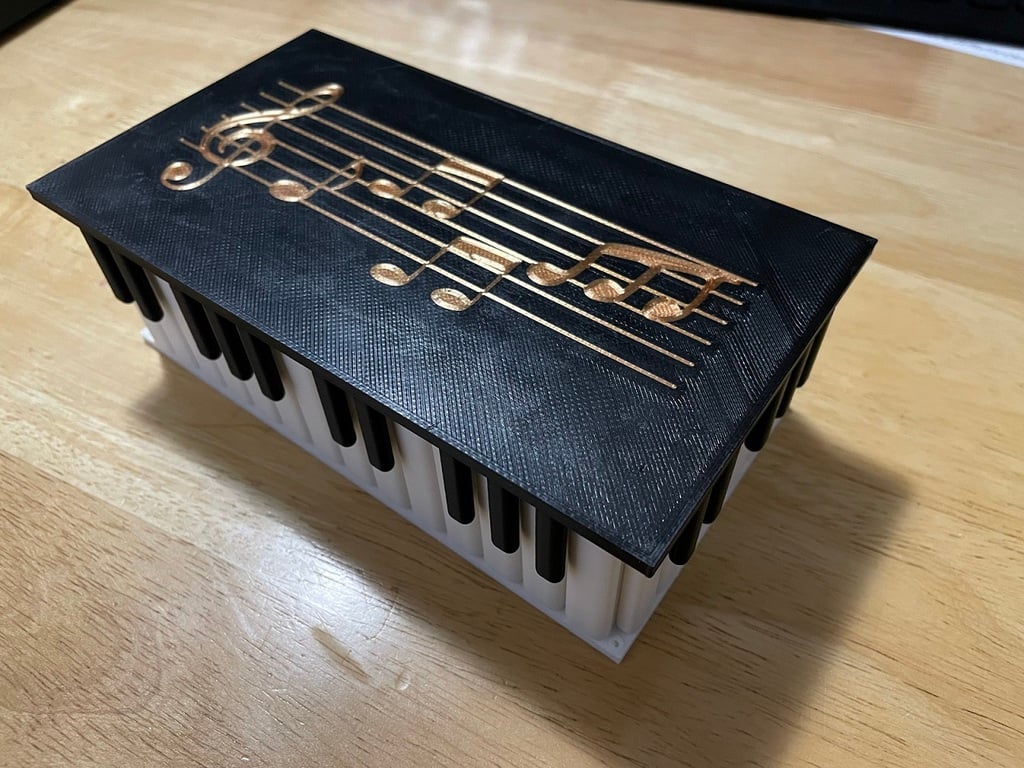
This is a jewelry box / gift box that I made for my mother-in-law for Christmas. She loves piano, and I couldn't find any fun piano-themed items I liked to print, so I made my own. The base of the box is the regular keys and the lid includes all the sharp/flat keys. The lid includes music notes (borrowed from another design here on Thingiverse - "music by Syzguru11"). This will probably not work if you have an auto-leveling system on your printer that automatically levels before or after each print, because the notes and lid are two different prints that go on the bed together. This is set-up to print is 0.20 layer higher in black, white, and one color PLA. To print, first you need to print the "Piano Box Notes" file in a fun color. I used a silk rainbow PLA that just happened to be at a gold/orange color in its cycle, so it worked quite nicely. Stay by the printer (should be less than 10 minutes, it's a single layer), because you'll want to tell your printer to pre-heat as soon as it is done so that the nozzle and bed do not cool too much. Then remove the skirt and prep line, but do not remove or touch the printed notes! Next print the "Piano Box Lid" in black. It's important that your print does NOT include supports, or your slicer will likely try to support the empty space where the notes were already printed in the other color. You also may want to have a higher infill on this part since the black notes hang down from the lid - I believe I set it to did 50%. Finally, print the "Piano Box Base" in white. The infill doesn't need to be as high on this as it does on the lid because the box has solid walls and the keys are joined to the walls - I did 20%. This print can be a little finicky to get right, but when it works, it's really fun.
With this file you will be able to print Piano Jewelry Box with your 3D printer. Click on the button and save the file on your computer to work, edit or customize your design. You can also find more 3D designs for printers on Piano Jewelry Box.
