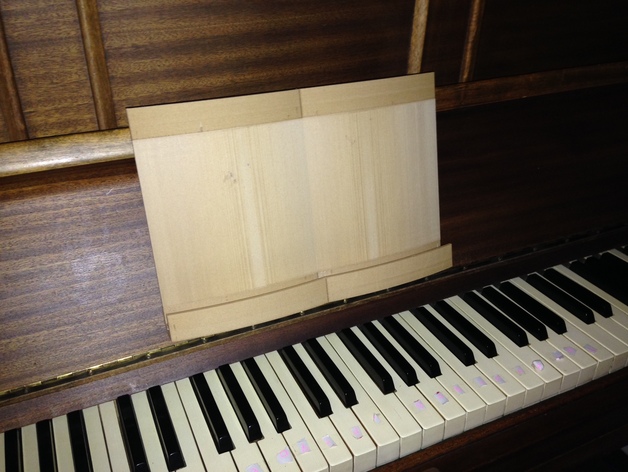
Piano book stand
thingiverse
I crafted this bookstand from scratch, equipping it with a unique mounting mechanism designed specifically for our piano. Be sure to inspect the print before installing it; after all, every piano is distinct. I leveraged Fusion 360 to bring my concept to life. Printing on our trusty Ultimaker Original+, utilizing colorFabb Woodfill Fine, proved to be an exciting endeavor. I decided to enter this creation into the 2015 colorFabb Time-lapse contest, where it eventually showcased its full printing time: a whopping 44 hours. Watch the entire printing process in action here: https://youtu.be/vSgKZPUul0E. Printer Specifications - Printer Brand: Ultimaker - Printer: Ultimaker Original - Rafts: No rafts were used - Supports: Not required - Infill: 30% fill ratio achieved Notes: Temperature set at 200 degrees Celsius, filling ratio of 30%, and a bed temperature maintained at 50 degrees Celsius. Printing speed adjusted to 100 mm/s for top and bottom parts, with the middle part printed at 150 mm/s. Assembly Post-Printing Each separate component needs to be secured together using M3 nuts and bolts. By following this step-by-step process, your bookstand will be ready to support even the heaviest books in style! Design Process My initial design was conceived using Fusion 360, an incredible software tool that allowed me to precision-design every detail of my bookstand with utmost ease and flexibility.
With this file you will be able to print Piano book stand with your 3D printer. Click on the button and save the file on your computer to work, edit or customize your design. You can also find more 3D designs for printers on Piano book stand.
