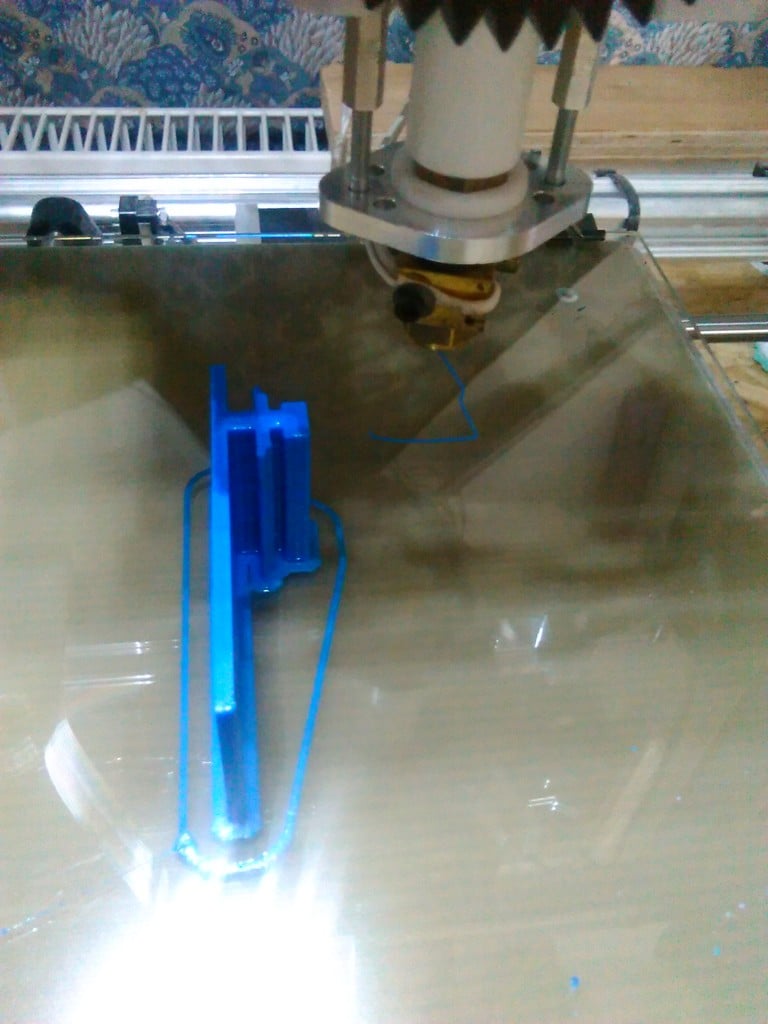
pi0_to_k8200_mount
thingiverse
Mounting a Pi Zero to the K8200 Frame: A Simplified Approach If you're using Octopi, consider this straightforward method of attaching your Pi Zero to the K8200 frame. Simply connect it via USB to the controller board. Update: With a Pi Zero W in hand and the stable Octopi 0.13 image, there's a minor catch. The onboard Wi-Fi doesn't configure automatically due to the distro being created before the Pi Zero W's release. To resolve this, plug in a USB hub, a PiHut Wi-Fi dongle, a keyboard, and an HDMI monitor. Upon booting, the device should detect the Wi-Fi dongle and establish a connection. Next, log in and proceed with updating Raspbian using these commands: 1. Enable SSH: `sudo raspi-config` 2. Update package lists: `sudo apt-get update` 3. Upgrade existing packages: `sudo apt-get dist-upgrade` 4. Install rpi-update: `sudo apt-get install rpi-update` 5. Run rpi-update: `sudo rpi-update` 6. Shutdown the device immediately: `sudo shutdown now` Remove the Wi-Fi dongle, restart the Pi Zero W, and your onboard Wi-Fi should be fully functional.
With this file you will be able to print pi0_to_k8200_mount with your 3D printer. Click on the button and save the file on your computer to work, edit or customize your design. You can also find more 3D designs for printers on pi0_to_k8200_mount.
