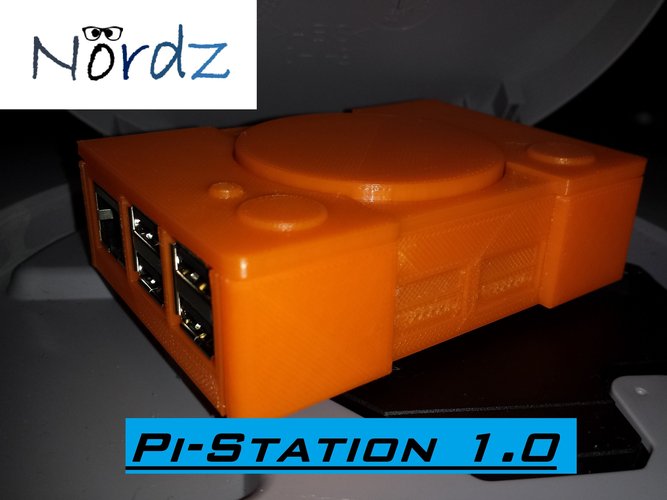
Pi-Station 1 (Raspberry Pi 2 case)
pinshape
A Raspberry Pi 2 case designed to resemble a classic PlayStation console. To print this design, start by supporting the base as it requires additional support during printing. The rest of the components are relatively easy to print. I used a layer height of 0.1 mm for optimal results. Once printed, follow these steps to assemble your Raspberry Pi 2 case: 1. Securely fasten your Raspberry Pi to the base. 2. Combine the back and side parts of the case. 3. Attach the combined back and side components to the base. 4. Complete the assembly by adding the front and finally the top part. If you encounter any difficulties during this process, please don't hesitate to reach out for assistance.
With this file you will be able to print Pi-Station 1 (Raspberry Pi 2 case) with your 3D printer. Click on the button and save the file on your computer to work, edit or customize your design. You can also find more 3D designs for printers on Pi-Station 1 (Raspberry Pi 2 case).
