Pi Din/Vesa Cases
thingiverse
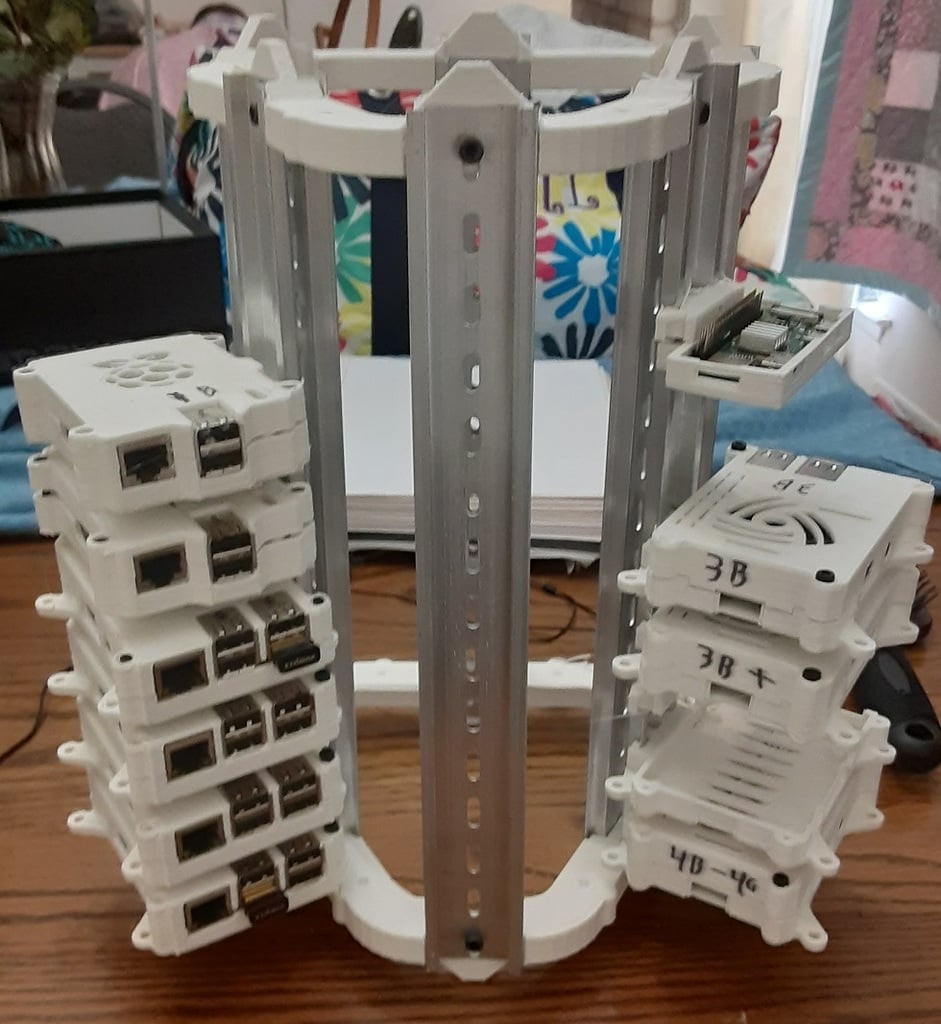
Remix of the VESA Pi cases, with an added DIN rail clip. The Pi3 bottom also works with Pi 2 and PiB+, but make sure to check compatibility before printing. To install the DIN rail clip, you'll need to flex it manually. It can be quite stiff after printing, so a few flexes should loosen it up, making it easy to snap on and off the rail. For the Pi3 and Pi4, use M3x6 screws to attach the board to the bottom case. If you have an M3 tap, it's recommended to thread the case for a secure fit. When attaching the lids to the base, carefully insert M3x18 screws for all but the Pi0. If you have a tap to thread the bottom, it's recommended to use that or M2 screws if you've heat-set an M2 nut into the base. All cases except the PI zero come with a 75mm VESA mount. The pi-zero has a separate design that includes the VESA mount due to its larger size compared to the case for just the pi.
With this file you will be able to print Pi Din/Vesa Cases with your 3D printer. Click on the button and save the file on your computer to work, edit or customize your design. You can also find more 3D designs for printers on Pi Din/Vesa Cases.