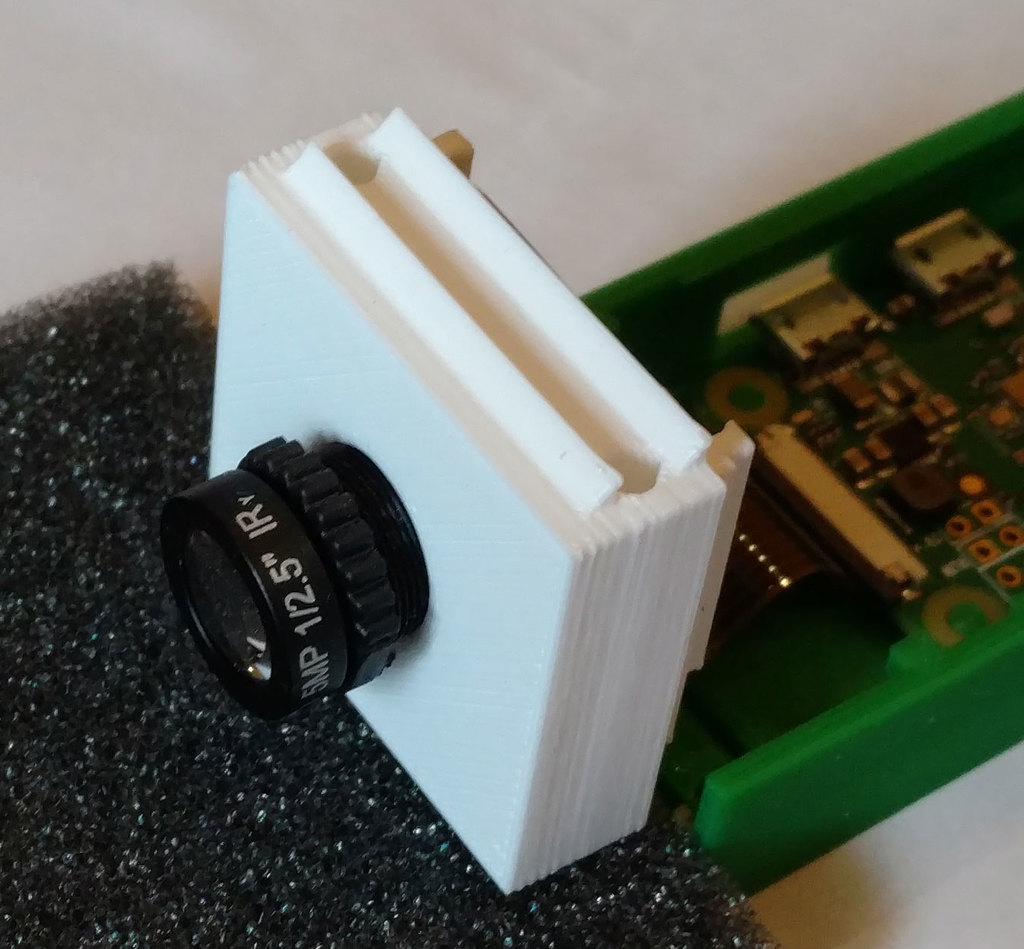
PI Camera M12 Lens Holder
thingiverse
An M12 lens mount for a Raspberry Pi or Pi Zero camera board is achieved by following these steps. 1. Remove the existing lens and holder from the camera board. 2. Use an M12.5 tap to drill a hole into the lens position on the camera board. 3. Snap the camera board firmly into the newly created holder, which securely holds it in place. 4. Screw any M12 lens into the tapped hole. It is essential to note that depending on the focal length and intended sensor size, the required depth may vary. To enable editing, I have included the Rhinoceras source file (.3dm) for this mount. To accommodate different Raspberry Pi models, including the Pi Zero, I've added files for the actual container. Although it may not be aesthetically pleasing, it works effectively with a Pi Zero.
With this file you will be able to print PI Camera M12 Lens Holder with your 3D printer. Click on the button and save the file on your computer to work, edit or customize your design. You can also find more 3D designs for printers on PI Camera M12 Lens Holder.
