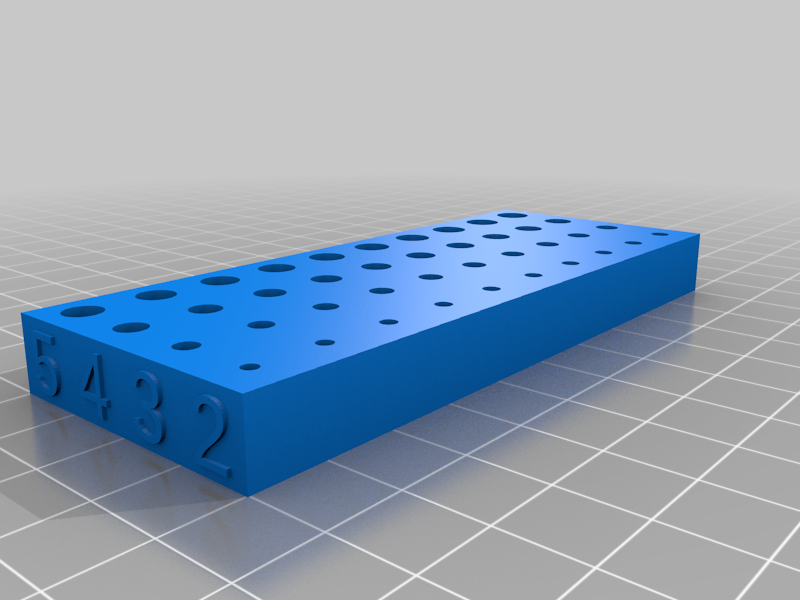
Physical Fit Testing Blocks
thingiverse
Update: July 31st, 2020 - The OpenSCAD file has been updated to work seamlessly with the Thingiverse Customizer. Initially, it worked flawlessly in OpenSCAD but caused syntax errors in the online version. However, after making some adjustments, everything is now working smoothly. This tool is incredibly simple yet surprisingly useful for eliminating unnecessary steps when designing objects that need to fit a physical item with a specific amount of slack. By using this block, you can quickly determine the ideal size and tolerance for your 3D printed object. For instance, let's say you have a metal rod or a hex bit from a drill that needs to "fit" into your 3D printed object. You measure the item with calipers, which gives you the size for the design, but you're not entirely sure what the actual "fit" will be like when it's printed out. Sometimes, you want a loose fit that allows the item to slide freely without wobbling around in the hole. Other times, you desire a tight fit so the item goes into the hole with some force required to remove it (like the "grip" between Lego bricks). And sometimes, as with screws, you need it to be small enough that the item won't quite fit into the hole but still allow the screw to "bite" into the plastic without causing any damage. As someone who's been printing for a while now, I've developed a sense of these tolerances with my printer. However, this block provides an incredibly quick way to test and gain confidence that your printed item will do its job effectively. The OpenSCAD file allows you to generate blocks of various sizes, although the provided STL files should cover most needs. Each row of 10 holes has a label at the end indicating the "base" size in mm for those holes. The hole diameter increases by 0.1mm with each successive hole, starting from 0mm larger (the base size) and going up to 0.9mm larger on the right-hand side. By adjusting the parameters in the OpenSCAD file, you can quickly create custom blocks with rows of desired thickness, hole size, and number of sides for the holes. If you're using the OpenSCAD to create your own blocks, here are some notes to keep in mind: - Don't try printing a single block that includes every hole size between 0mm and 15mm; it will take ages to print and use up unnecessary filament due to the spacing around the holes. Four rows per block is probably as far as you want to push it for print time and effective use of your plastic roll. - You can customize the number of sides for the holes using the - parameter, which will likely default to circles or hexagons but allows for triangles, octagons, or any other shape you desire. Just remember that you're working with hole diameter, so if you try printing squares with a 5mm diameter, you won't get squares with 5mm sides; instead, you'll get squares where the diagonal between opposite corners is 5mm (the diameter of the circle containing the square).
With this file you will be able to print Physical Fit Testing Blocks with your 3D printer. Click on the button and save the file on your computer to work, edit or customize your design. You can also find more 3D designs for printers on Physical Fit Testing Blocks.
