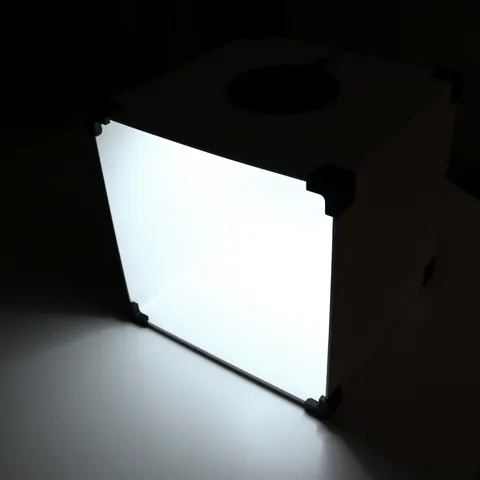
Photo studio lightbox with built-in lighting
prusaprinters
To be able to take photos of products with a consistent result I bought a photo tent. It was getting a bit tedious to set it up and take it down, ironing the backdrop and all that for every little piece I needed to take a photo of. So I made a smaller permanently assembled version to use for all the smaller pieces I needed to take pictures of.I used a LED light ring with three different modes, white light, soft light Printed parts needed to make thisCorner AX4CornerBX2CornerCCornerDLightRingHolderLightRingHolderTopRampARampB Other parts needed5 x Square nut DIN 562 M35 x Screw DIN 912 12 mm M31 x Set Laser Cut 3 mm Plywood1 x 6" LED Light Ring Assembly instructionsStart by gluing the two pieces of ramps together. Take some time to align them properly to reduce the work later when painting.Glue the box together and wait for it to completely dry. I used an expanding wood glue to help fill all the little voids. Get rid of the excess glue to leave a smooth as possible surface.Glue the ramp in the back of the box and put the last two pieces of plywood in, one on the back and one on the bottom. When everything is dry start preparing for paint. The goal is to make every surface inside the box as smooth as possible. I used a white paint with a matte finish to reduce sharp reflections.Insert the square nuts into the light ring holder and put the light ring in place. There is a cutout for the cable to come thru. Insert the light ring holder and put the top in place guiding the cable in the groove and aligning all the holes. Secure everything with five 12 mm screws.Glue all the corners in place and you are done. Light modesI used a LED Light Ring with three different modes.White Light Soft Light (white and warm) Warm Light I also included a .step file so you can make your own modifications with ease.
With this file you will be able to print Photo studio lightbox with built-in lighting with your 3D printer. Click on the button and save the file on your computer to work, edit or customize your design. You can also find more 3D designs for printers on Photo studio lightbox with built-in lighting.