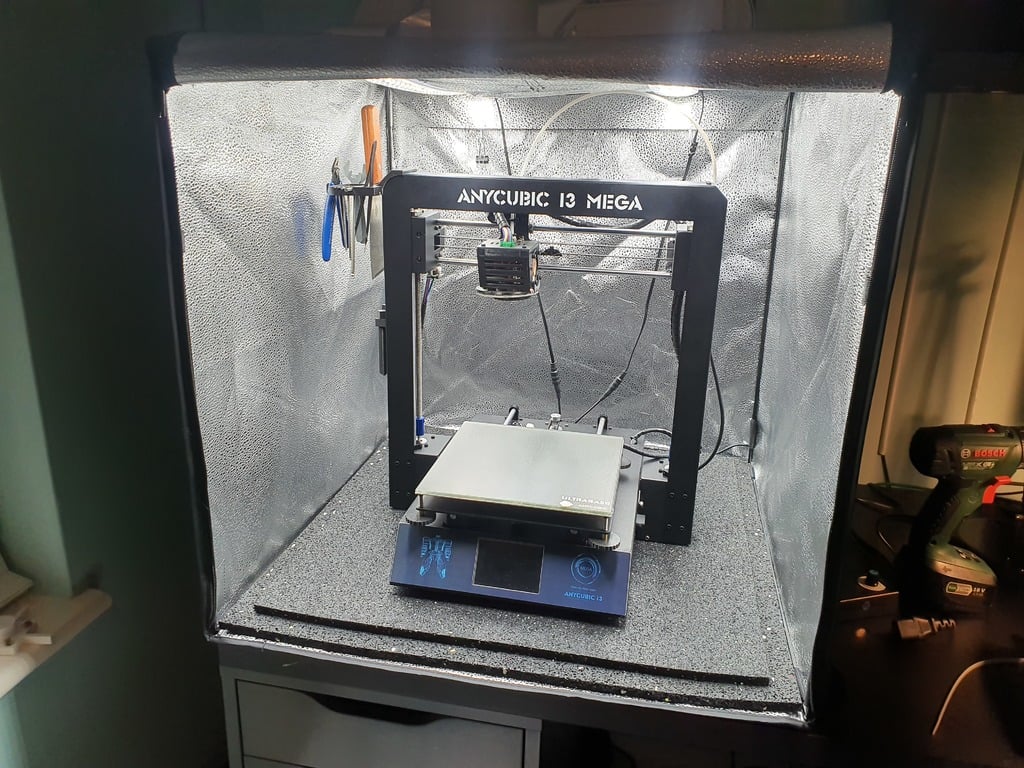
Photo Box 3D Printer Enclosure
thingiverse
It appears that you're sharing a guide on how to build an air purification system using a photo box, LED light strips, and other components. The project involves creating a fan assembly, installing it in the photo box, and connecting it to a power source. To summarize the instructions: 1. Unfold the photo box and install the LED light strips. 2. Install an anti-vibration mat at the bottom of the photo box. 3. Cut a 120mm x 120mm square from the diffuser cloth to seal the top of the photo box. 4. Remove the connector from the fan cable, wire it, and screw it into one of the female jacks. 5. Print the parts for the fan assembly, including the dust filter, fan, fan housing, carbon filter, and diffuser cloth. 6. Assemble the fan assembly, making sure the rods slide through the holes in the fan housing and rail brackets. 7. Install the rails and rail brackets to the fan assembly. 8. Install the fan assembly to the photo box frame and hook the diffuser cloth to the frame. 9. Connect the fan to the in-line switch and then connect that to the 12v DC switching adapter. 10. Zip tie the 100mm fan duct to the duct outlet and feed the other end out of a window. The CAD files for the fan housing, carbon filter clamp, fan duct outlet, and fan rail bracket are available on Tinkercad. Please let me know if you'd like me to clarify any part of these instructions.
With this file you will be able to print Photo Box 3D Printer Enclosure with your 3D printer. Click on the button and save the file on your computer to work, edit or customize your design. You can also find more 3D designs for printers on Photo Box 3D Printer Enclosure .