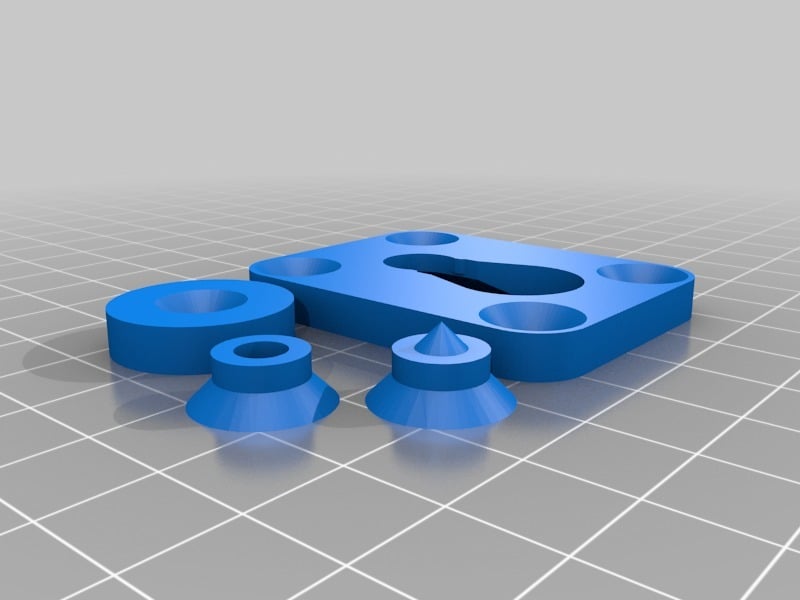
Photo/Art Hanger with Alignment Tool
thingiverse
I create a wide range of items using my CNC machine: http://www.brandonhilder.com/portfolio/cnc-gallery. I've had a complicated relationship with hanging things. One day, an idea struck me for a universal hanger that could be used for everything I make. Typically, I use keyhole hangers mortised into the back of my work, but this new concept came to me as a way to simplify the process of aligning artwork with wall holes. To use it, you simply attach the plate to the back of your work and then slide in the pointed model. After aligning the work where you want it, push it against the wall firmly enough to create indentations on the surface. You can then use those marks to add a hole for an anchor, followed by using the collar with a #8 screw. I prefer to use auger-style anchors like https://www.thingiverse.com/thing:2191927. The dxf file can be used to CNC the back of your work so that it will be flush against the wall. You can print one plate for each corner, or simply make two for the top corners and add spacers to the lower back of the work, creating a 5mm gap between the work and the wall. I printed this with no support at 100% fill. There is also a model available that shows all the pieces fully aligned for printing, so you should only need to print two.
With this file you will be able to print Photo/Art Hanger with Alignment Tool with your 3D printer. Click on the button and save the file on your computer to work, edit or customize your design. You can also find more 3D designs for printers on Photo/Art Hanger with Alignment Tool.
