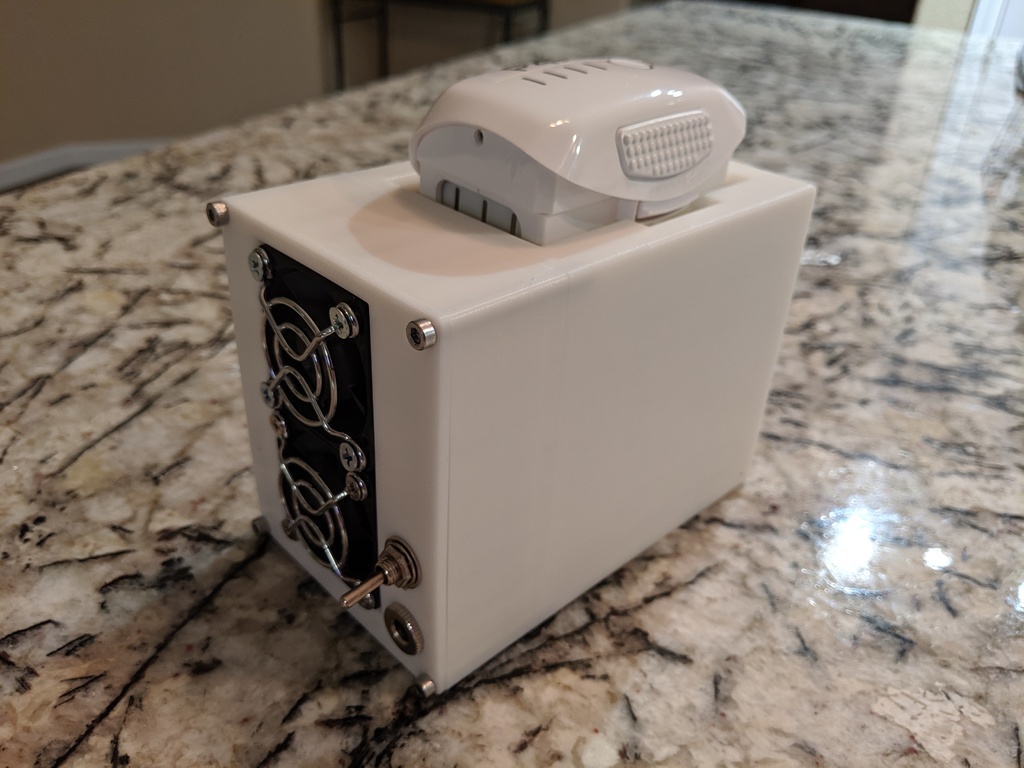
Phantom 4 Pro Battery Cooler
prusaprinters
<p>A simple cooler to force air through a <a href="https://click.dji.com/AK5sM0J7okY4V-1zEIYg6Q?pm=link">Phantom 4 Pro</a> battery. In my testing, this cooler will take a hot post-flight battery to cool enough to charge in about 1 minute if the ambient temperature is around 75-80 degrees Fahrenheit.</p><p>It is powered using a 12V car outlet, or via any other 12V power source. It can also be run off 5V but fan speed (and cooling speed as a result) will be significantly slower.</p><h3>Hardware Needed:</h3><p>2 - 40mm x 28mm Fan</p><p><a href="https://amzn.to/3sMq4m6">https://amzn.to/3sMq4m6</a></p><p>(The above Sunon Maglev server fans are expensive but they do the job as you would hardly believe incredible little fans.)</p><p> </p><p>2 - 40mm Fan Grills (optional)</p><p><a href="https://amzn.to/3zv0TYW">https://amzn.to/3zv0TYW</a></p><p> </p><p>1 - Mini Toggle Switch</p><p><a href="https://amzn.to/3WfPnuh">https://amzn.to/3WfPnuh</a></p><p> </p><p>1 - DC Power Jack</p><p><a href="https://amzn.to/3NmtW6I">https://amzn.to/3NmtW6I</a></p><p> </p><p>4 - M3 x 40mm Machine Screws</p><h3>Post-Printing</h3><p><strong>Wiring</strong></p><p>Simply solder the positive wires from the fans to the switch, and wire the other side of the switch to the positive terminal on your DC power jack.</p><p>Then solder the negative wires from your fans directly to the negative terminal on your DC power jack and you are done.</p><p>Lots of room has been left for wires and cable management.</p><p>Category: R/C Vehicles</p>
With this file you will be able to print Phantom 4 Pro Battery Cooler with your 3D printer. Click on the button and save the file on your computer to work, edit or customize your design. You can also find more 3D designs for printers on Phantom 4 Pro Battery Cooler.
