 prusaprinters
pH Controller
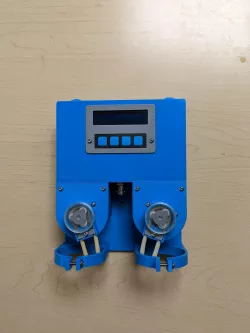
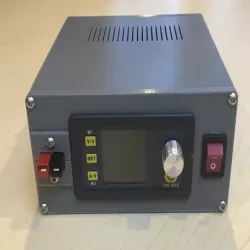
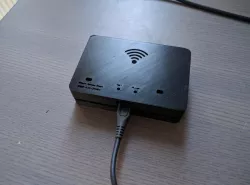
Notes:Uses off-the-shelf “modules” – no custom PCB. Will require some soldering and custom cabling. Uses Arduino code for both the pH controller and the optional MQTT WiFi publisher. Requires Arduino libraries including 3rd party. Please see .ino files and abide by GPL licenses. Has ability to use automatic temperature compensation and solution compensation.Has optional ability to send information via WiFi to a MQTT broker. I use Node-Red to display a dashboard. Data is sent serially from the pH microcontroller to the ESP01S module that takes care of publishing. You will need to enter your WiFi credentials and broker address in the MQTT source code.Bottle holder for the lids of 500 ml lab bottles for the reagents. Cut appropriate size tubing holes along with a small breather hole. Bottle holder can be mounted in either “wall” or “bench” configuration.Light duty, takes ~20 seconds to dispense 2 ml. My set up dispenses at most 2 ml every 5 minutes.Uses cheap, 28BYJ-48 5V motors driven in bipolar mode at 12V. Need to change the 5 pin JST connector to a 4 pin and rearrange wires. (Red middle wire is not used). Remember to adjust current on the stepper motor driver module. See schematic for details.Uses inexpensive pH sensor module. Replace trim pot VR1 with a 20K resistor. This will limit the output to less than 2.5V. Controller is set up to use higher precision 2.56V internal reference. Lots of software smoothing (configurable). Avoid AC pumps/motors in the reservoir. Use a linear (vs switching) 12VDC power supply to avoid instrument noise.Peristaltic pump tested using 3x5 mm BPT tubing. Check your reagent chemical compatibility. Tight tolerances to enable rotation without air gap. I use PTFE 2x4 for non-peristaltic run. May need to fine tune the peristaltic rollers.Use “super-lube” on all moving parts to reduce friction and increase tubing life.I use cheap preassembled Dupont wires of the appropriate length. I remove the single housings and replace with appropriate 1 or 2 row housings. Please do not use singles or at least glue them together. I twist and heat the wires for neater assembly.I have mine working to pH control a small bio-reactor – has been working trouble free for 6 months so far!Printing Notes:Used PET-G for all parts.
Direct link to the original creator's page
Also Available On
More from dalama

Similar Models
 thingiverse
 prusaprinters
 grabcad
 prusaprinters
 prusaprinters
 prusaprinters
 thingiverse
 prusaprinters
Model Specifications
Frequently Asked Questions
How do I download pH Controller?
Click the "View on prusaprinters" button above to visit the original model page on prusaprinters. You can download the STL file directly from the creator's page for free.
What 3D printer can I use for this model?
This STL file is compatible with most FDM 3D printers (Creality Ender 3, Prusa MK3S+, Bambu Lab, etc.) and resin printers (Elegoo, Anycubic). Check the original page for recommended print settings and materials.
Is this 3D model free to download?
Yes, this model is available as a free download on prusaprinters. Some creators accept tips or donations.
Can I modify this STL file?
Most STL files can be modified using free software like Blender, TinkerCAD, or Meshmixer. Check the license on the original prusaprinters page to see if modifications are permitted by the creator.