PET bottle automatic dosing dispenser
prusaprinters
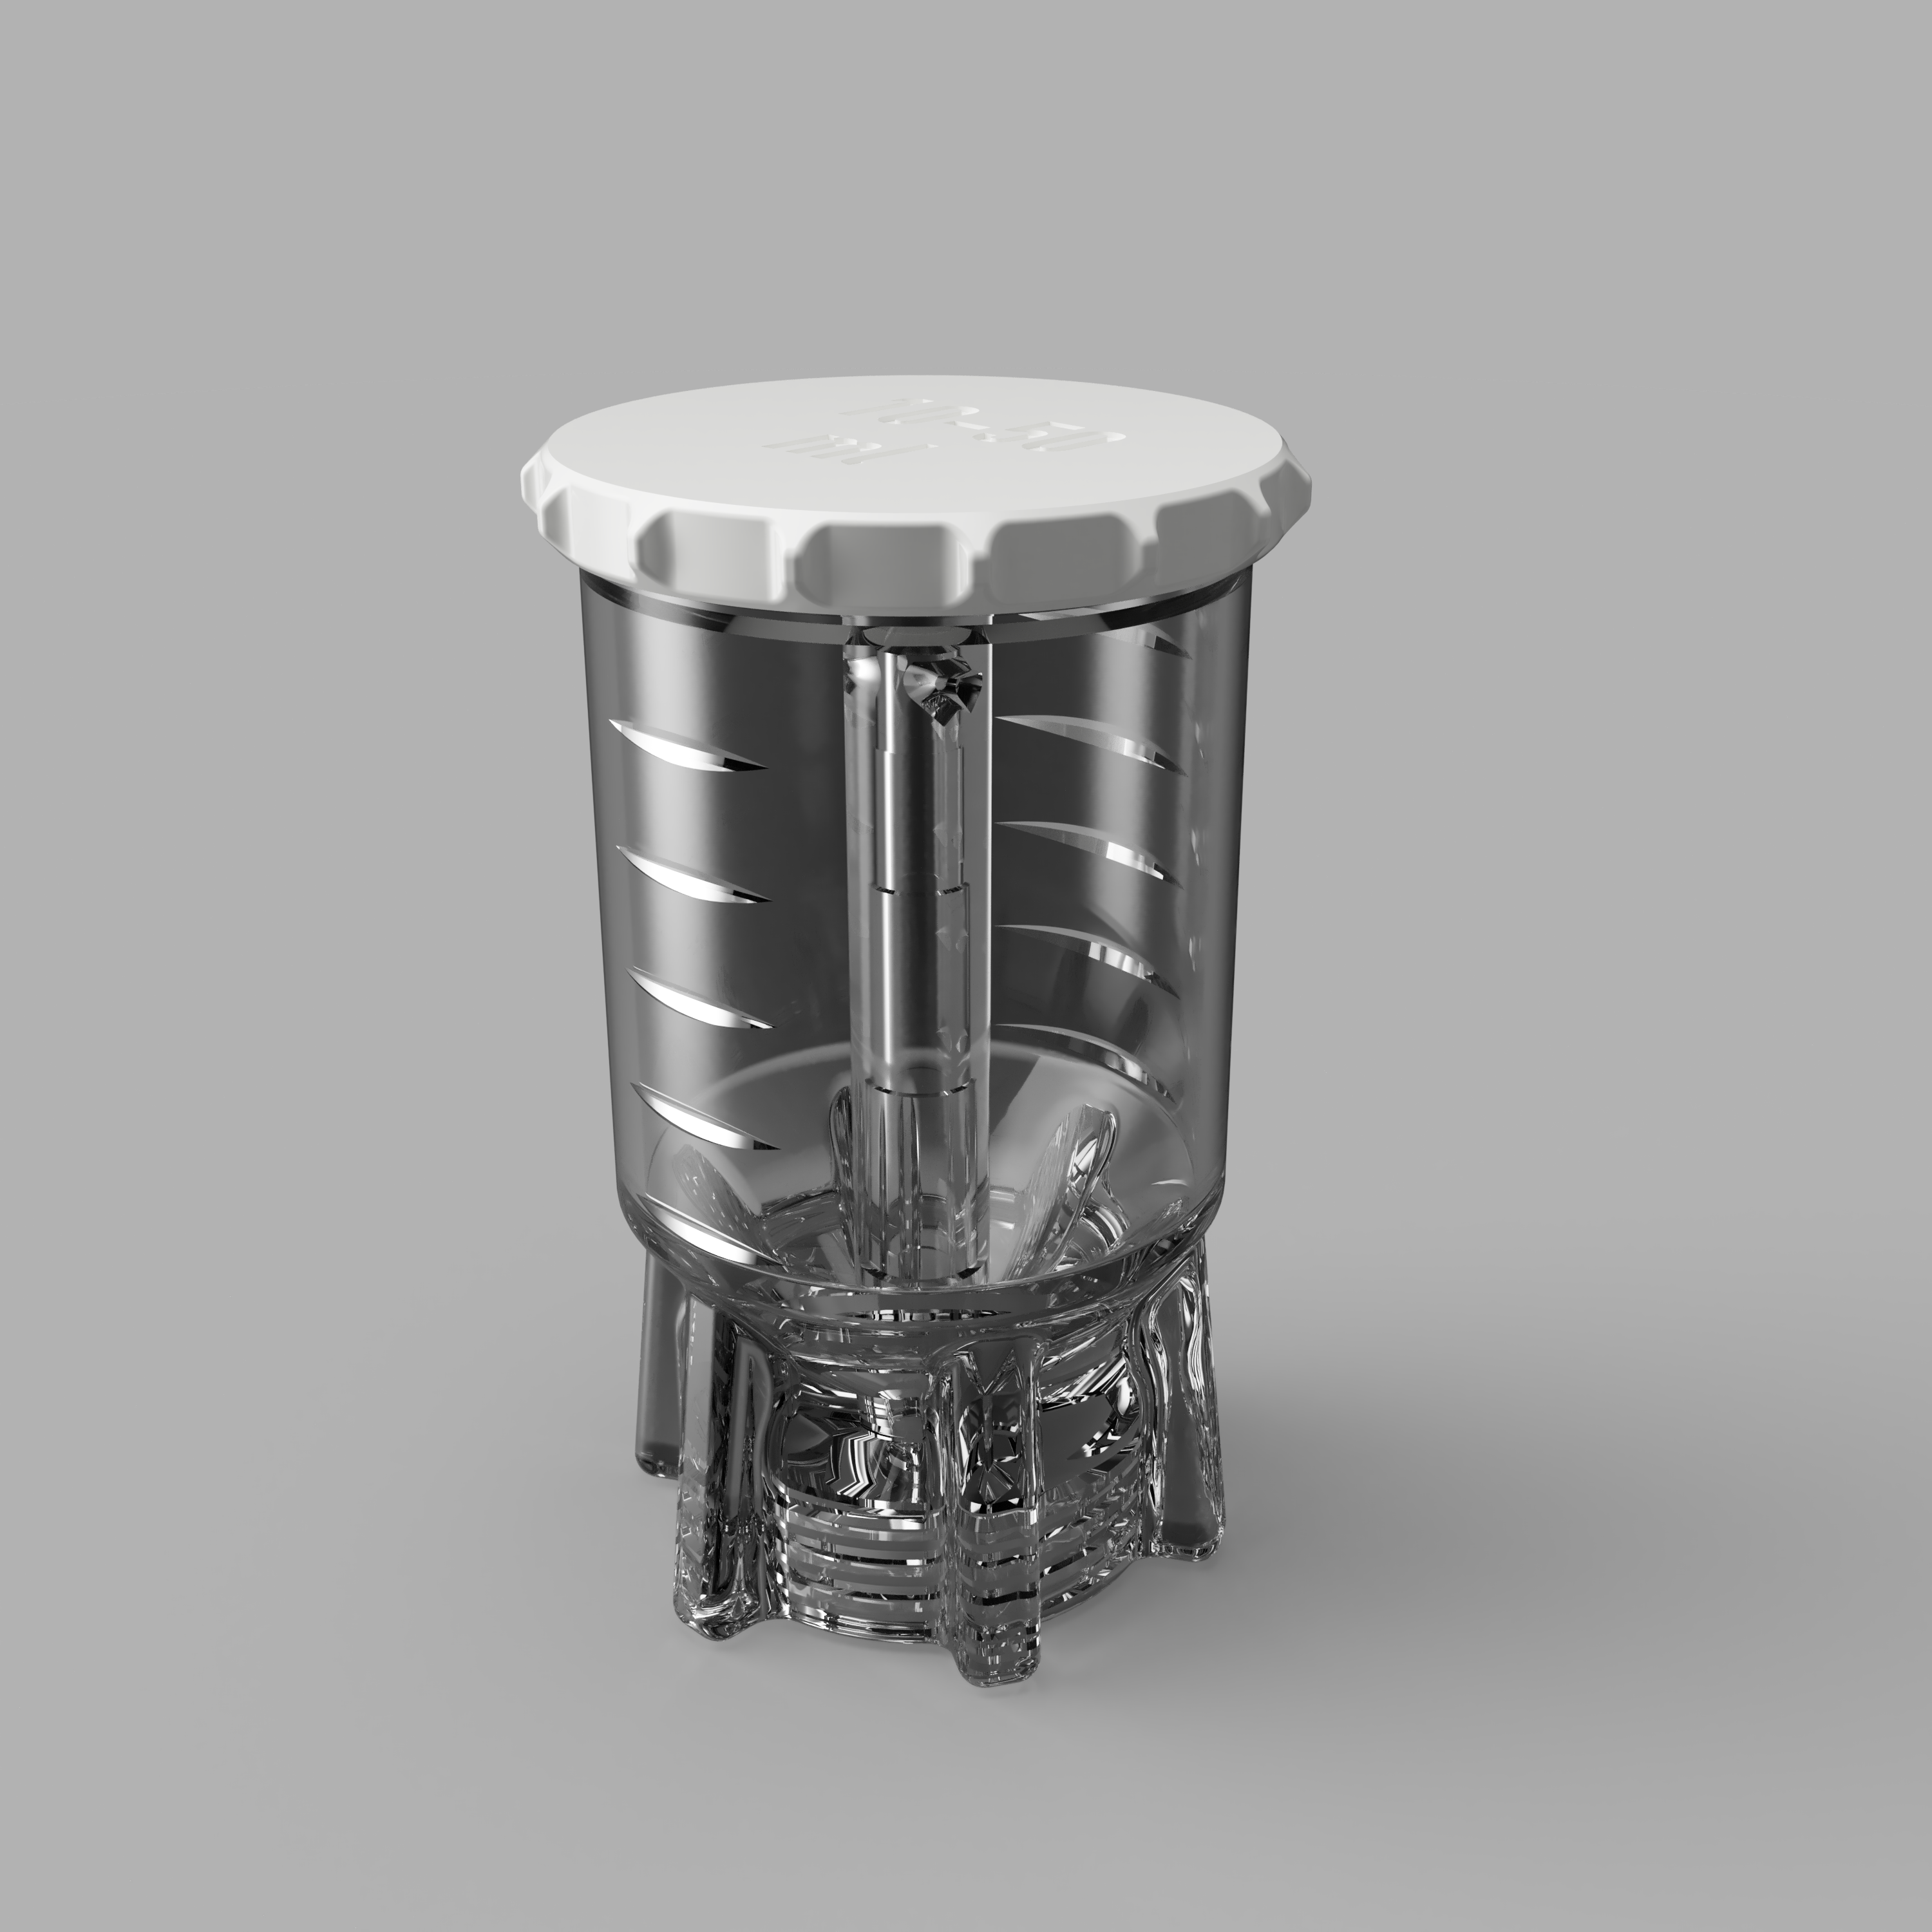
<h4>What it is </h4><p>This is a dispenser that automatically gives off a predefined quantity of liquid, using a PET bottle as a storage tank. Additionally, smaller amounts of liquid can be gauged manually.</p><p>There are three dispensers in the file set which automatically limit the amount of liquid delivered to </p><ul><li>30 ml (+/- 1 ml) (the Not-Too-Much-Syrup Edition)</li><li>50 ml (+/- 1 ml) (the Too-Much-Vodka Edition)</li><li>80 ml (+/- 1 ml) (the Horse Medication Edition) </li></ul><p>and each have a scale of 10 ml increments. They may be further customized using the Fusion360 files attached.</p><h4>How it is used</h4><p><strong>Operation: </strong>Fill a PET bottle to a maximum of about ¾ (or less) of its nominal volume with the liquid you want to dose. <br>Screw the dispenser (without the cap) to the bottle's thread.<br>Gently squeeze the bottle. The dispenser's cup will fill with liquid. Go on until the cup is filled above the top (30/50/80 ml) mark. <br>Now release the bottle, and the excess liquid is drawn back into the bottle, leaving quite exactly (30 or 50 or 80) ml of liquid in the dispenser's cup.<br>You can now pour off the measured amount of liquid by simply tilting the whole bottle with the dispenser mounted. The dispenser may remain on the bottle for further use (unless there's hygienic concern depending on what type of liquid you use it with) and can be closed using the cap if desired.<br>If you need a smaller quantity of liquid, you may use the scale marks to dose in increments of 10 ml, but in this case there is no automatic retrieving of excess liquid. <br><strong>Cleansing:</strong> Nearly the same as operation… just fill the bottle (or a second bottle) with a mix of warm water and dish liquid (or whatever cleaning agent is required by the liquid you use the dispenser for), install the dispenser, shake the bottle, squeeze it, and pour off the dispenser cup's content. Repeat (a few times). Then repeat the process with clear water.<br>If the tube you use is detachable, you can also put the dispenser into the dishwasher. Yet, to clean the tube as well, I recommend to additionally follow the above procedure as well.</p><h4>Printing</h4><p><strong>Choice of material:</strong> First, ask yourself which kind of liquid you want to use the dispenser with. Since we are using a PET bottle, PET as a printing filament should be fine as well. There are numerous polymers which are superior to PET under the aspect of chemical resistance. We can use these as well, but the bottle stays the limiting factor, so <strong>don't</strong> use it with liquids that might chemically react with PET.<br>Second, if you want to use the dispenser for beverages, be sure to use a food-safe material. Still I strictly recommend to <strong>never</strong> bring any 3D printed object into contact with <strong>milk.</strong><br>Third, a transparent material obviously is beneficious. That said, it stays a sad fact that FDM prints can't be really transparent… don't expect to ever reach a surface quality like that in the renderings. Therefore it's a good idea to use your slicers' multicolor feature to support the tickmarks' visibility. The file set contains a PrusaSlicer multicolor 3MF that I used to print the dispenser in the photos.<br><strong>Slicer settings:</strong> No special requirements except for the (optional) cap - print this using a layer height of max. 0.15 mm and a perimeter width of 0.6 mm to give the thread the layer support needed. Plus, though for cosmetic reasons only, it is advisable to use a single perimeter wall setting for the first layer to achieve a better readability for the ml indication. Both of these setting are made in the cap's 3MF file.<br>All STL and 3MF files are rotated to the position they are to be printed in. The dispenser 3MF, as said above, is prepared for multicolor printing.<br>In case you have the choice between a smooth and a powder-coated steel plate: The dispenser should be printed on a smooth surface while the cap looks better when printed on a structured surface (which I don't have, therefore mine doesn't look great in the photos).</p><h4>Assembly</h4><p><strong>Short version:</strong> Take the dispenser, push in some tube, cut the tube to fit the bottle's height, finished. <br><strong>Detailed version:</strong> You need the printed dispenser, a PET bottle of your choice, and some kind of tube/hosepipe through which the liquid will be drawn up. The tube's outer diameter may be 6, 5, 4.5 or 4 mm (so you may, for example, use an aquarium air hose/pipe, a spraygun bottle's tube, a drinking straw, a PTFE bowden tube, or something completely different - in my case, I used the stalk of a disused cat toy).<br>Push the tube into the dispenser from the bottle's side. Ideally it should stay stuck just by friction (absolute leakproofness is not required), so you can take it out to be able to cleanse the dispenser after use (it should be dishwasher safe without the tube). If it doesn't, you may use some glue, but this means that you will not be able to clean the dispenser as thoroughly as after detaching the tube. Maybe a better idea: Thicken the tube's outer diameter with a piece of shrinkwrap.<br>Cut the tube so that it reaches down to the bottom of the bottle when mounted.<br>If you need tightness beyond any doubt, you may insert a 25 mm (1") rubber sealing ring into the thread before screwing the dispenser onto the bottle.</p><h4>Customizing</h4><p>I added the project's Fusion360 construction files to the file set. If you are a little familiar with Fusion360, you can use these to easily adapt the dispenser to a different liquid volume. If you're not, the files are a good practice object… ;)<br>A few tips for editing the files:</p><ul><li>The nozzle's vertical position determines the liquid's volume limit. In this design, one ml of liquid corresponds to 0.8488 mm of the cylinder's height. In the file, find the sketch named “Nozzle”, enter the sketch, select all and (numerically) move it vertically as desired. After closing the sketch, the construction will automatically be recalculated with the new nozzle position.</li><li>When editing Fusion360 files that you did not make yourself, always follow the timeline to understand the principles of the design you're working with.</li><li>The 50 ml model is the original construction made from scratch while the 30 and 80 ml models are adapted from that. Adapting to a smaller size is much easier than to a bigger size. Have a look at the 30 ml file: Here the process of adaption is completely documented in the timeline as a separate group of actions.</li></ul><p>Well, that's it. Have fun!</p>
With this file you will be able to print PET bottle automatic dosing dispenser with your 3D printer. Click on the button and save the file on your computer to work, edit or customize your design. You can also find more 3D designs for printers on PET bottle automatic dosing dispenser.