Pergo Robo3D Heat Chamber Ver 2
thingiverse
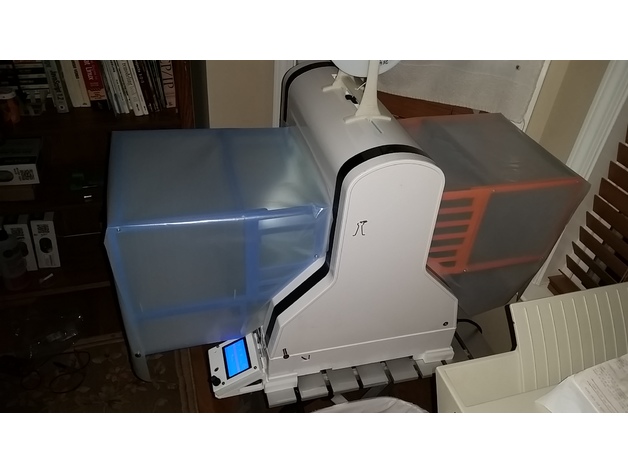
This is Version 2, entirely compatible with Version 1. If you printed Version 1, you can upgrade or use these parts as direct replacements. If a piece breaks, use Version 2 as the replacement part. **** Check out my Remix, which might be considered Version 3 - I think it's significantly better. The image shows a fully completed left side with all right sides attaching to supports. After assembly, glue or screw clear plastic to the frame created. See my Version 1 for pictures at http://www.thingiverse.com/thing:1293032 Remember that Version 1 doesn't show the new Bottom Tail part. Moved one clip further to the middle Removed a few ribs to use less plastic Added Fillet around weak parts for more support The clip that holds it to the Robo3D printer is tighter, attaching it will support itself before assembly. Added a new Bottom Tail that lets you put plastic all the way around the entire bed. It doesn't just cover the top and look like drapes - this is the Yellow piece(s) in the picture Bottom Clip Drill two pilot holes in the bottom of the existing/new "Extender" parts and attach the "Bottom Tail". Place another "Support" part. Those with Simplify 3D, I'm having issues going into Cura and flipping Z to save the model as the other side. I only built left sides and mirrored them to get the Right side. When bringing the Cura Mirrored items in, they look like they're in X-ray mode and won't print. Simplify 3D users, load the left sides and use the menu item [Mesh][Mirror Mesh][Mirror Z] and rotate 180 to get the Right sides for all right parts. When putting it together, keep in mind that the sides on the print bed will be pointing outward (towards the plastic) - the "pretty side" goes inside. When putting it together, even I put it together wrong the first time. When I went to put it on the printer, the holding clips were on the wrong sides!!! ARGH! When cutting and applying the plastic, do the final cuts after you screw it on. In my pictures, blue is Version 2 and orange is version 1.
With this file you will be able to print Pergo Robo3D Heat Chamber Ver 2 with your 3D printer. Click on the button and save the file on your computer to work, edit or customize your design. You can also find more 3D designs for printers on Pergo Robo3D Heat Chamber Ver 2.