PepperPi
prusaprinters
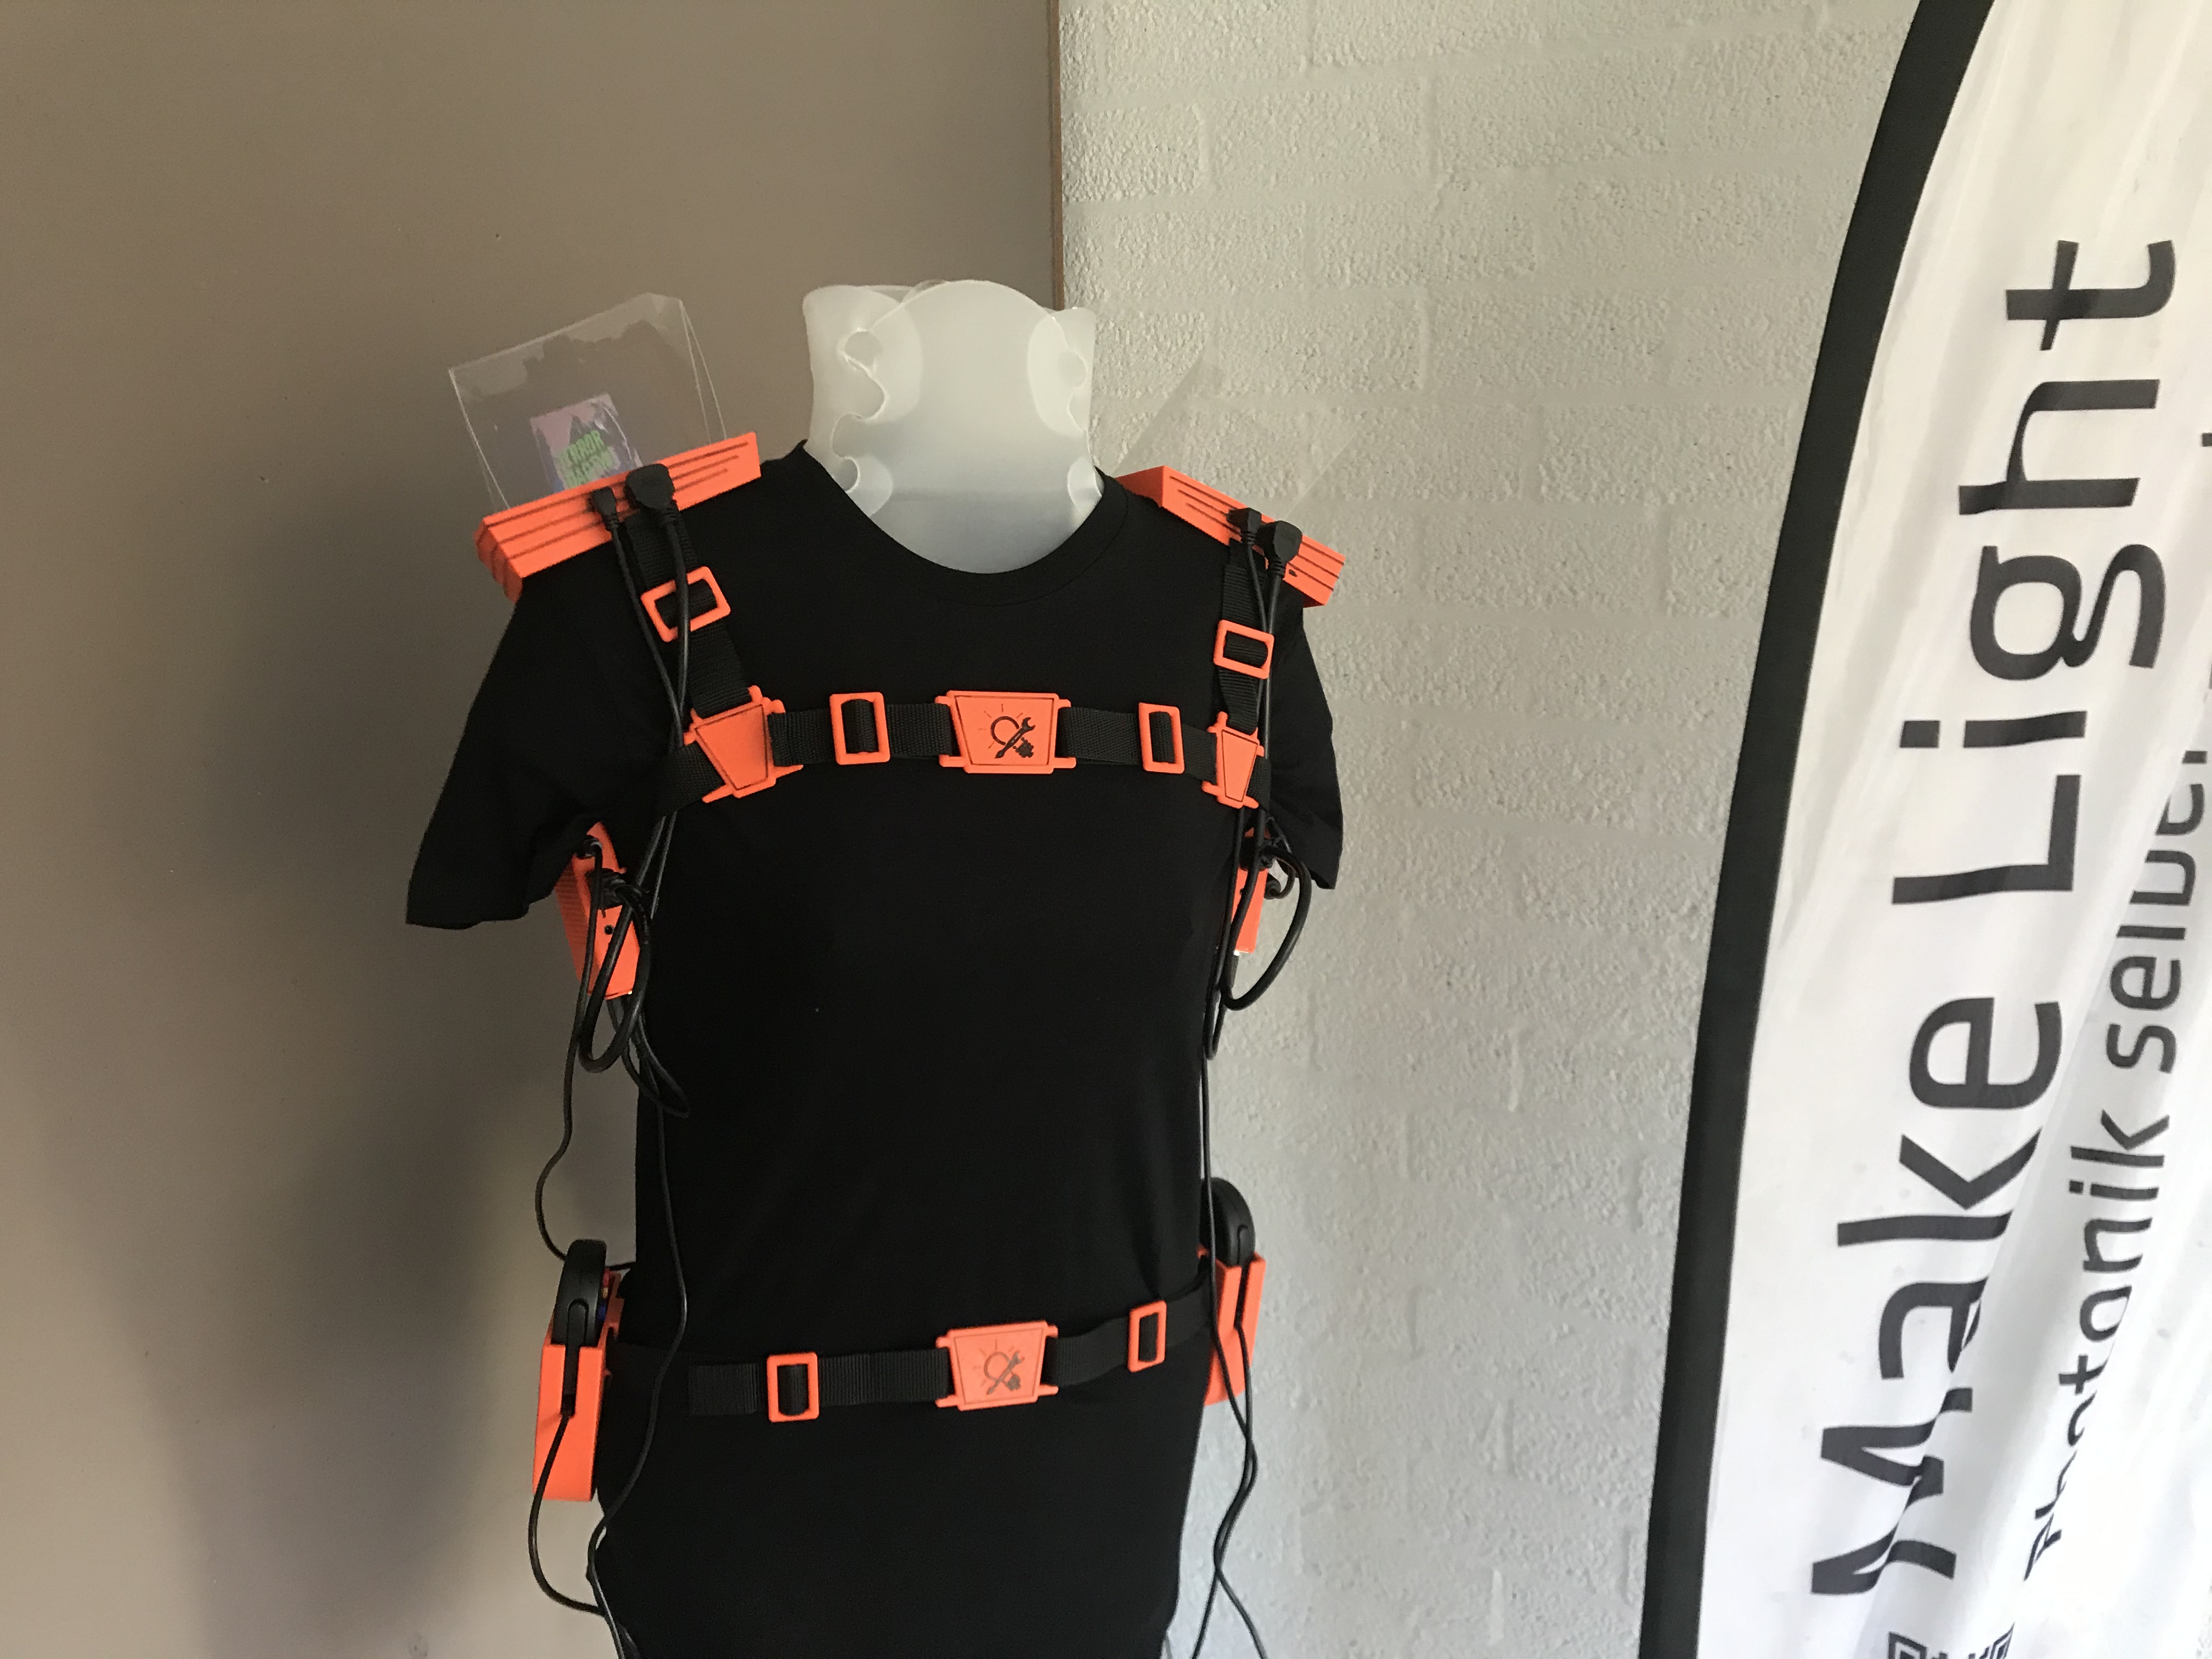
<p>Holographic shoulderpads (sort of) - either for retro gaming - or as an "Angel left, devil right" dance costume for burning man. Just a first quick and dirty design for our Retro gaming christmas party (Needed some housing for RetroPi)</p> <h3>Print instructions</h3><p>Housings and connectors are 3D-printed, no support structures necessary. The peppers ghost display is made with laser cut 0.8mm acrylic (but 1mm might be better), and 25mm webbing for holding everything together completes the list.</p> <p>Let the 3D printer do the work and enjoy your free time... Design is made in OpenScad, so it can be also adjusted instead of using the stl files (which might be necessary at least for the battery holder, and also our logo might be replaced by your own :)</p> <p>The pi case is based on <a href="https://www.thingiverse.com/thing:1015706">https://www.thingiverse.com/thing:1015706</a> - where you can also find the missing cap. It is hollowed out (to make room for an optional flat speaker and amplifier module (not installed yet)) - so you have to also download the original stl and adjust the import path in OpenScad. Same goes for the dxf files for the logo - an important hint is that Openscad can only understand flat beziers, in Inkscape e.g. you can use flatten beziers under extensions -> Modify path of all pathes of your design, then export as dxf and adjust the file path (and resizing) in OpenScad.</p> <p>The Logos and lines are in this case colored black (didn't want to use the fancy multicolor 3D printer because i thought it would be faster - If you have the mulitmaterial version you can seperate logo and core within the openscad file ). For shoulder pads, connectors and buckles it worked well with using an black edding and painting the relief structure. It didn't work that well for the controller holder because of the different print direction: The layer structure worked as a perfect capilar structure and sucked the color into the underliying areas which shouldn't be colored. So back manual work, i used a brush and thicker acrylic paint for it.</p> <p>Then put a Pi into each housing, clip the displays into the shoulderpads (and secure them with a bit of (hot) glue or better: with molten filament). The most annoying part: The 5 inch displays i used are touchscreens with a header for the GPIO pins - normally cool, but in our case it would make the shoulderpads unnecessary high. So: "Off with their heads!"</p> <p>The rest of the assembly is rather easy: Take the webbing, cut it into the right size (a bit more than circumference of bust) and start going through: on side of the buckle, holder, a Connector (both opposing gaps), pi case, connector, battery, connector, pi case, connector, holder and buckle again. Both ends of the webbing are then secured and the whole system tightend by going through the holder again.</p> <p>Then add the shoulder pads: Shorts webbings go through the shoulder pads and then through holder on the front and back before going through the connectors... again tightened with going through the holders again.</p> <p>The belt is made the same way: Buckle, holder, controller holster, controller holster, holder and buckle again...</p> <p>The most complicated part was keeping track of putting the buckles not upside down, and the left and right versions on the right sides: The cable slit on the controller holster and the HDMI out from both Pi case and shoulder pads should go to the front.</p> <p>Here is still room for improvement: I lasercutted the design file into triangles and middle part seperatly instead of a nicer looking bending. Then glued the parts together with clear adhesive film as well as adding with the same film small hand cutted rectangles (2mm wide) at the bottom sides of the acrylic display. These stripes can be then shoved between display and its 3D-printed case, securing the acrylics.</p> <p>Again, bending would be nicer, but it can be easily exchanged for an upgraded version.</p> <p>Wiring is easy: One HDMI cable and a micro usb cable from each display to the pi, then a micro USB cable from the Pi to the battery and into another USB port of the Pi goes the USB cable of the controller.</p> <p>The SD card is then formatted after the instructions on the retropi website. Afterwards, you need to change the config.txt on the boot volume file. First adjust for the screen size and add:</p> <p>max_usb_current=1</p> <p>hdmi_group=2</p> <p>hdmi_mode=87</p> <p>hdmi_cvt 800 480 60 6 0 0 0</p> <p>hdmi_drive=1</p> <p>... drivers shouldn't be necessary, because we don't use the touch screen. Which would now look perfect if we look directly on the screen, but the image is mirrored on the acrylic. Luckily, there are other options we can add:</p> <p>display_rotate=0x10000</p> <p>(There are also other options like display_rotate=0, with 0 for normal, 1 for 90 degree, 2 for 180 degree, 3 for 270 and display_rotate=0x20000 for a vertical flip insead of the horizontal one above.)</p> <p>After booting up, everything should look great, and you can start uploading ROMs on your RetroPi with an USB stick (again, as described on the retropi website).</p> <p>Have fun</p>
With this file you will be able to print PepperPi with your 3D printer. Click on the button and save the file on your computer to work, edit or customize your design. You can also find more 3D designs for printers on PepperPi.
