Peopoly Moai Dial Gauge Bracket
prusaprinters
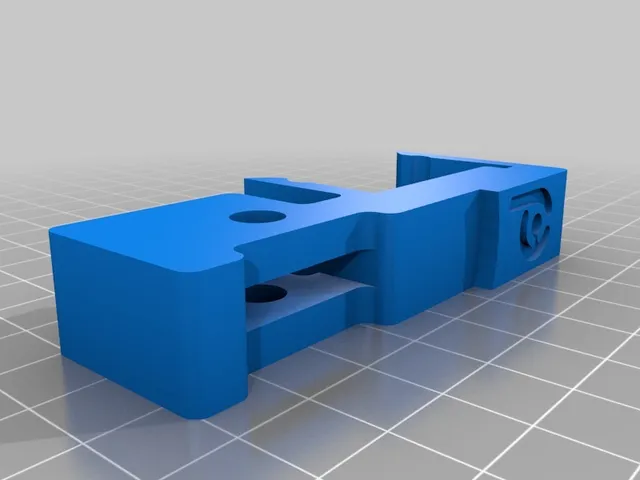
IMPORTANT!!! THIS GAUGE BRACKET IS DESIGNED TO BE USED AFTER YOU HAVE DONE THE INITIAL LEVELLING PROCESS FOLLOWING THE GUIDE IN THE BUILD MANUAL. IT IS NOT DESIGNED TO SET INITIAL LEVEL HEIGHT OF THE VAT BUT RATHER TO ENSURE ALL SIDES OF THE VAT ARE LEVEL ONCE THE INITIAL VAT HEIGHT / LEVEL HAS BEEN COMPLETED. ENSURE YOU FOLLOW STEP 7 IN THE BUILD INSTRUCTIONS PRIOR TO USING THIS BRACKET AND GAUGE. This is a dial gauge bracket that friction fits on all sides of the build plate. The dial gauge can then be used to ensure the gap between build plate and vat is level on all sides. The bracket has been designed around the digital dial indicator gauge available from Amazon and other places. It is available under several brand names, such as Neoteck and Wiysond. Here is a link to the Neoteck version on Amazon. https://www.amazon.co.uk/gp/product/B01H035DRO Simply attach the dial gauge to the btracket and secure tight to the bracket with an M6 bolt and nut. Then simply push the bracket onto the edge of the build plate at the required locations. Depending on how central your build plate is in relation to the vat you may need to adjust the bracket in or out slightly to ensure the tip is central on the vat top edges. NOTE: You will need to adjust the Z Reset Position in the Advanced Menu to 60 to have the right position for the gauge to measure. Once the build plate has settled at the reset position attach the bracket, not before. When measurements and adjustments are complete do not forgot to set the Z Reset Position back to 188. Print Settings Rafts: No Supports: Yes Infill: 40% + recommended for strength in the flex arms. Category: 3D Printer Accessories
With this file you will be able to print Peopoly Moai Dial Gauge Bracket with your 3D printer. Click on the button and save the file on your computer to work, edit or customize your design. You can also find more 3D designs for printers on Peopoly Moai Dial Gauge Bracket.