Penny Shooter
thingiverse
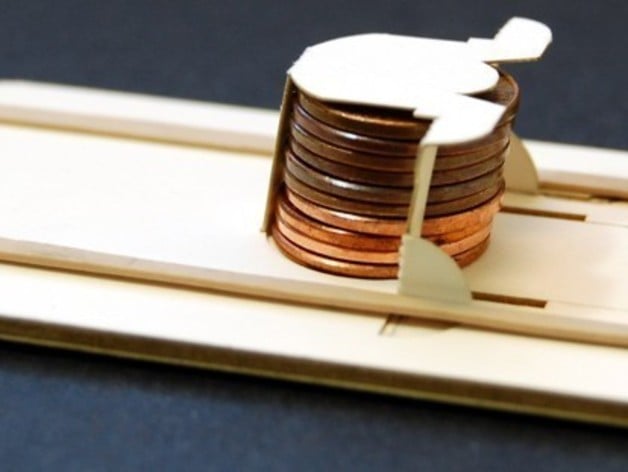
This business card-sized gadget propels US pennies by harnessing a hidden magazine that accommodates up to ten coins. To operate, simply pull back the slide, load a penny into place, and release for a shooting action; repeat until all pennies are spent. A video demonstration of this fascinating device is available here: http://www.youtube.com/watch?v=5KNZZ9qDJtQ. To construct one of these penny-shooting cards, begin by cutting thin materials (approximately 0.061" thick) to serve as the base for your design. A 4-ply mat board should suffice at around 0.06". However, ensure that the material isn't too thick or thin; otherwise, jamming may occur. For a suitable balance between strength and flexibility, opt for a .014" thick cover stock. The dotted lines on the magazine area of the thin components represent perforations or folds. Assemble the card by sandwiching two identical thick pieces with one of the thin layers (without the magazine). Utilize the third thick piece (the slide) as a guide to ensure smooth movement between parts. Then, attach the side featuring the magazine on top, taking care not to glue it down and maintaining the slide's mobility. Remember that the slide must be in place before assembly is completed, as it cannot be installed afterward. Finally, equip your penny-shooting card with two #32 rubber bands for optimal performance.
With this file you will be able to print Penny Shooter with your 3D printer. Click on the button and save the file on your computer to work, edit or customize your design. You can also find more 3D designs for printers on Penny Shooter.
