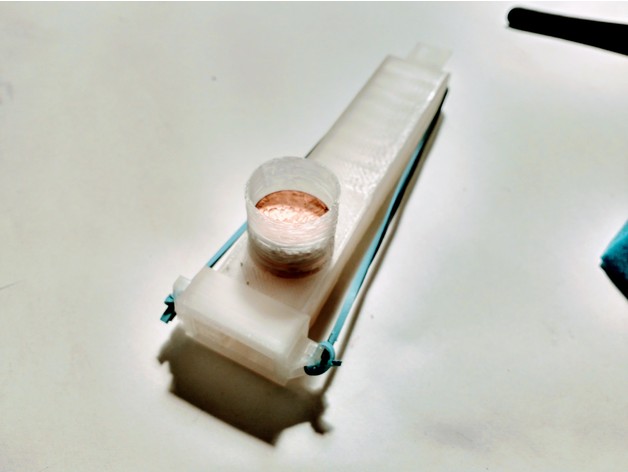
Penny Launcher
thingiverse
Penny Blaster! Customize Your Experience Build Your Own Penny Launcher Step 1: Gather Materials Collect a sturdy cardboard tube, scissors, glue, and a rubber band. You're about to unleash your creativity! Step 2: Assemble the Launcher Cut a small slit at the top of the tube, just big enough for a penny to fit through. Glue the rubber band around the tube, making sure it's secure. Step 3: Add the Trigger Cut a small piece of cardboard and glue it to the side of the tube, creating a trigger. This will help you launch your pennies with precision! Step 4: Load Up Place a penny on top of the launcher, making sure it's centered over the slit. Give it a gentle push, and watch as it soars through the air! Step 5: Launch Away! Hold the launcher at an angle and give it a firm pull. The penny will fly out, landing with a satisfying clink. Repeat this process until you've launched all your pennies!
With this file you will be able to print Penny Launcher with your 3D printer. Click on the button and save the file on your computer to work, edit or customize your design. You can also find more 3D designs for printers on Penny Launcher.
