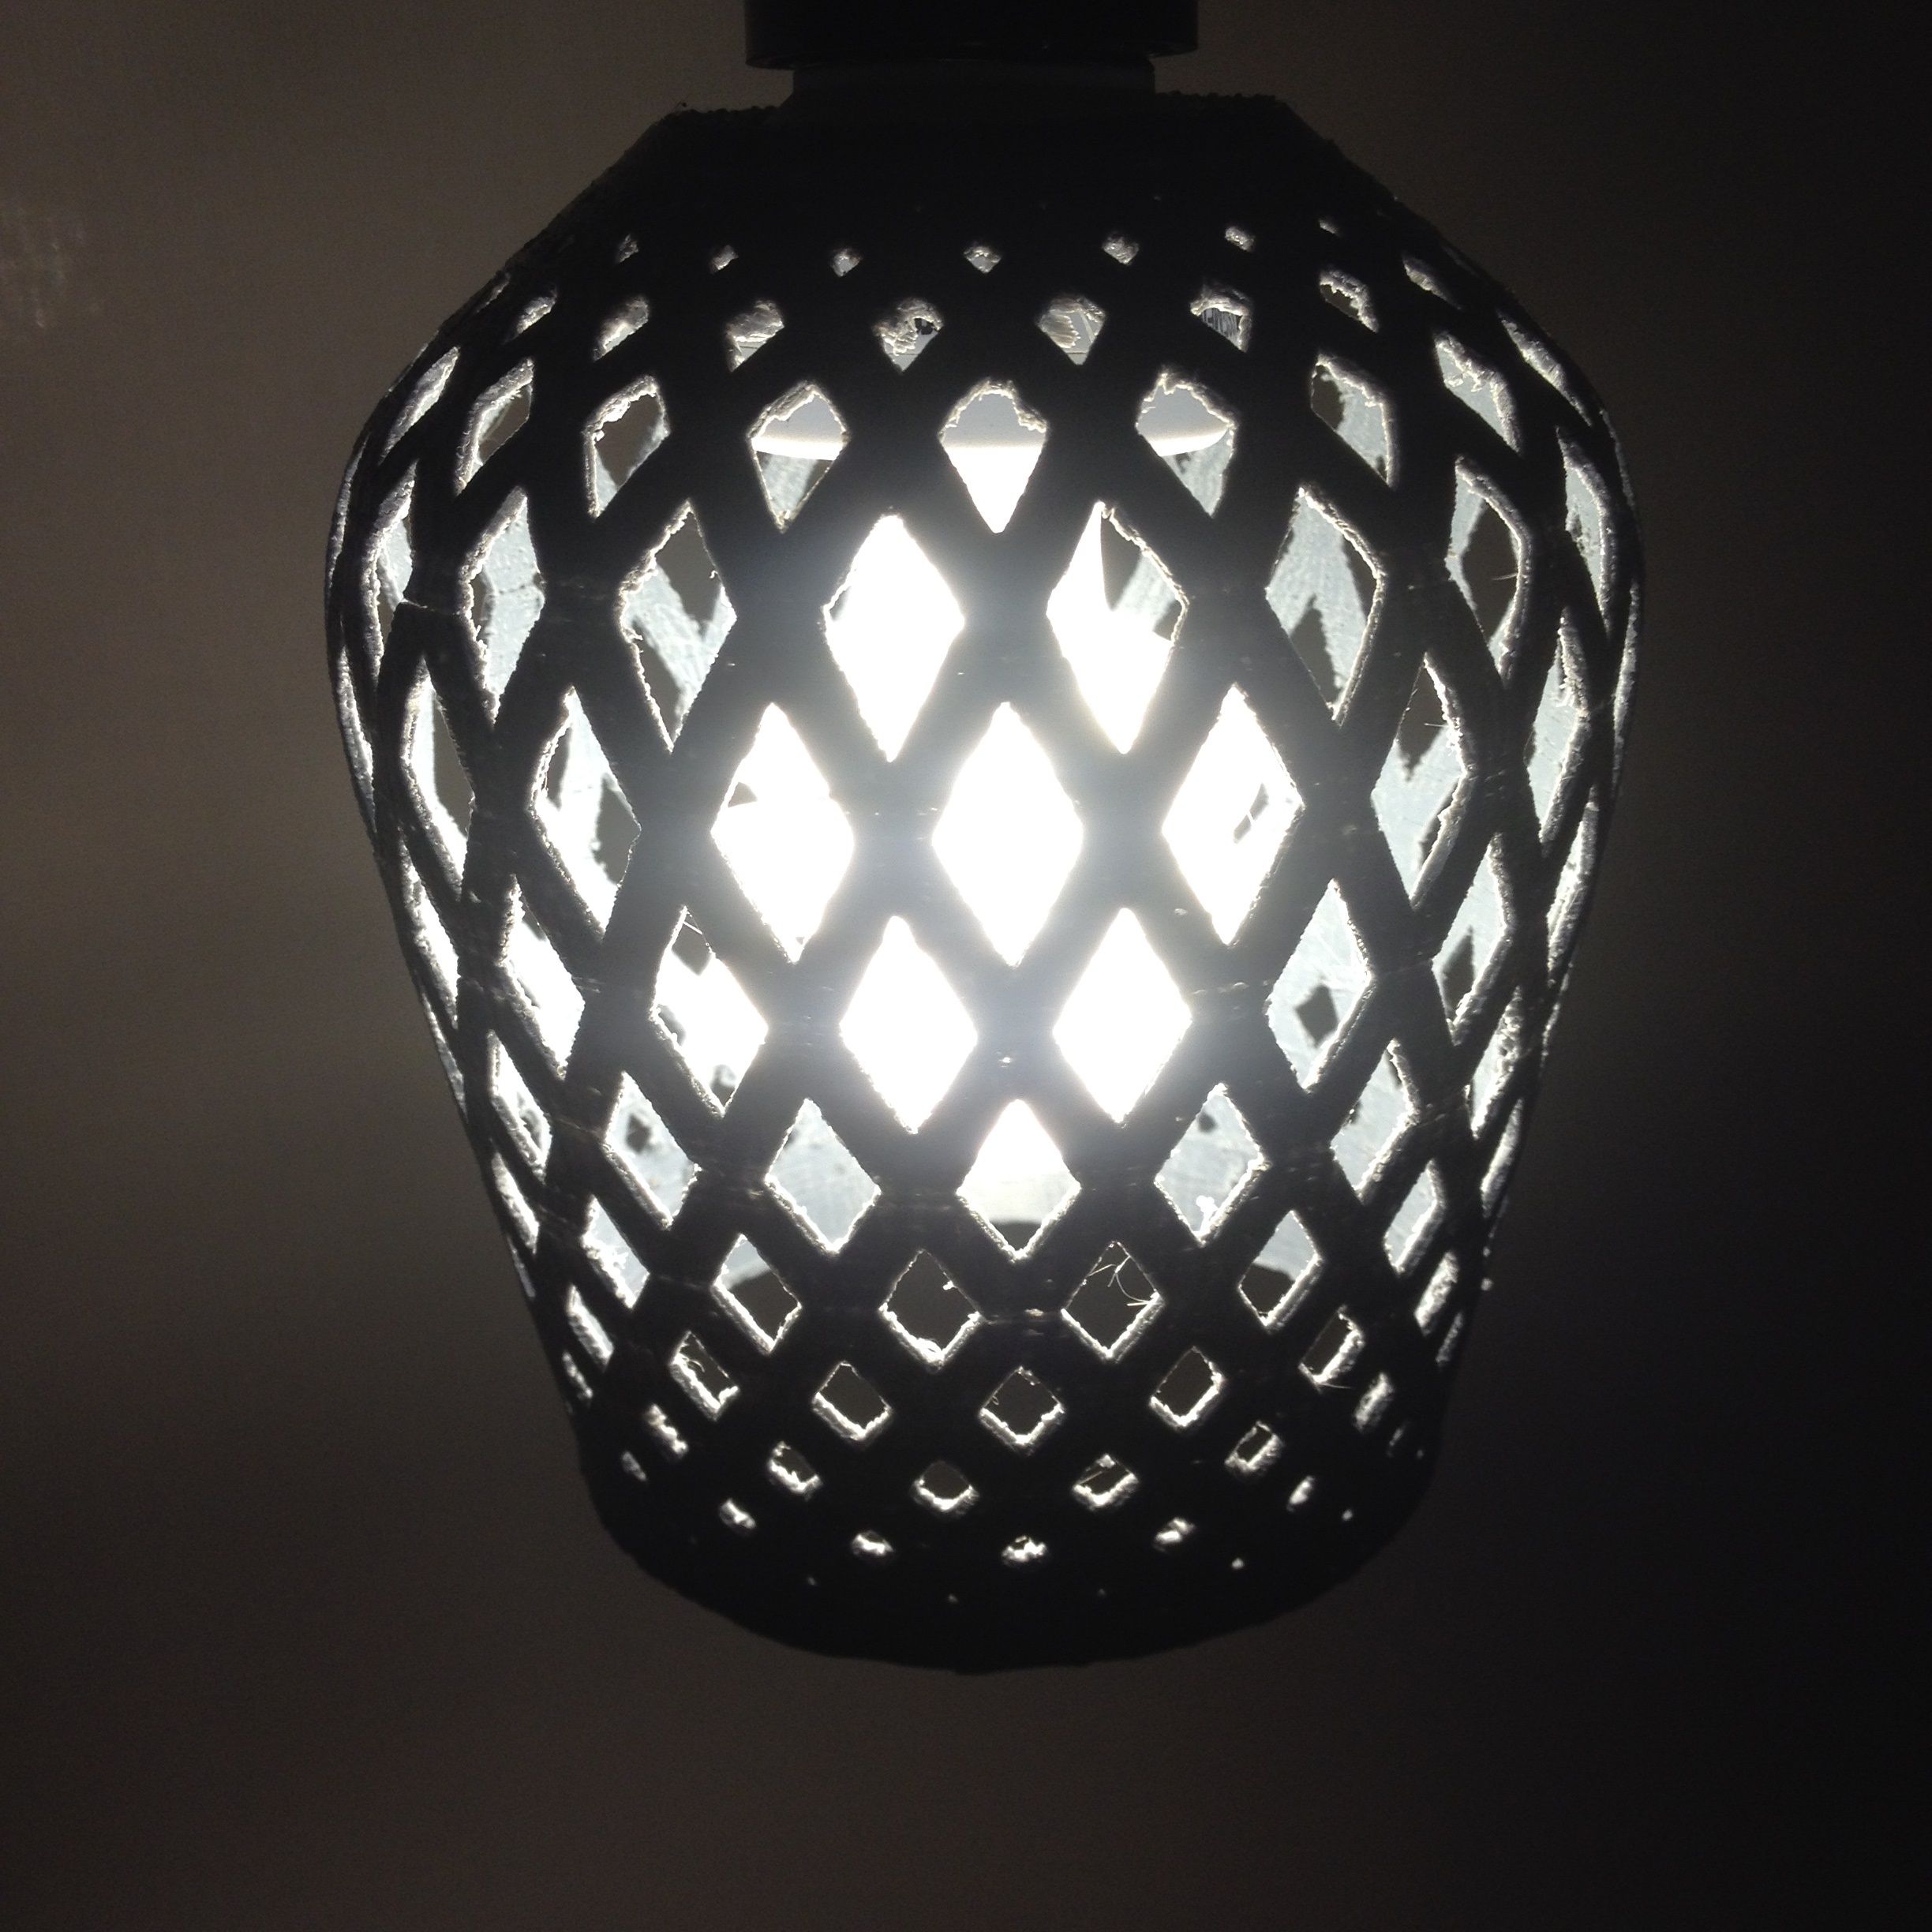
Pendant Light Shade
myminifactory
Designing a Pendant-style Light Shade in Autodesk Fusion 360. Create a new project in Autodesk Fusion 360 and select "Part" as the template. Name your part as "Pendant_Light". Start by creating a new sketch on the XZ plane with a rectangular shape that will serve as the base of your light shade. Use the rectangle tool to draw a rectangle with dimensions 4 inches wide, 2 inches deep and 1 inch tall. Use the extrude tool to give the base some thickness, setting the depth to 0.5 inches. Then, use the sweep tool to create the cylindrical shape of the light shade. Draw a circle on the XY plane with a diameter of 6 inches, and then select the cylinder tool from the toolbar. Set the start point to the bottom center of the base, and set the end point to the top center of the sketch. Use the revolve tool to create the rounded shape at the top of the light shade. Draw a circle on the XY plane with a diameter of 2 inches, centered at the top of the cylindrical shape. Select the revolve tool from the toolbar, and set the axis to be vertical. Set the start point to the center of the circular shape, and set the end point to the bottom of the circular shape. Use the fillet tool to add a small radius to the edges of the light shade, making it look more rounded and smooth. Finally, use the mirror tool to create a second light shade that will be mirrored on the other side of the base. Once you have completed these steps, your pendant-style light shade is now ready to be exported as an STL file for 3D printing or rendering in a visualization software.
With this file you will be able to print Pendant Light Shade with your 3D printer. Click on the button and save the file on your computer to work, edit or customize your design. You can also find more 3D designs for printers on Pendant Light Shade.