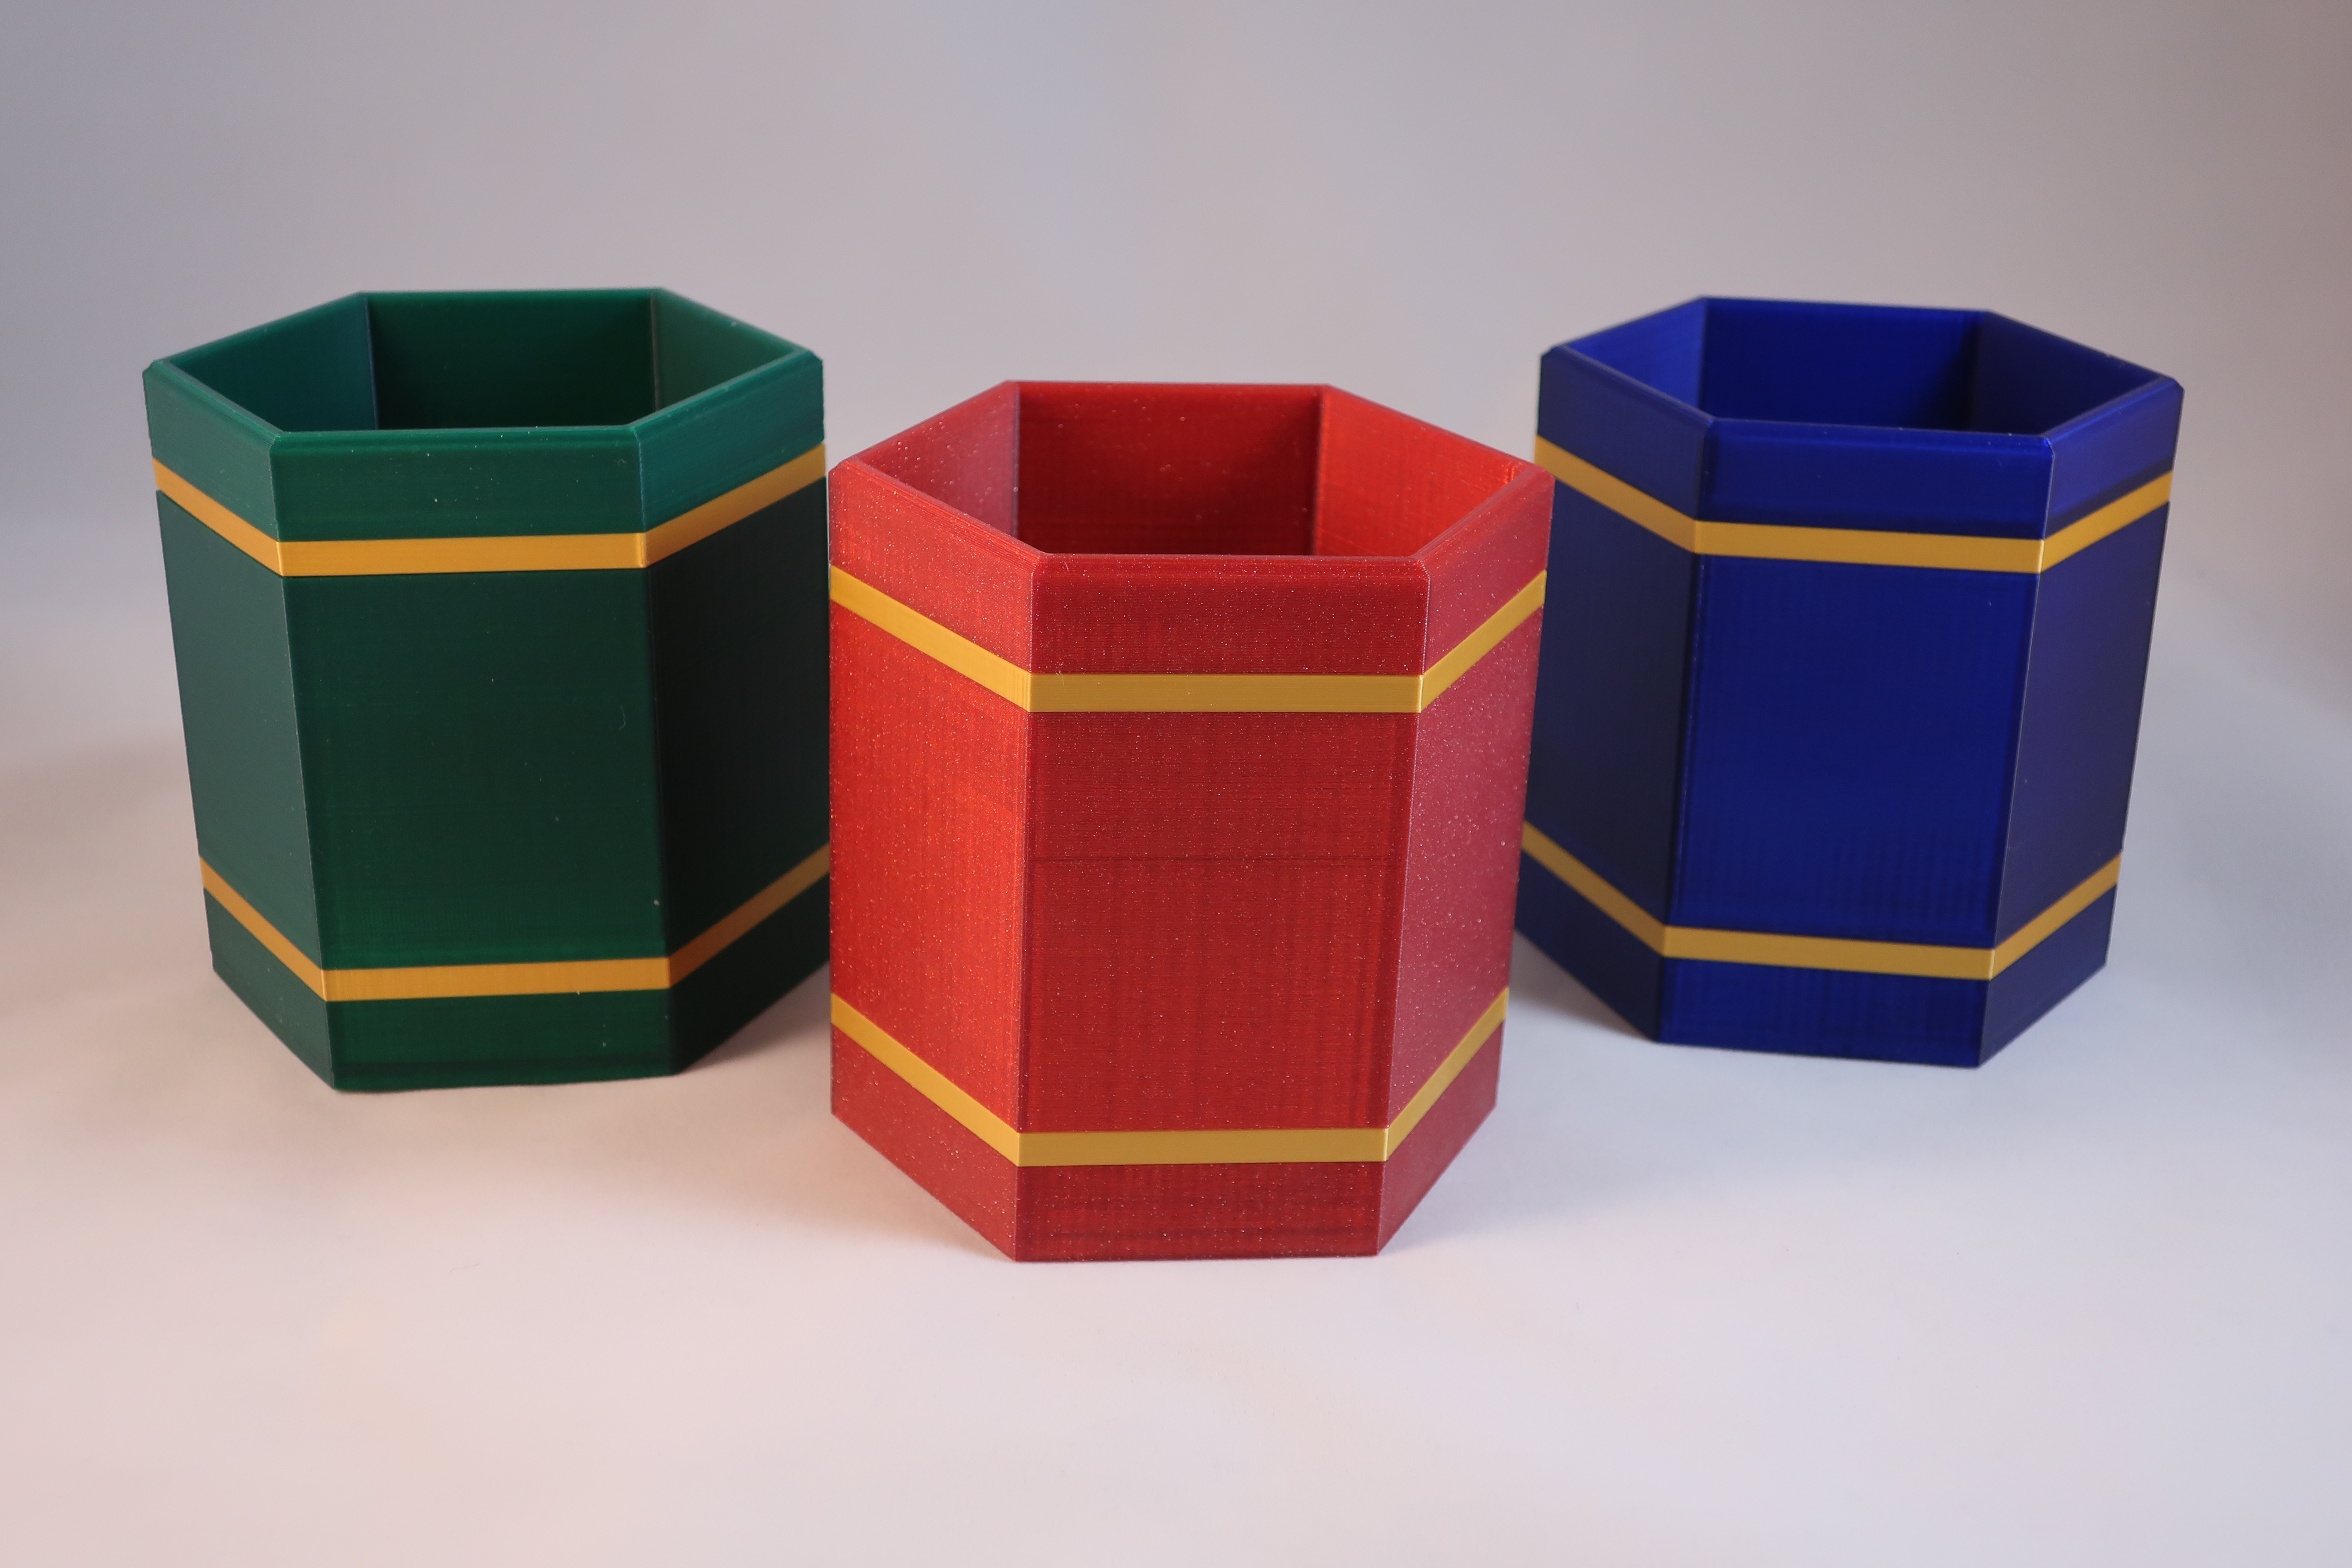
Pencil Can with Accent
prusaprinters
<h4>Printing the Parts</h4><p>Print one base, one waist band, one cap band, and two accent bands.</p><h4>Assembly</h4><p>Place an accent band around the cap edge of the base and push hard, or lightly hammer it until it slides over the top edge of the base. It will be VERY tight as the fibers try to key into each other. A thin coating of grease helps.</p><p>When the accent band is flush with the top of the base, place the waist band on top. Keep pushing or hammering. Top accent band is next, followed by the cap band. Make sure they are pushed tightly together and there are no gaps.</p><p>Enjoy!</p>
With this file you will be able to print Pencil Can with Accent with your 3D printer. Click on the button and save the file on your computer to work, edit or customize your design. You can also find more 3D designs for printers on Pencil Can with Accent.
