Pebble charging cable.
thingiverse
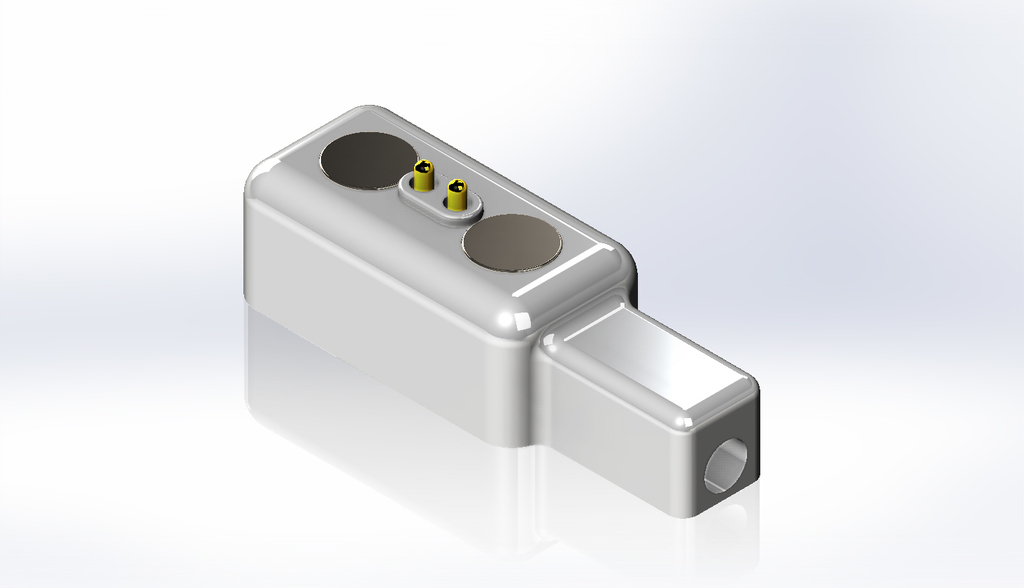
Pebble watch charging cable assembly guide. Required components: 1. Printed parts - case and cover assembled from the same print job 2. A short USB-C cable, cut to size as needed 3. Additional wire for connections 4. 8 mm pogo pins, two units, purchased from AliExpress via the link https://aliexpress.ru/item/32234459523.html 5. Neodymium magnets, D5 x 3 mm, two units, sourced from https://www.aliexpress.com/item/32866041091.html 6. "704" rubber sealing glue (optional), available at https://www.aliexpress.com/item/32903365274.html 7. Soldering equipment and materials Instructions: 1. Connect the USB GND wire to the magnets, then attach it to the pogo pins. 2. Connect the USB +5V wire to the pogo pins. 3. Assemble the case and cover together using the printed parts. 4. Apply a small amount of 704 glue for added security (if desired). 5. Close the cover and verify that all connections are secure. Printed from PLA material with 100% infill and 0.1mm layer thickness. The original CAD files in SolidWorks format can be accessed by clicking on this link.
With this file you will be able to print Pebble charging cable. with your 3D printer. Click on the button and save the file on your computer to work, edit or customize your design. You can also find more 3D designs for printers on Pebble charging cable..