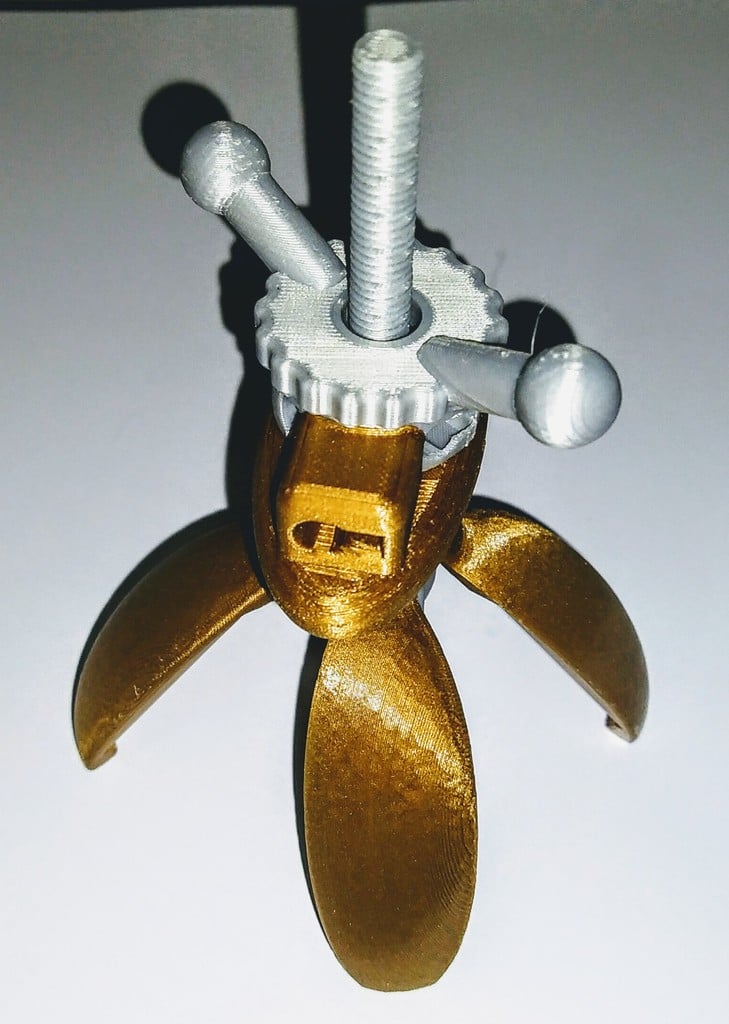
Pear Of Anguish
thingiverse
Update 2020/05/31: I've upgraded the base part v3 to accommodate threading through fastening materials. Update 2020/05/21: I've added a winged locknut v3 as requested, but be cautious not to overdo it. _________ Here's my take on a medieval torture device, now used for fun in a modern context. Print the design using food-safe PETG. A dip coat for the pear quarters is highly recommended to ensure smooth surfaces. Remove any sharp edges before assembly. If the thread doesn't work well for you, rework it with a thread cutter. The metric M8 thread should be accurate. The pear parts are held together by an O-Ring (9x2mm), and yes, I've used metric measurements throughout. You have two tools to operate the Pear: Tool 1 and Tool 2. Choose your preferred lock nut from the available options. To secure the lock nut, use a keyhole lock every 90 degrees. The Burg-Waechter ME/2 or similar locks should work fine; search for "stealth lock" on Aliexpress. The _v3 parts offer improved accessibility with a different lock position. You can also install a Safety Stopper to prevent the pullrod from getting lost. Simply glue it to the end of the v3 rod after assembly. Remember to use this device responsibly, consensually, and at your own risk. Consider adding a condom over the pear for safety reasons. Make sure the O-Ring won't fail under pressure.
With this file you will be able to print Pear Of Anguish with your 3D printer. Click on the button and save the file on your computer to work, edit or customize your design. You can also find more 3D designs for printers on Pear Of Anguish.
