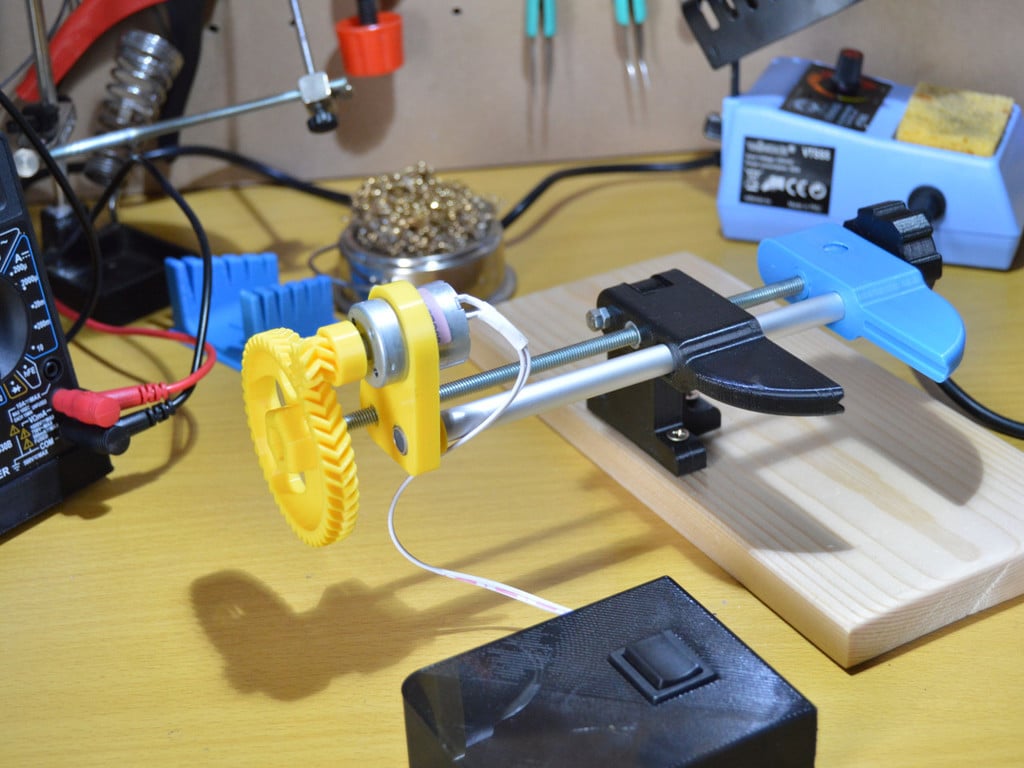
PCB-Vise motorization
thingiverse
Because the M6 threaded rod is a real nuisance to screw in and out, I've devised a motorization solution to simplify the use of the vise, and I hope you'll appreciate it. Check out this video for more details: https://youtu.be/H1LDRPikjJ0 This motorization was designed specifically for project: https://www.thingiverse.com/thing:2663801 To get started, you will need a few essential components: A double pole, double throw switch to reverse the motor polarity. (Keep in mind that my button required a 20x22mm hole.) A DC motor (I used one from an old VHS with sufficient torque - diameter 26mm and 2mm shaft). A 9V battery. Some wire for connectivity. Four small screws (with a hole diameter of 2.5mm). Two M6 nuts. And a bearing (with an inside diameter of 7mm and an outside diameter of 12mm). Note: I've uploaded two STL files, one featuring my design and the other with a center hole to accommodate buttons of varying dimensions. You can find these designs at: (PCB-vise-controller-box-centered-hole-v2.stl) Special thanks go out to: The creators of the sprockets found here: https://www.thingiverse.com/thing:172514 And the designers of the 9V battery holder, available here: https://www.thingiverse.com/thing:2144462
With this file you will be able to print PCB-Vise motorization with your 3D printer. Click on the button and save the file on your computer to work, edit or customize your design. You can also find more 3D designs for printers on PCB-Vise motorization.
